While I certainly don’t consider myself the best cake maker, or baker, for that matter, I like attempting homemade cakes rather than store-bought mixes a few times throughout the year: kids’ birthdays and my husband’s birthday. Perhaps a special occasion here or there throughout the year.
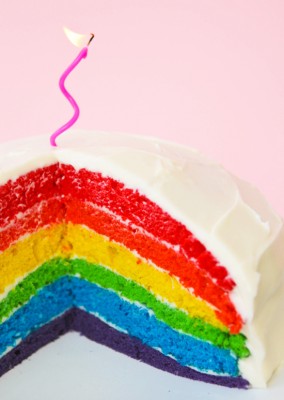
A couple days before his seventh birthday, I asked Silas what kind of cake he wanted? I thought he’d request a layered rainbow cake:
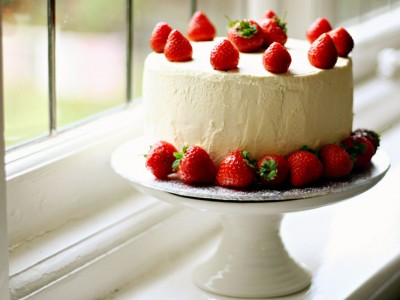
Being right at the onset of summer, a nice strawberry cake with whipped strawberry frosting:
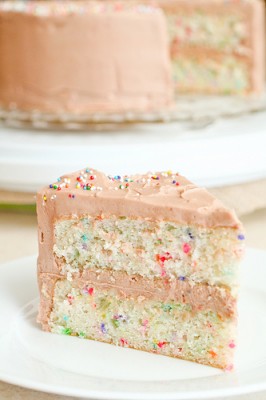
Back to kid-oriented, maybe a funfetti cake I remember loving as a child, myself:
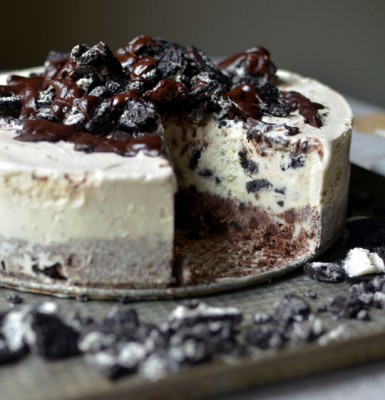
Oreo ice cream cake? What kind of kid wouldn’t want an ice cream cake?
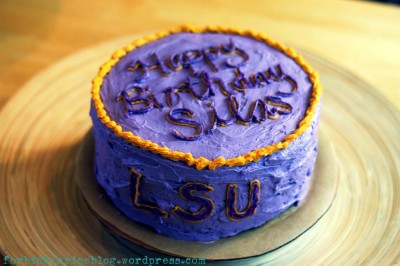
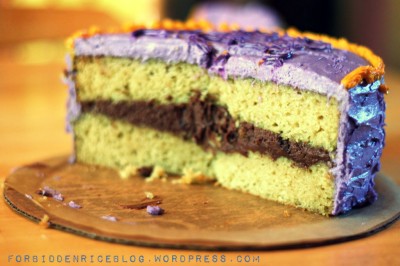
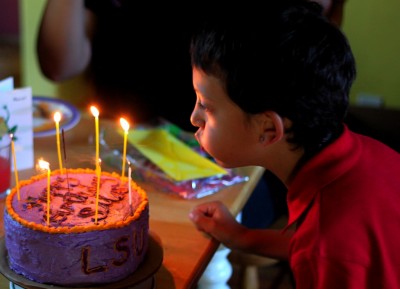
But, no. As usual, Silas is full of surprises. When asked what kind of birthday cake he wanted, without hesitation, he said “I want an LSU cake. Yellow cake with purple frosting. And yellow. And it has to say LSU on it.” While I researched the internet for LSU cake ideas, most were fondant-topped. I have never made fondant and in such a short amount of time, didn’t want to mess with it. So instead I found a good yellow cake recipe. Then good frosting ideas. And the outcome? “Julie, thank you… it’s exactly what I was thinking it would be.”
I used the following yellow cake recipe, which came out very moist with a light crumb. It wasn’t “fluffy” as I had imagined, but it was still tasty. The vanilla butter cream is very light, and the chocolate buttercream… it’s based off of Joy the Baker’s recipe, but for this cake I also added mini chocolate chips.
I’ll warn you ahead of time: this cake is NOT light on the butter or sugar, but it’s very moist and surprisingly not overly hurt-your-teeth sweet. If you want to use different fillings or frostings, have at it! :)
Moist Yellow Cake with Vanilla Buttercream Icing and Chocolate Buttercream Filling
Moist Yellow Cake
recipe from Smitten Kitchen
Ingredients:
4 cups plus 2 tbsp. cake flour
2 tsp. baking powder
1½ tsp. baking soda
1 tsp. salt
2 cups sugar
2 sticks butter, softened
2 tsp. vanilla extract
4 eggs, room temperature
2 cups buttermilk, shaken
Directions:
Preheat your oven to 350ºF. Prepare two 9-inch pans for baking. Butter the bottom of each pan then line with parchment paper. (I trace the bottom of the pan onto the parchment, then cut it slightly smaller. Then cut a long, rectangular strip of parchment paper for the sides, about 3 inches thick, if the pan is 2-inches deep.) Brush the parchment paper lightly with oil or shortening, then very lightly dust with flour.
In a large bowl, sift together the cake flour, baking powder, baking soda, and salt. In the bowl of a stand mixer, beat the butter and sugar together over medium speed until pale and fluffy (2-3 minutes). Add in the vanilla. Add the eggs, one at a time, beating well with each new addition. Add the buttermilk in at low speed, until just combined. (The mixture will look curdled, which is okay!) Add the flour mixture to the wet ingredients, a third at a time, until just incorporated.
Place half the batter in each pan (I like to weigh each pan to keep things even while baking). Bang the pan on your countertop a few times to get rid of air bubbles trapped in the batter. Bake for 35-40 minutes, until the cake is golden in color and a wooden toothpick inserted in the center of the cake comes out clean. Cool the cake in its pan for 10 minutes, then run a knife around the edge of the pan. Invert the cake onto a cooling rack (flat-side up for one, flat-side down for the other), discard the parchment paper, and then cool completely before frosting (1-1½ hours).
Vanilla Buttercream Frosting (lighter, for frosting the whole cake)
Ingredients:
3 cups powdered sugar
1 stick butter, room temperature
2 tsp. vanilla extract
3 tbsp. milk
Directions:
In the bowl of your stand mixer (or in a bowl, using a hand mixer), cream the butter until light and fluffy. Gradually add in the sugar over low speed. The mixture will be pretty thick, but at this point add in the vanilla and milk. If you’re adding any coloring, this is the time to do it. Beat until light and fluffy.
Vanilla Decorating Frosting (for writing and decoration accenting)
Ingredients:
1 stick butter, room temperature
½ cup powdered sugar
1 tbsp. milk
½ tsp. vanilla
Directions:
In the bowl of your stand mixer (or in a bowl, using a hand mixer), cream the butter until light and fluffy. Gradually add in the sugar over low speed. The mixture will be pretty thick, but at this point add in the vanilla and milk. If you’re adding any coloring, this is the time to do it. If you want to make multiple colors, separate some of the frosting into different bowls at this point then add your colors as desired. Beat until the color is well incorporated. Use as desired.
Chocolate Buttercream Filling
Ingredients:
6 tbsp. butter, room temperature
¼ cup good quality unsweetened cocoa powder
1 cup plus 2 tbsp. powdered sugar
¼ tsp. salt
½ tsp. vanilla extract
1 tbsp. milk
¼ cup heavy cream
Directions:
Cream the butter, cocoa powder, and salt together in your stand mixer. The mixture will be extremely thick. After scraping down the sides of the bowl, add the vanilla and milk alternately with the powdered sugar. As the sugar begins to incorporate, increase the speed to medium/ medium-high to beat the frosting. Beat until smooth. Turn the speed down to medium-low, pouring the heavy cream in a steady but slow stream, until the frosting reaches a light, fluffy consistency.
Assemble the cake:
Use a cake stand, make shift cake stand, or as a last resort simply assemble on a large dinner plate. Place one of the cakes on the base, rounded side down. Use a serrated knife to create an even, flat surface. Spoon the chocolate buttercream filling onto the cake, then use a spatula to evenly distribute the buttercream. Place the second cake gently on top of the chocolate buttercream, then gently press the cake down slightly.
Spread the vanilla buttercream (whatever color you decided to use) on the sides of the cake, working from the top towards the bottom, rotating the cake as you go. Wipe the spatula as necessary before dipping into the buttercream, to keep it coated with frosting without lots of crumbs.
To frost the cake top, put a generous spoonful of frosting in the center, then spread it outwards to all the edges. Gently spread with a spatula, also turning the cake as you spread the frosting.
Use the decorating frosting however you desire.
Store the cake in the refrigerator for up to three days. (I think it’s best served at room temperature, though!)



Pingback: The Art of Failed Cakes and Mistakes | Forbidden Rice Blog
Wow, your creation looks amazing! =)