Sometimes a recipe poses obstacles. For instance, when a certain little boy tells me he’d like red velvet cupcakes for his birthday party, I need to wrestle with the idea of using food coloring I’d typically prefer not adding to food. It’s not that I think you or you should refrain from such things as well, I simply prefer keeping my own recipes free from artificial ingredients. True, beets can impart a gorgeous red hue, but I’ve had little luck with incorporating them without also adding root-vegetable flavor to whatever I’m baking. Well, except for these brownies and these muffins. But I wasn’t planning on making brownies. Or muffins.
Can we also simply talk about red velvet cake for a minute? It’s an American Southern thing – and these days, it seems to be everywhere. While once upon a time red velvet cake is believed to have gotten its name from the chemical reaction between the buttermilk, vinegar, and unsweetened cocoa often present in this cake batter, that isn’t often the case these days. For one, cocoa used to be less alkaline than what we find today, which created a noticeable reaction within the ingredients. Today, the majority of red velvet recipes rely on artificial red food coloring to impart the desired color. Oh, and that velvet in the name – that has to do with the soft, velvety crumb of the cake, not the smoothness of the color. WHAT!
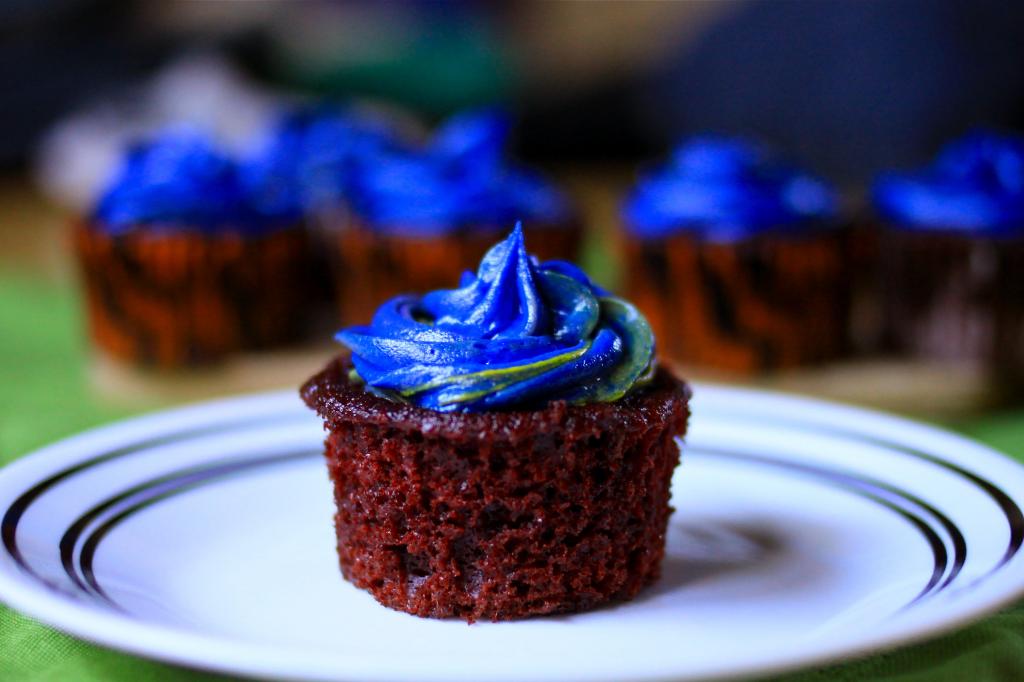
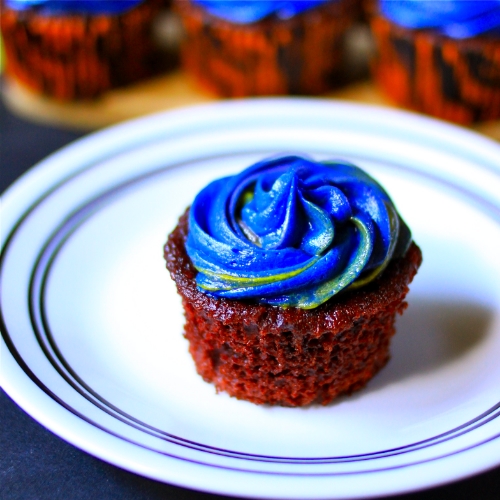
As with most things I approach in life – I think moderation is key. I don’t give myself shit for adding a little food coloring to cupcakes I plan to make once a year, if even that often. Plus these cupcakes were a big hit. They’re moist, chocolate-y without being too sweet. The frosting isn’t overly sweet either, which I like in desserts. Oh, but then there’s the other thing – red velvet cake is typically considered a buttermilk cake, not a chocolate cake… This recipe isn’t one of those. It is a chocolate cake recipe. One of my favorites, actually… slightly tweaked to make this work as a red velvet cake. There’s no buttermilk, no vinegar… but the sour cream and brown sugar create a moist, soft cake regardless. The cream cheese frosting is easy and stable even at room temperature. Feel free to leave it white, rather than adding more color.
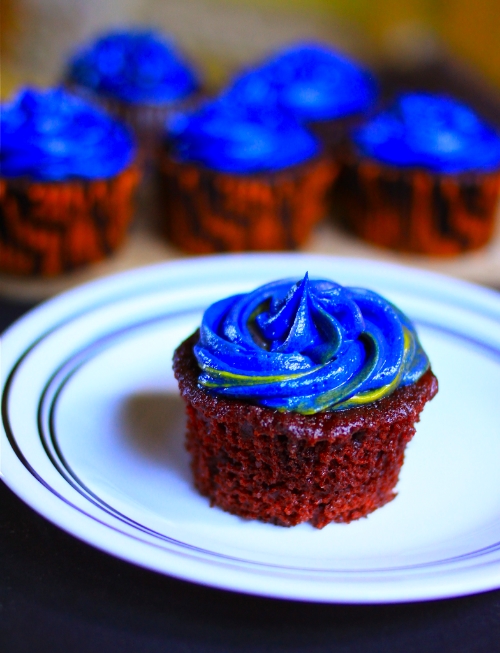
Not Your Grandmama’s Red Velvet Cupcakes with Cream Cheese Frosting
Yields 3 dozen regular-sized cupcakes.
Ingredients:
For the cupcakes:
2½ cups light brown sugar, packed
¾ cup + 2 tbsp. unsalted butter, room temperature
3 eggs, room temperature
1¾ tsp. vanilla extract
2¼ cups all-purpose flour
6 tbsp. unsweetened cocoa powder
2½ tsp. baking soda
½ tsp. salt
1 tbsp. red gel food coloring *
1 cup sour cream, room temperature
1 cup + 2 tbsp. boiling water
* The gel-version of food color offers a nicely intense coloring. More than any liquid food coloring I’ve ever found. Plus, the weird red coloring taste isn’t noticeable. I like Americolor Gel Pastes.
For the frosting:
8 oz. cream cheese, room temperature
2 sticks unsalted butter, room temperature
4 tbsp. vegetable shortening
2 tsp. vanilla powder
4-6 cups powdered sugar
coloring of your choice, if desired
Directions:
Preheat your oven to 350° F. Line two cupcake pans with liners, or grease each cupcake cup. Set aside until needed.
In the bowl of your stand mixer, cream together the butter and sugar over medium-high speed, using the paddle attachment, until lightly colored and fluffy (3-4 minutes). Add the eggs, one at a time, fully incorporating each egg before adding the next.
Increase the speed to high, whipping the mixture until it’s fluffy and light (3-4 minutes).
In a bowl, combine the flour, unsweetened cocoa, baking soda, and salt.
Reduce the speed on your mixer to low, then alternate adding the flour mixture and sour cream to the butter mixture in thirds, starting with the flour. Add your food coloring to the batter, blending until completely incorporated.
Slowly pour in the boiling water, making sure to scrape down the sides of your mixer. Blend together on low, for 1-2 minutes.
Fill each cupcake cup about 2/3-full. Bake for 12-15 minutes, until a toothpick inserted in the center of your cupcakes comes out clean. Transfer to a cooling rack to cool completely before frosting.
To make the frosting:
Cream the cream cheese, butter, and shortening together in a stand mixer, using the paddle attachment at medium speed. Blend until thoroughly combined. Reduce the speed to low, then add the vanilla powder and two cups of the powdered sugar. Blend until completely combined. Add the remaining powdered sugar, half a cup at a time, until you reach your desired consistency.
If you’re adding color, do so now, one drop at a time, blending completely until you create your desired color. Frost the completely cooled cupcakes.

boiling water… that’s very interesting. it would par-cook the batter and thus make it retain moisture? and nice story on the origin of red velvet :)
That makes sense about the par-cooking for moisture, but I actually read once that the boiling water reacts with unsweetened cocoa, causing it to “bloom,” creating a more intense flavor :) thus the reason you won’t ever see boiling water added to a non chocolate cake recipe.
i see i see. i have been using a chocolate cake recipe that called for hot water too but never thought it to “bloom” the cocoa as there was no explanation. thank you :)