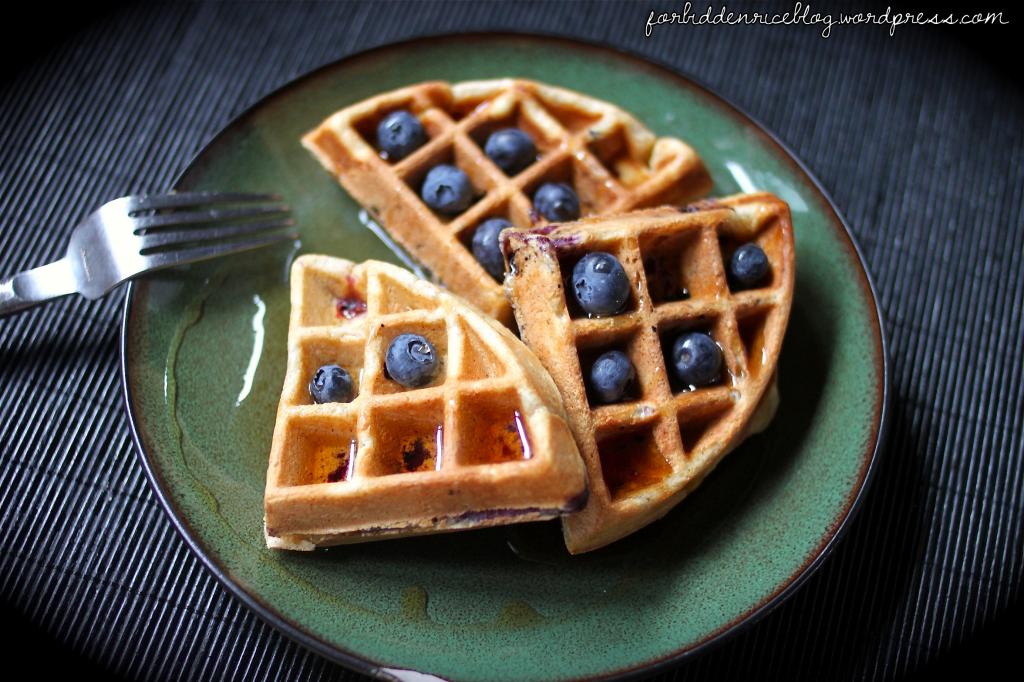
When it comes to waffles, it’s hard to beat a light, fluffy, crisp-on-the-outside, fresh-out-of-the-iron, hot waffle. At the opposite end of that spectrum is the dense, mushy, but hopefully-still-tastes-good waffle. I hate to tell you, but my kitchen experiments have more often resulted in the latter. I made these lemon ricotta waffles with blueberries a few weeks ago, very excitedly. Lemon and blueberries are one of my favorite flavor combinations. While the waffles tasted good, they lacked the crispiness I prefer. While overnight yeast waffles rarely fail to satisfy, the flavor of a yeasted waffle isn’t always what I’m craving.
Some of the things I’ve learned along the way while trying to prefect any waffle include the importance of separated eggs, the necessity of butter or oil, the balance of a good mixing and batter consistency, and the valuable knowledge of ignoring that awful buzzing timer that tells you your waffle’s done…
Separated eggs: the yolks go into the other wet ingredients, but the egg whites? Beat them until you’re left with stiff egg white peaks. All the air that’s incorporated at this point will be what gives your waffle a light airy texture.
Butter: the amount of oil or butter (fat) content in your batter allows you to cook the waffles at a higher temperature. This allows the outsides to crisp while maintaining a chewy, soft center.
Batter consistency: here’s what I’ve found – the thicker the batter I place onto the waffle iron, the slower it spreads out thus keeping its shape and keeping a better texture when done. However, you don’t want to over-mix the batter when combining the ingredients. To do so activates the gluten in your flour, creating a chewier waffle vs. a crisp, light waffle.
The f’ing timer built into most waffle irons: first of all, that timer drives our dogs crazy. But that’s not why I ignore it. I remember my mom occasionally making waffles when I was a kid. The one thing she always told me was that when the steam stops pouring out of your waffle iron, that means the waffle is cooked through. They were perfect every time. So when I’m cooking waffles now, I wait for the timer to beep, indicating the iron is hot enough to start cooking… but from then on, I ignore it. I watch the steam escape out of the sides of our waffle iron until it subsides. That’s when I open up the iron to remove the waffle.
Since these Belgian waffles are almost half whole wheat flour, I feared they’d be really dense and perhaps even dry, as several whole wheat experiments have left me with. Happily, that wasn’t the case. They were fluffy, crisp, delightful. Especially when topped with additional fresh blueberries and warm (real) maple syrup.
Whole Wheat Lemon Blueberry Belgian Waffles
yields approximately eight 7-inch round Belgian waffles
Ingredients:
1½ cups all-purpose flour
1 cup whole wheat flour
½ tsp. baking powder
½ tsp. salt
¼ cup sugar
1 cup buttermilk
¾ cup whole milk
¼ cup unsalted butter, melted
2 large eggs, separated
½ tsp. vanilla extract
2 tbsp. fresh squeezed Meyer lemon juice
2 tablespoons Meyer lemon zest
1 cup fresh blueberries
oil (canola or sunflower)
Directions:
Plug in your waffle iron as per the owner’s manual to let it preheat. (Mine goes up to 6, I keep it at 5 for cooking waffles.)
In a large mixing bowl, whisk together the flours, baking powder, salt, sugar, and lemon zest. Set aside.
Separate the eggs. Whisk together the buttermilk, whole milk, melted butter, egg yolks, and vanilla extract.
Beat the egg whites until they form stiff peaks (3-5 minutes).
Use a rubber spatula to stir the milk/butter mixture into your dry ingredients until everything is evenly combined and you’re left with a thick batter. Stir in the Meyer lemon juice. Stir in the fresh blueberries. Gently fold in the egg whites, until everything is just combined. (Don’t over-mix; the egg whites are what make these waffles light and airy.)
Brush your waffle iron with a coat of oil, or use nonstick spray if you prefer. Once your waffle iron has properly heated to the right temperature (according to its directions), spoon about ¾-cup of batter onto the center of your waffle iron. Cook until golden brown and noticeably crisp to the touch (cooking time absolutely depends on the brand/model of your waffle iron). Serve immediately for best results, topped with your favorite waffle toppings.


Pingback: Malted Waffles | Forbidden Rice Blog
These look and sound AMAZING! I keep finding reasons to need a waffle iron, and this is adding to the list! Such a delicious breakfast.
Thanks, Rachel! I always forget how much I love our waffle iron after I’ve stuck it in the pantry for a few weeks… but it’s such a fun investment (and really, a pretty inexpensive one, considering the number of fun meals you can make! :)