Awaiting Oregon berry season with eager anticipation is one of the highlights of these months for me. Embracing the vast bounty and variety of berries available here each summer can be chalked up to “enjoying life’s simple pleasures” in its finest sense. Strawberries can be found as early as May, then again in the later summer months (when they are full of even better flavor). Raspberries and blackberries start showing up in June, marionberries around July… but my all-time favorite, blueberries, are beginning to show up right now… and should easily stick around until late summer.
Last year I made one of my favorite jams ever with some local blueberries. While I look forward to making another batch or two (or three, or four), standing around a stove cooking piping hot jam, then jarring them up while Ashland temperatures have been lingering in 3-digit numbers, sounds less than ideal.
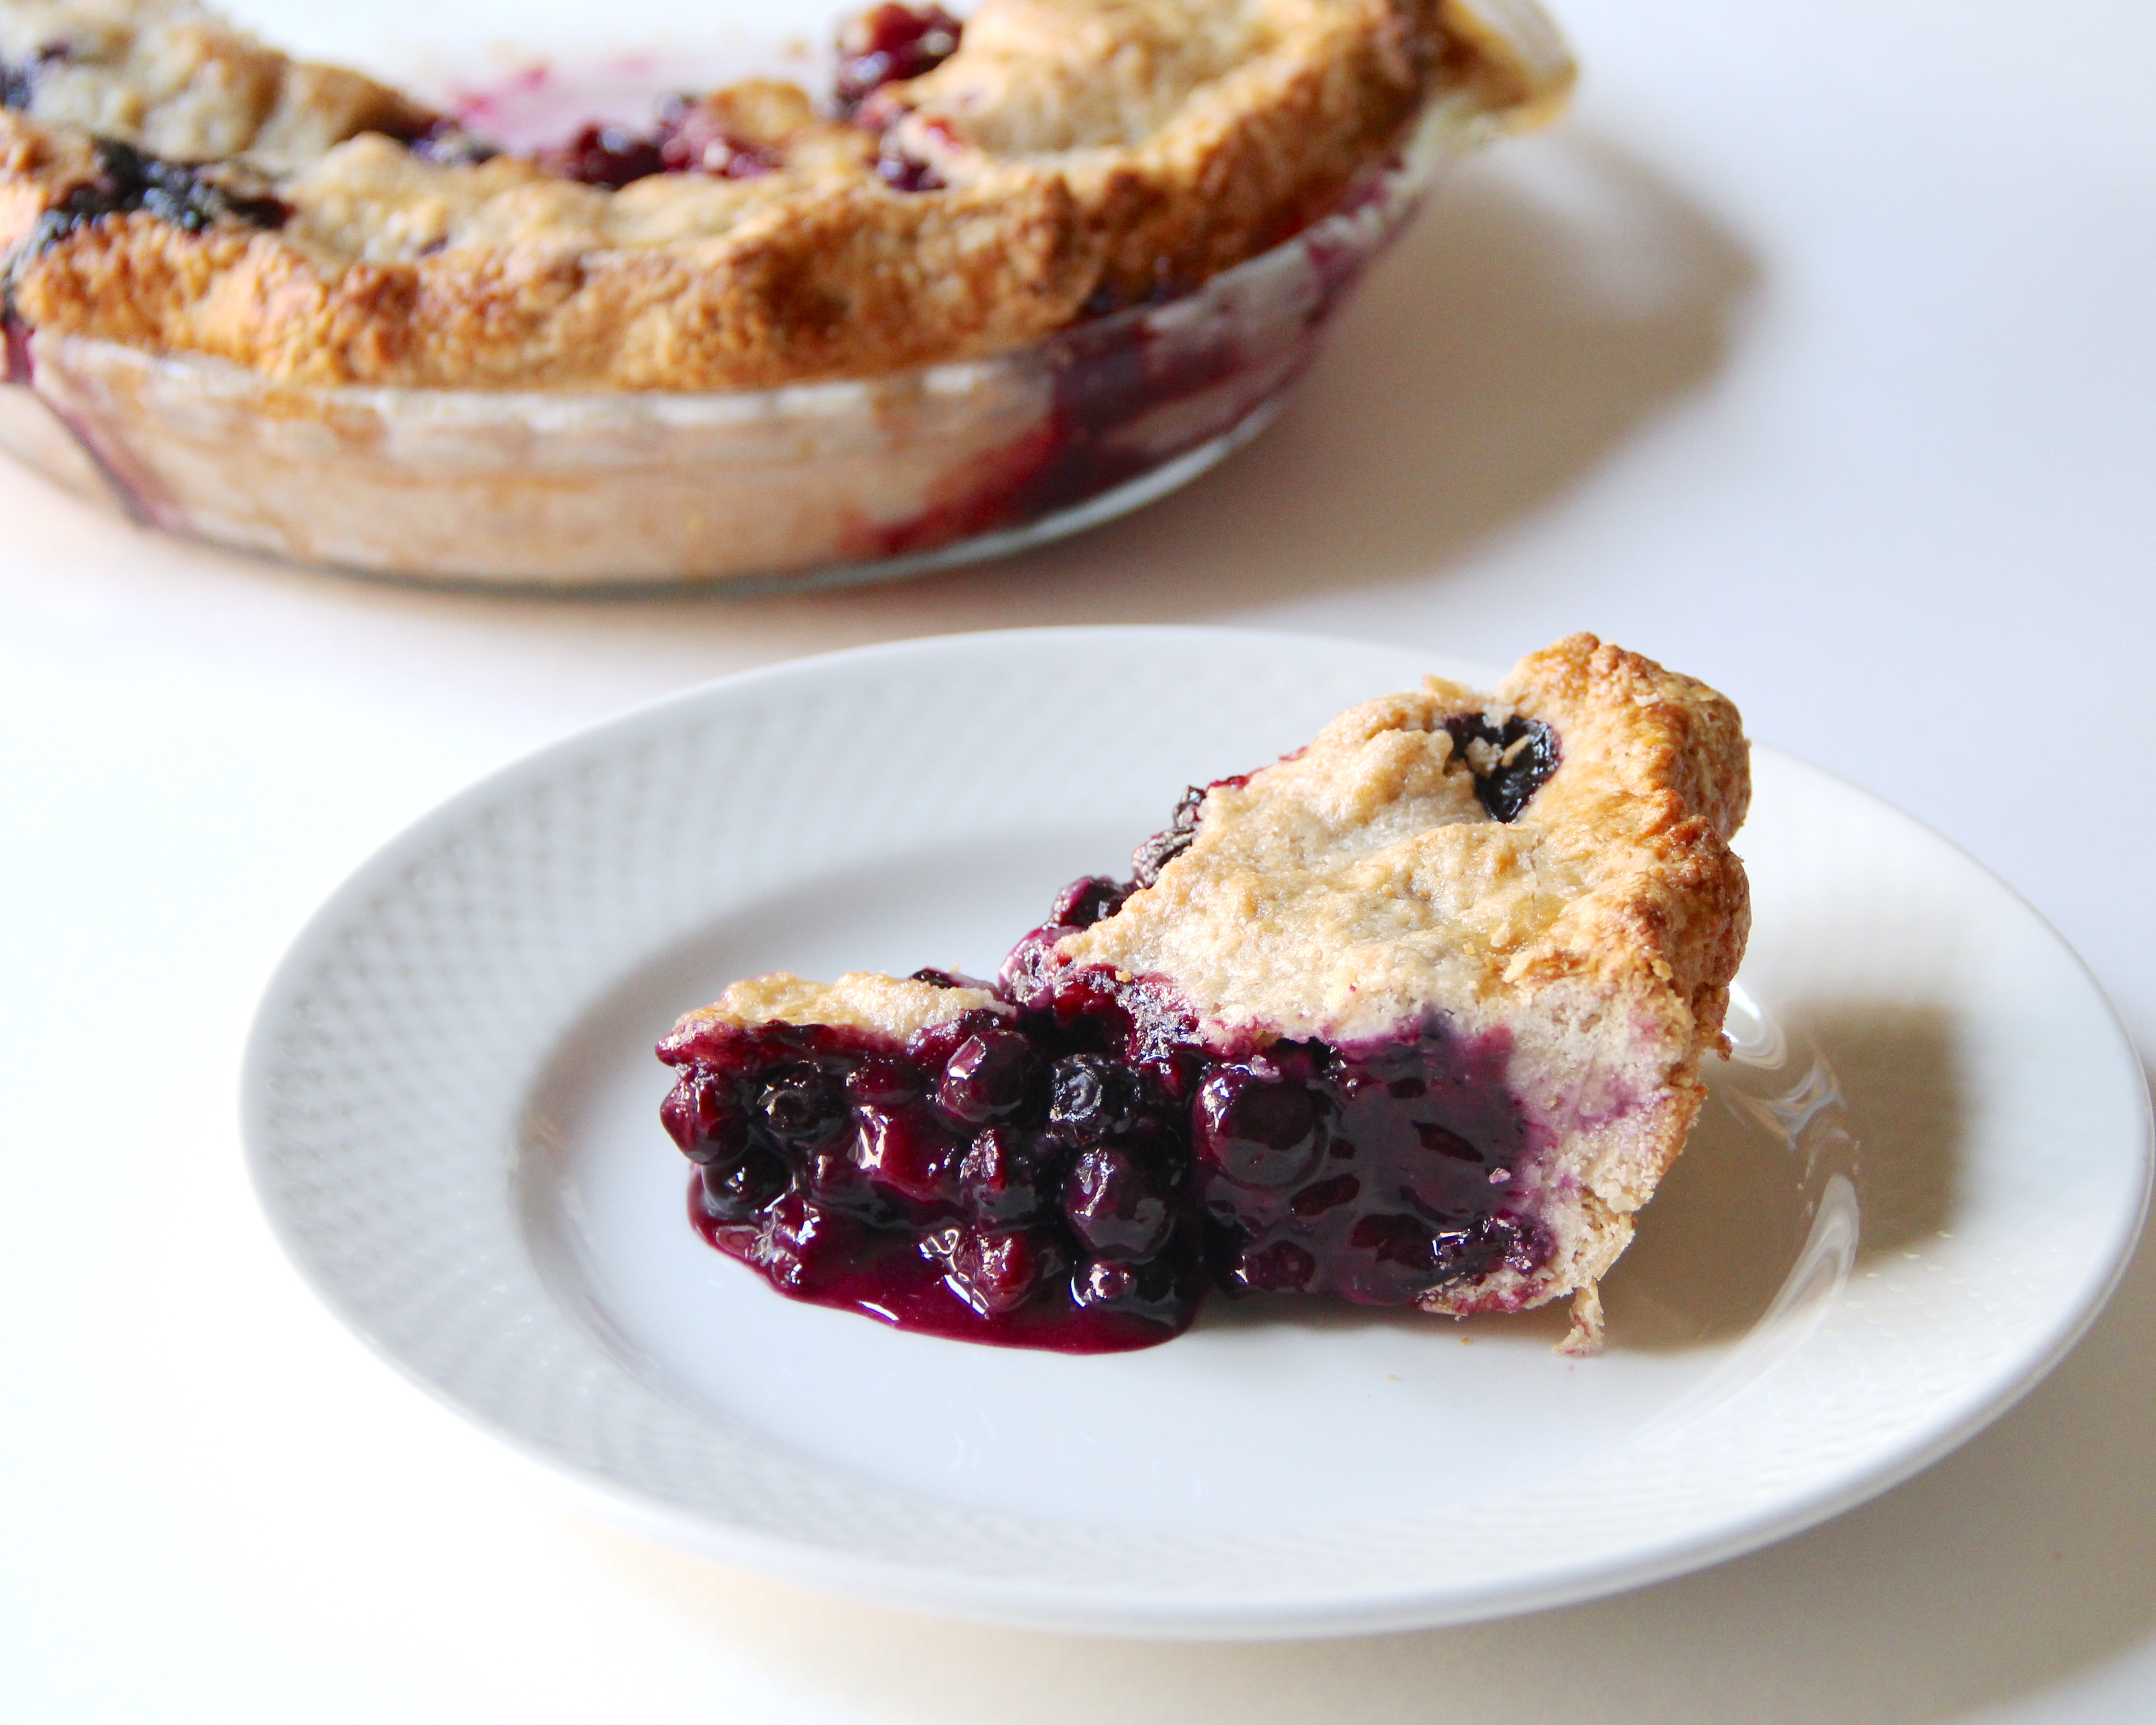
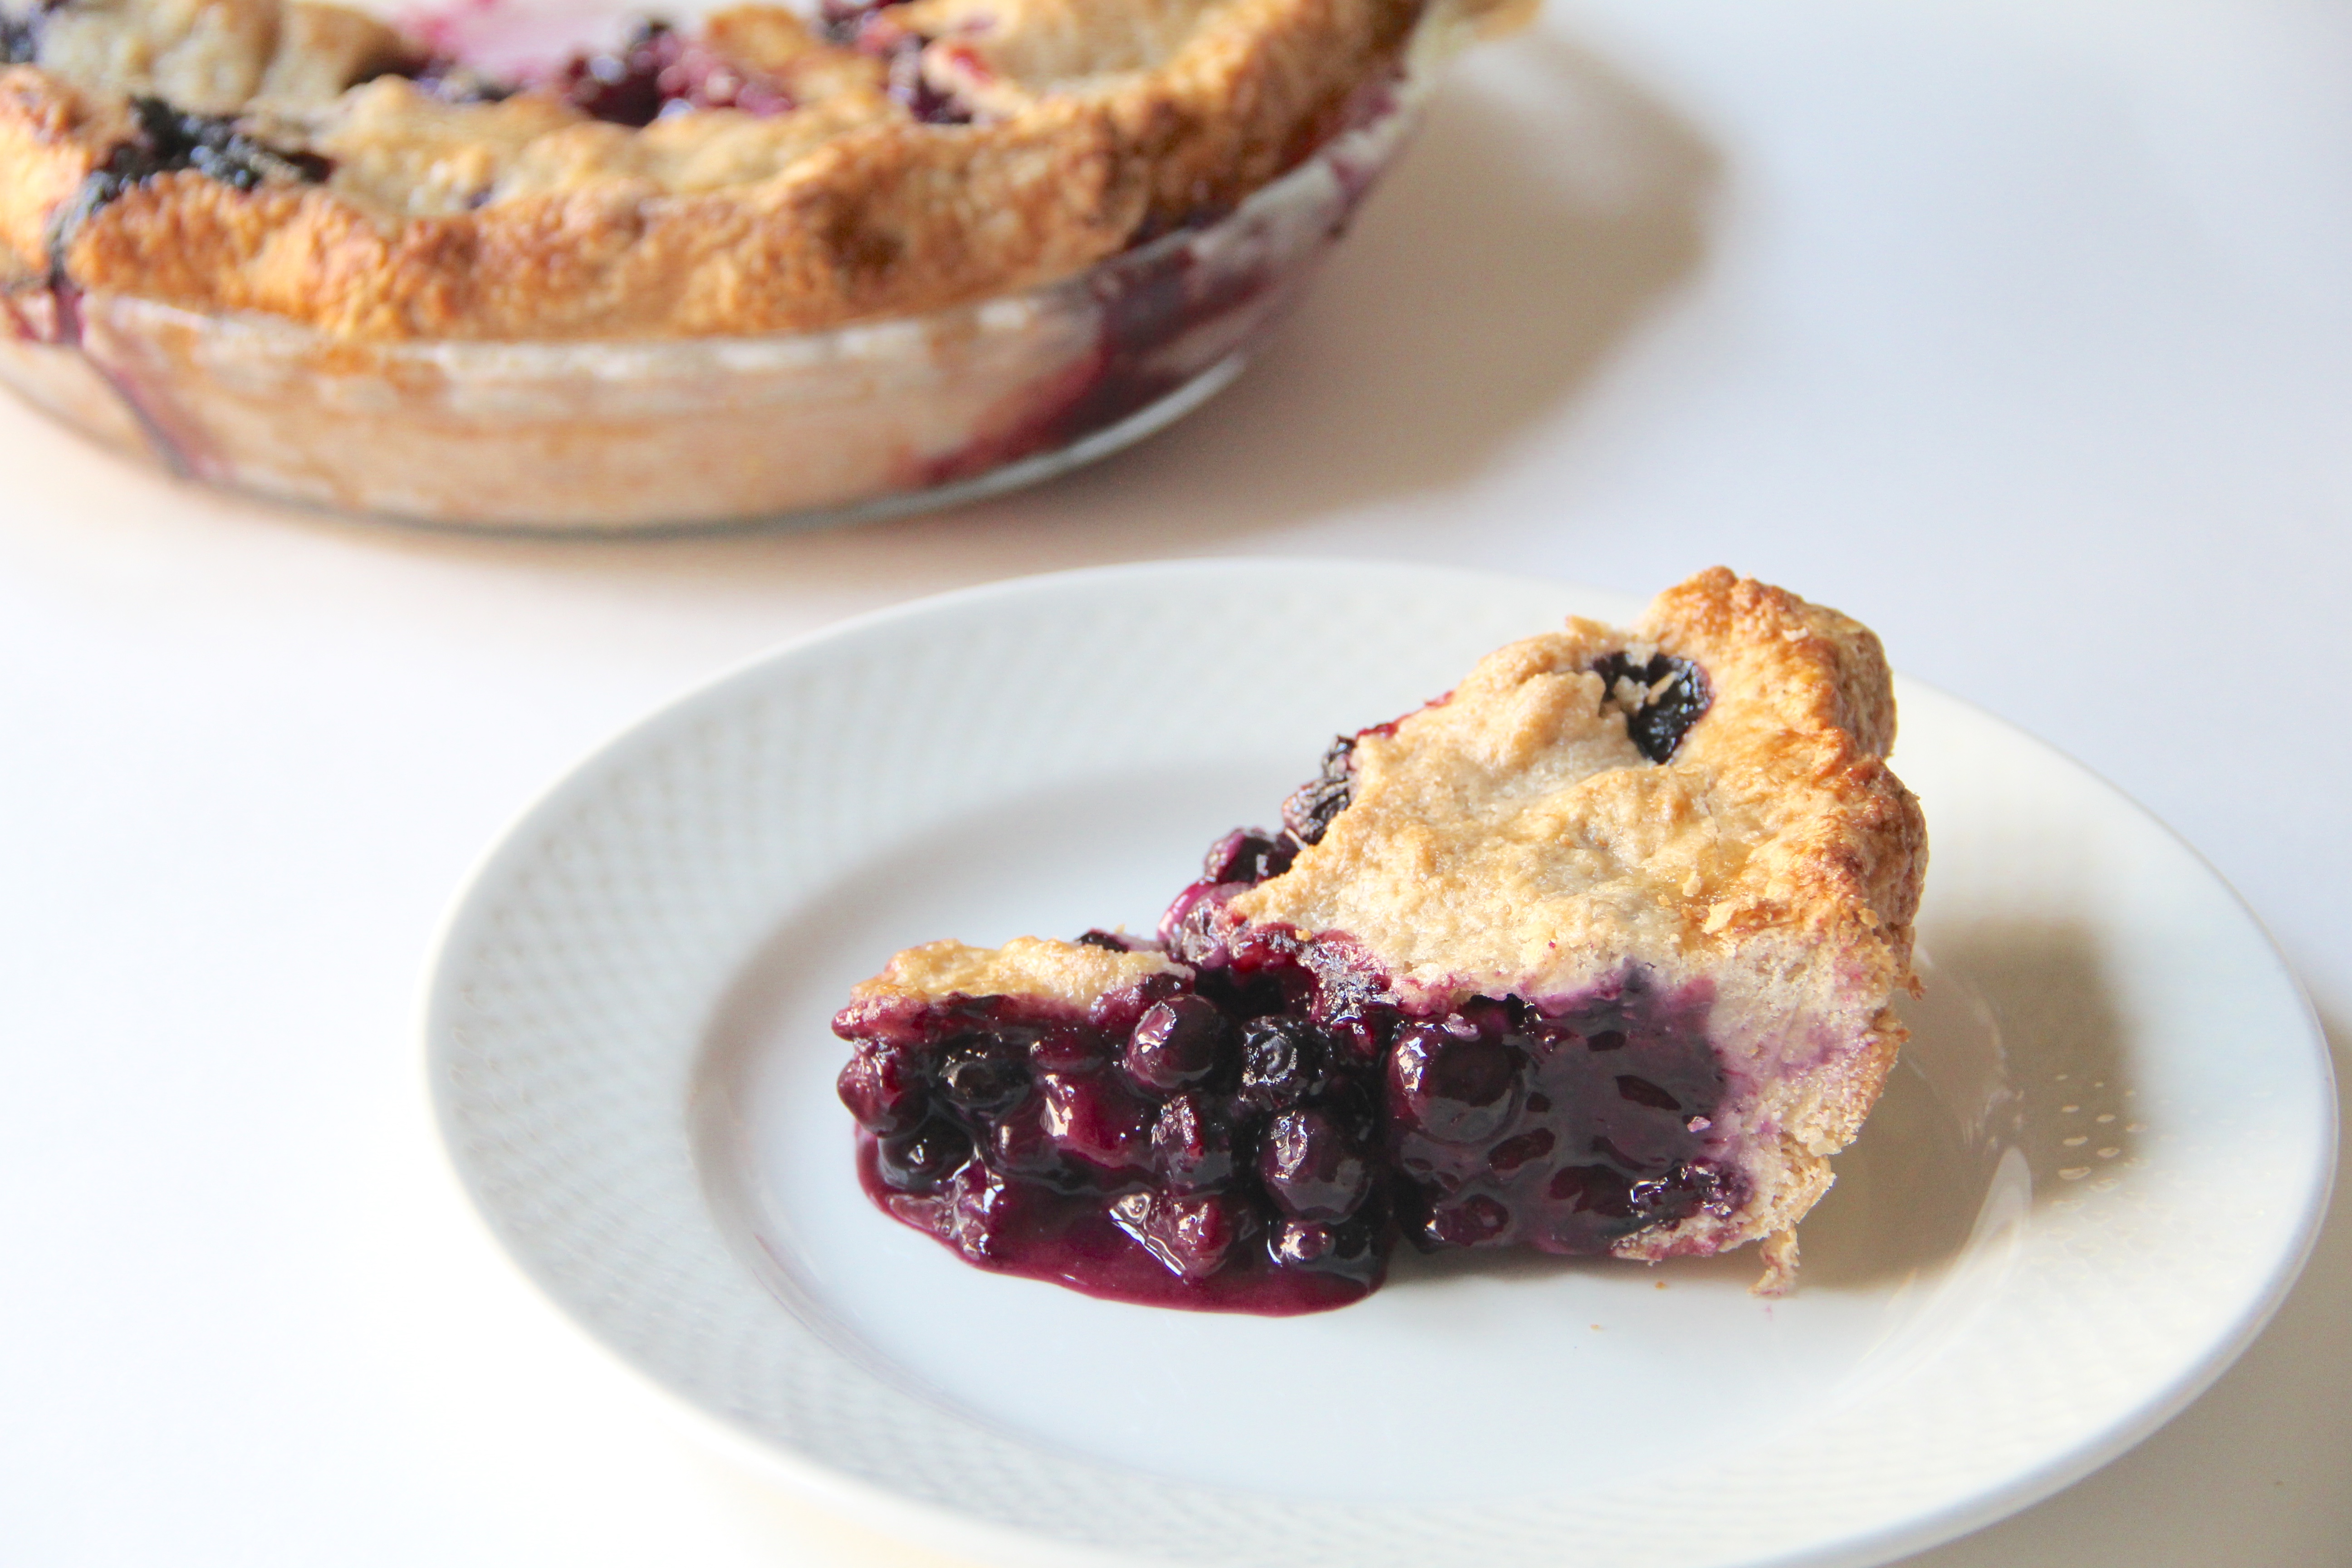
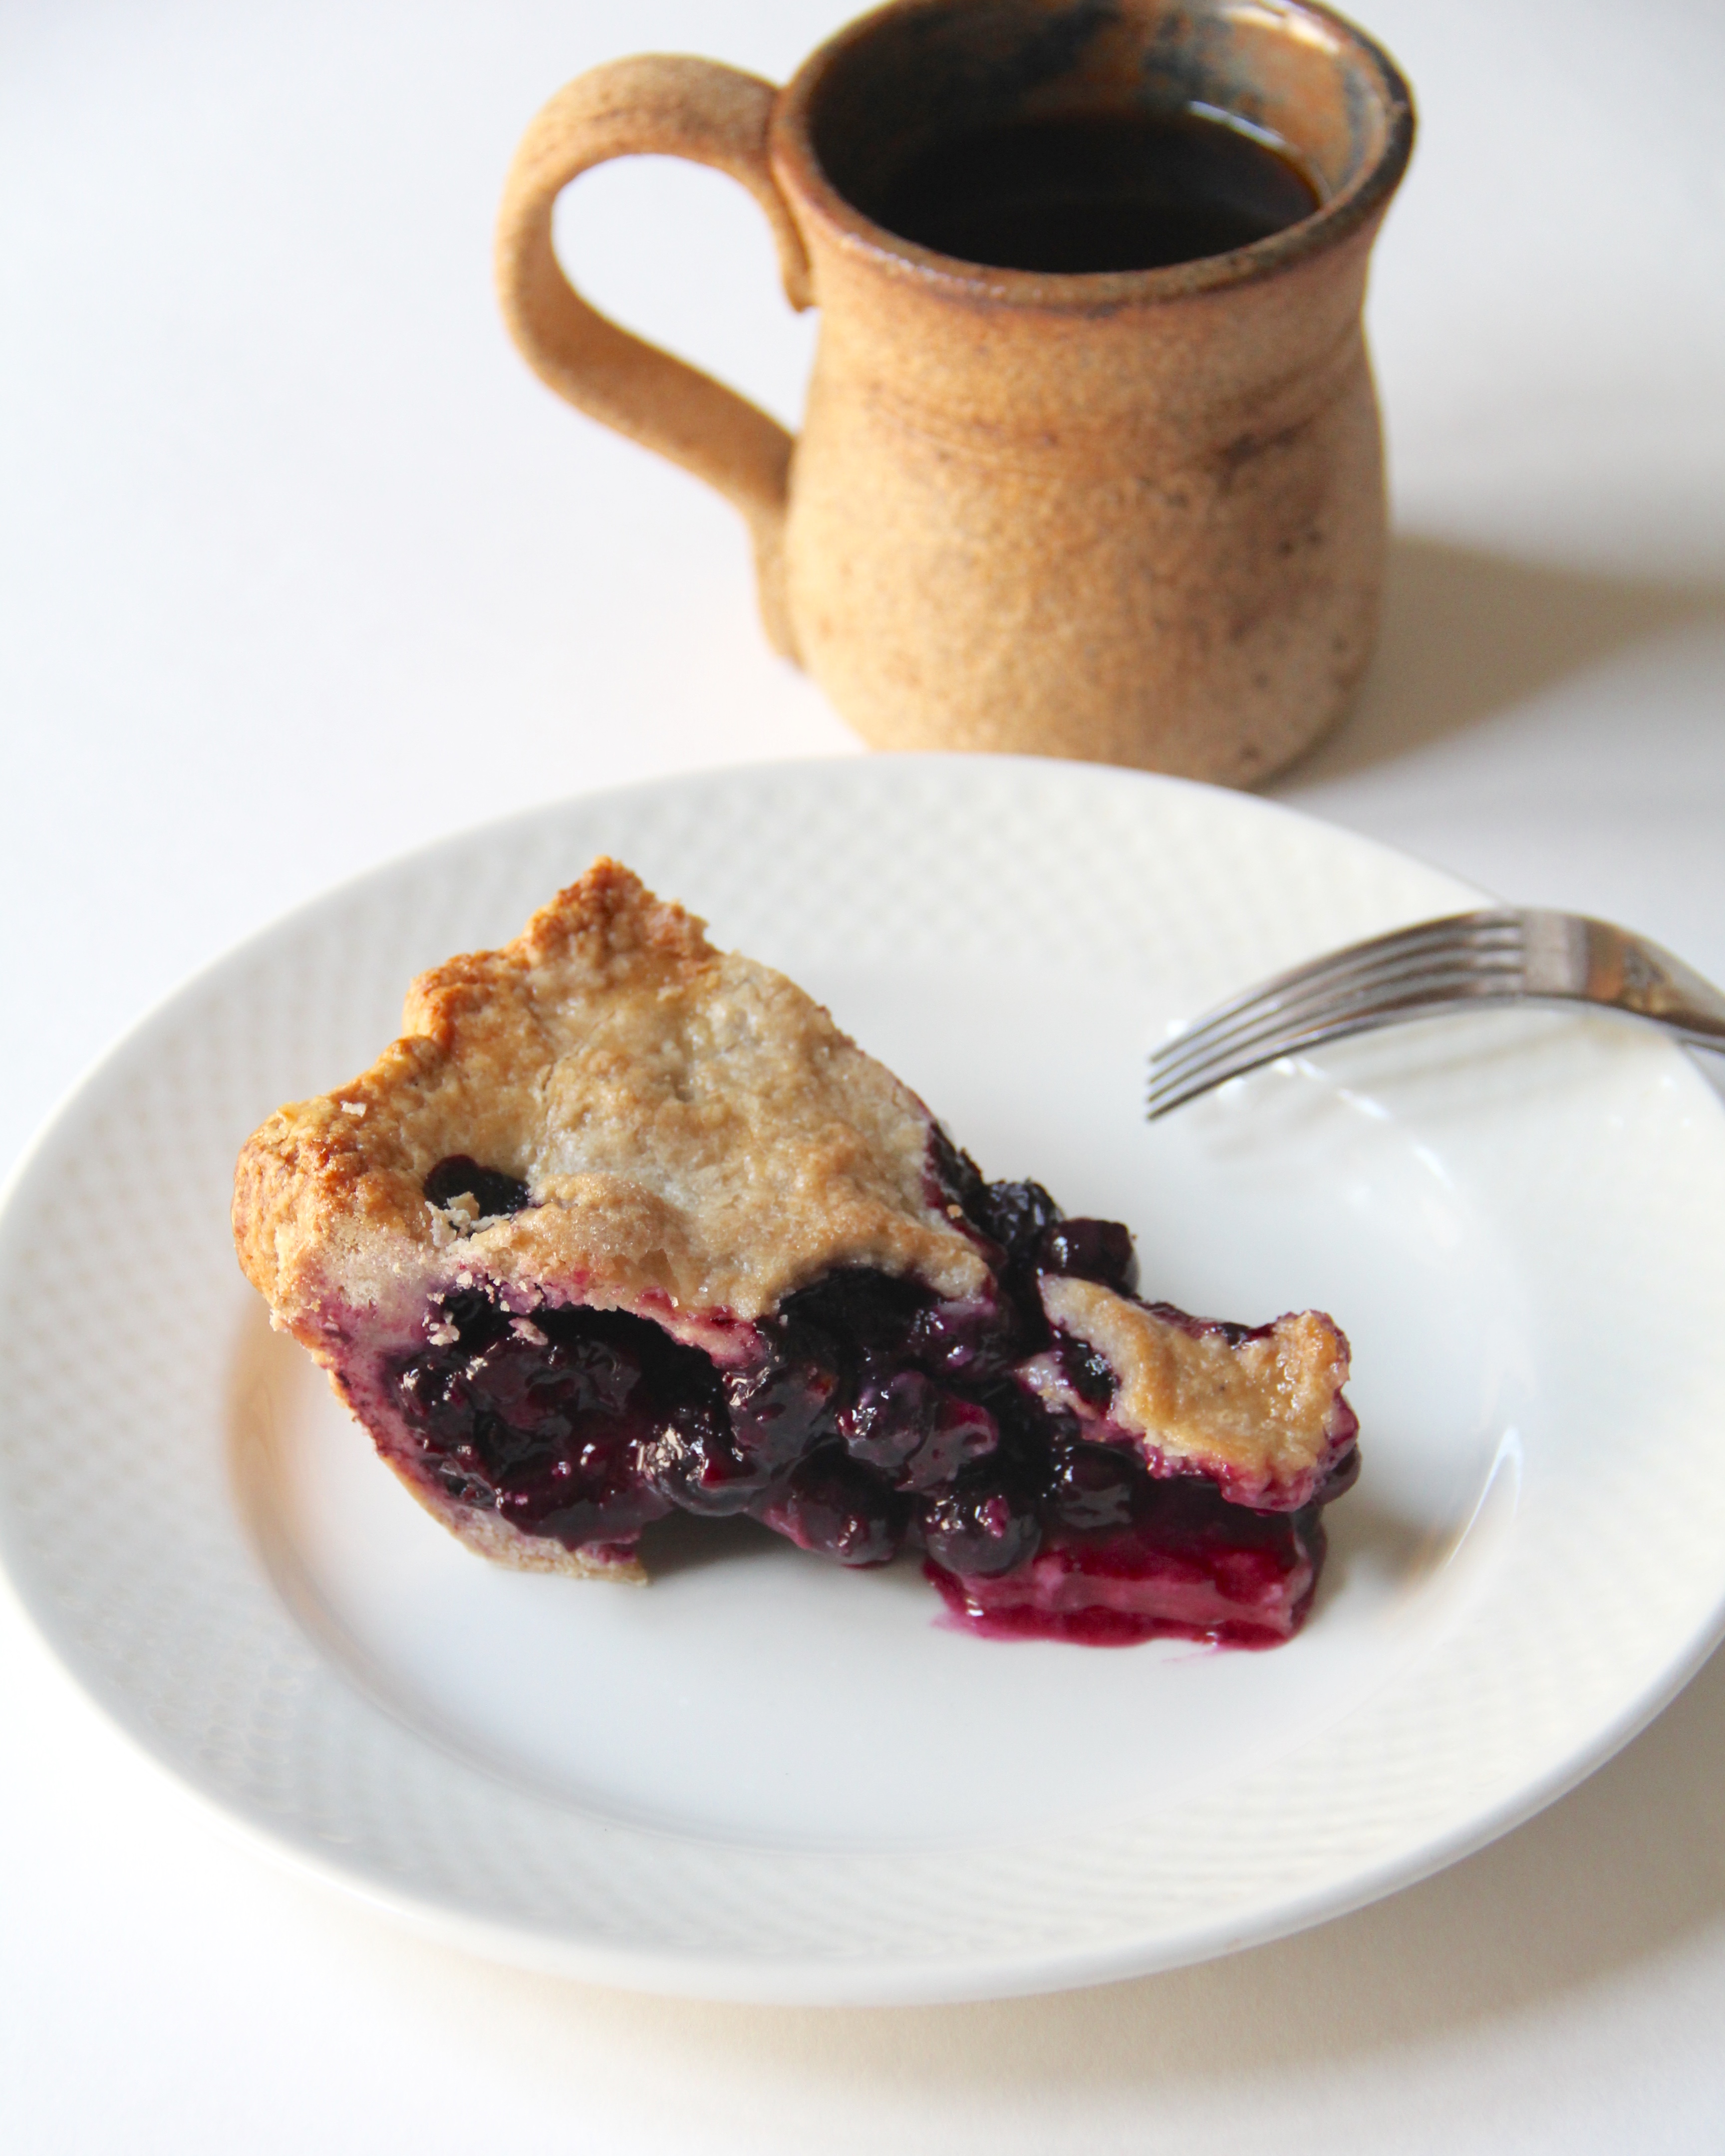
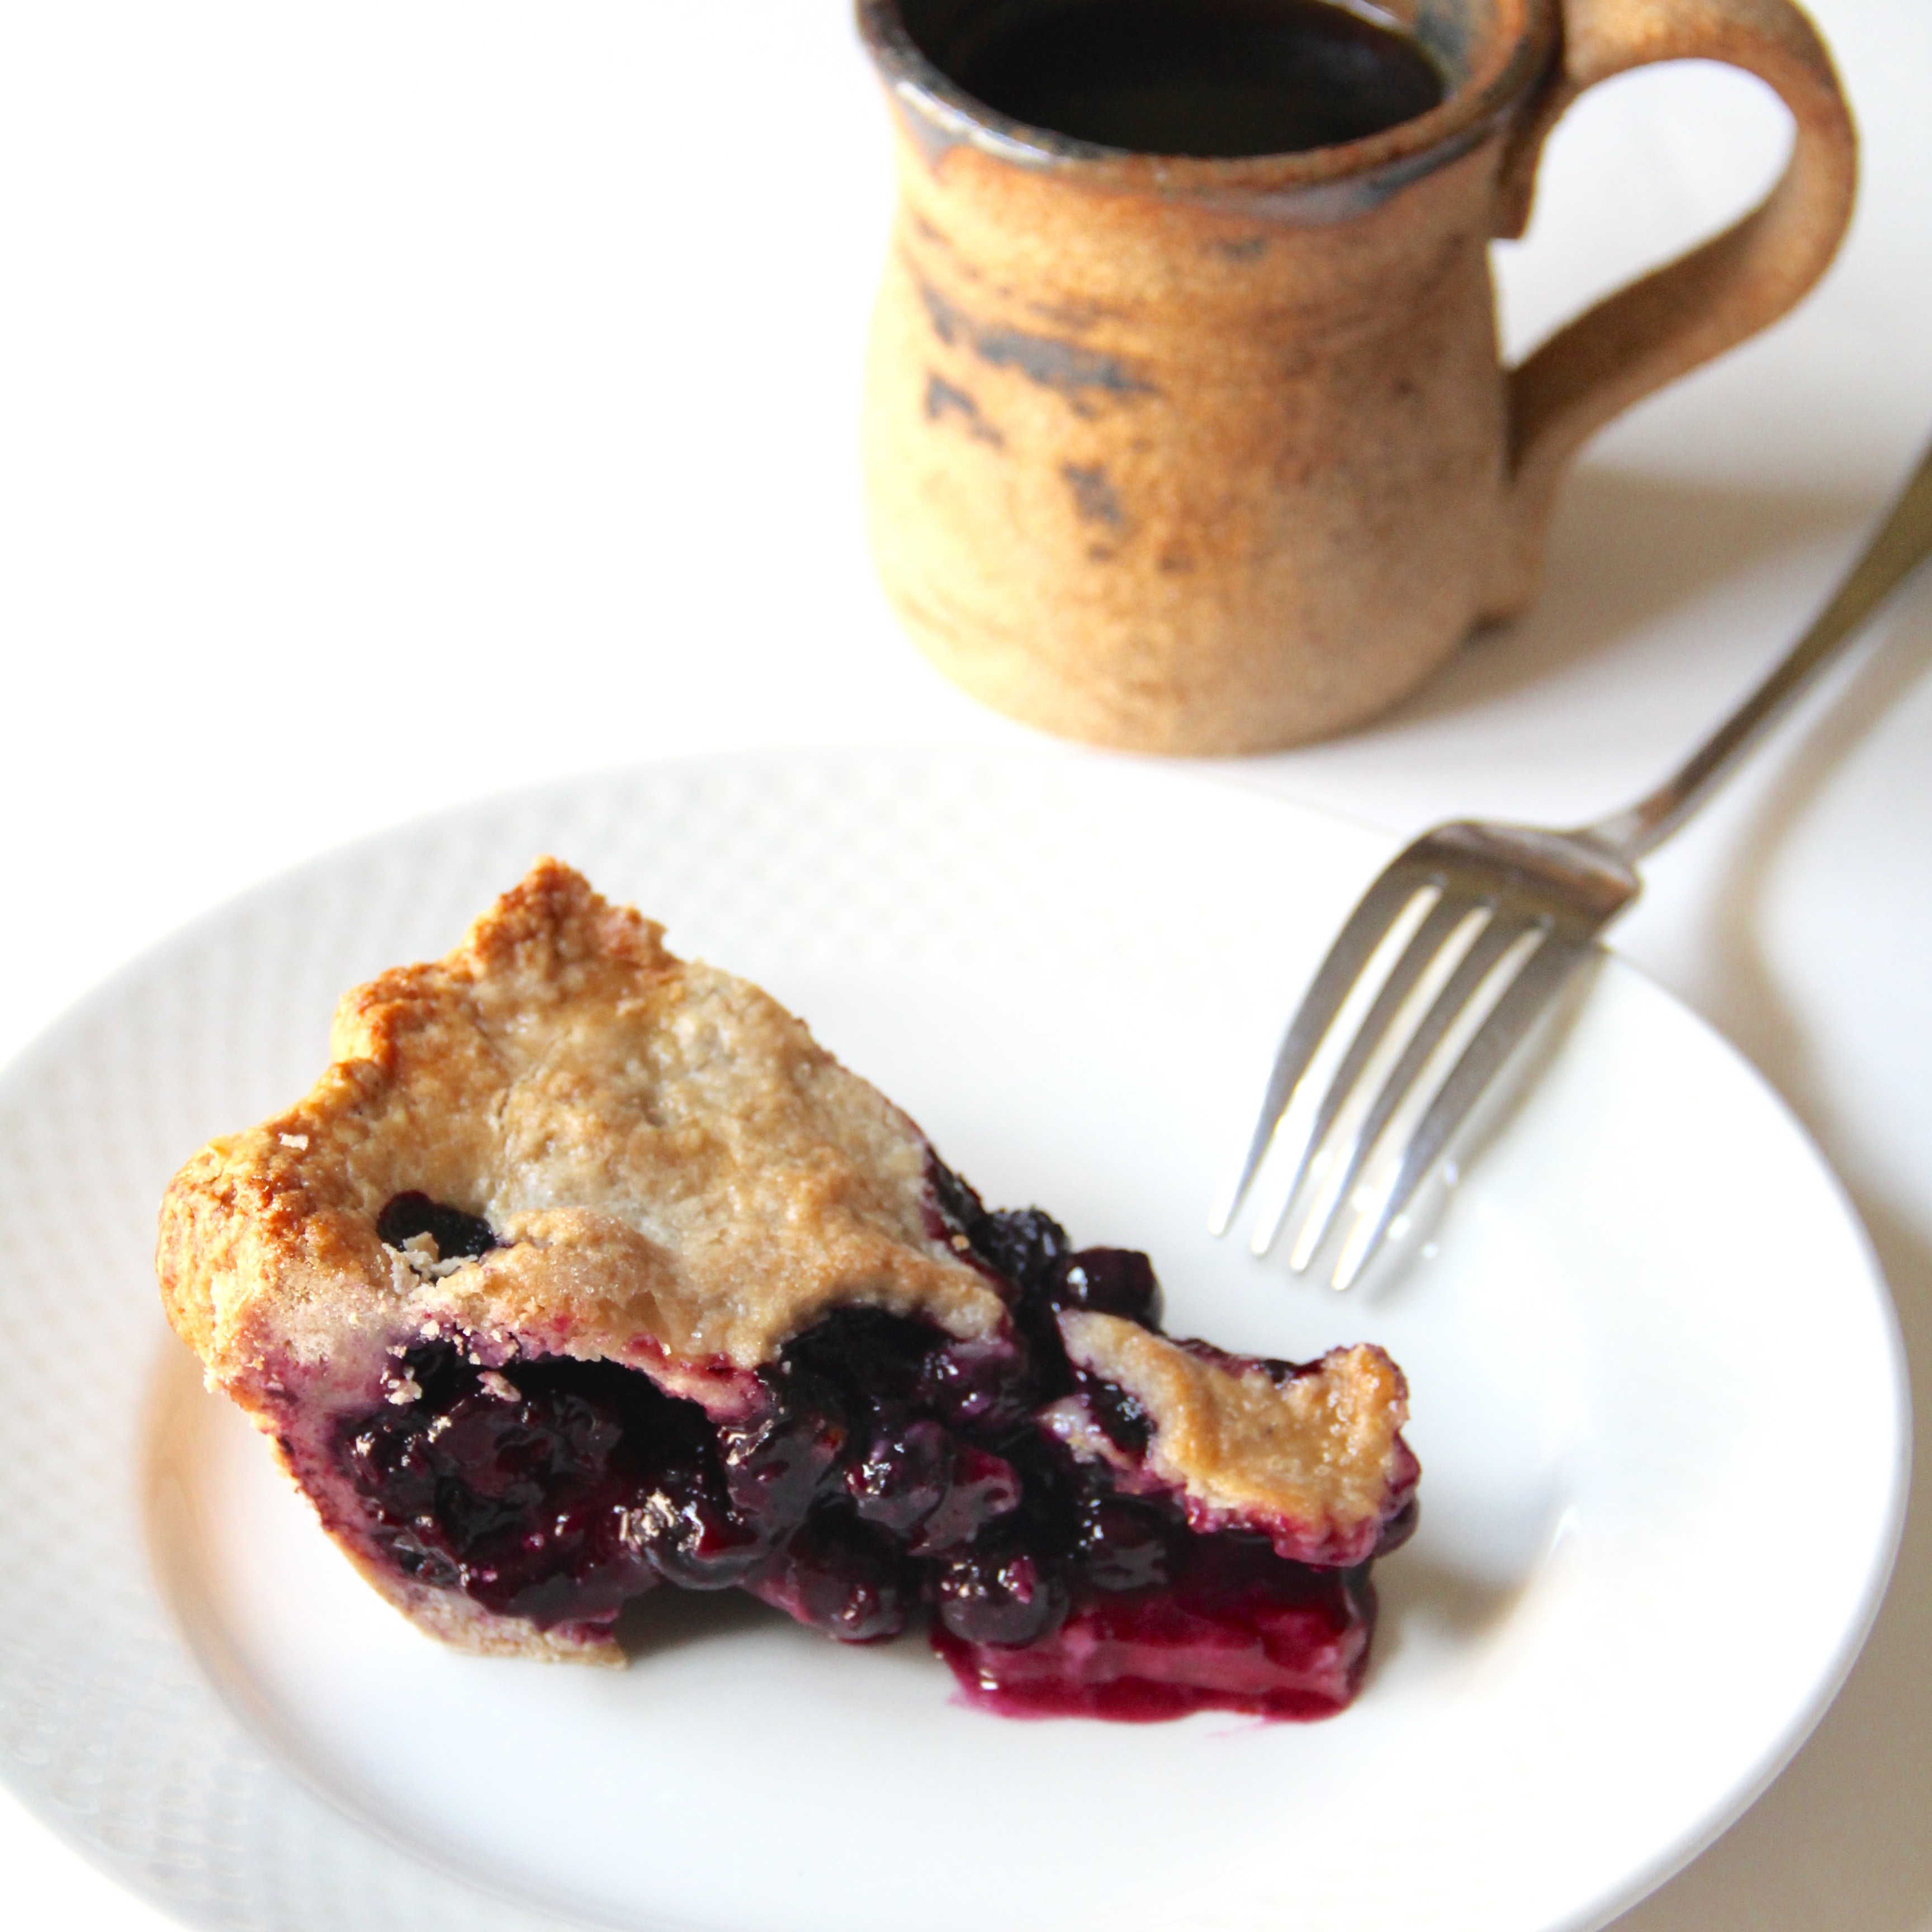
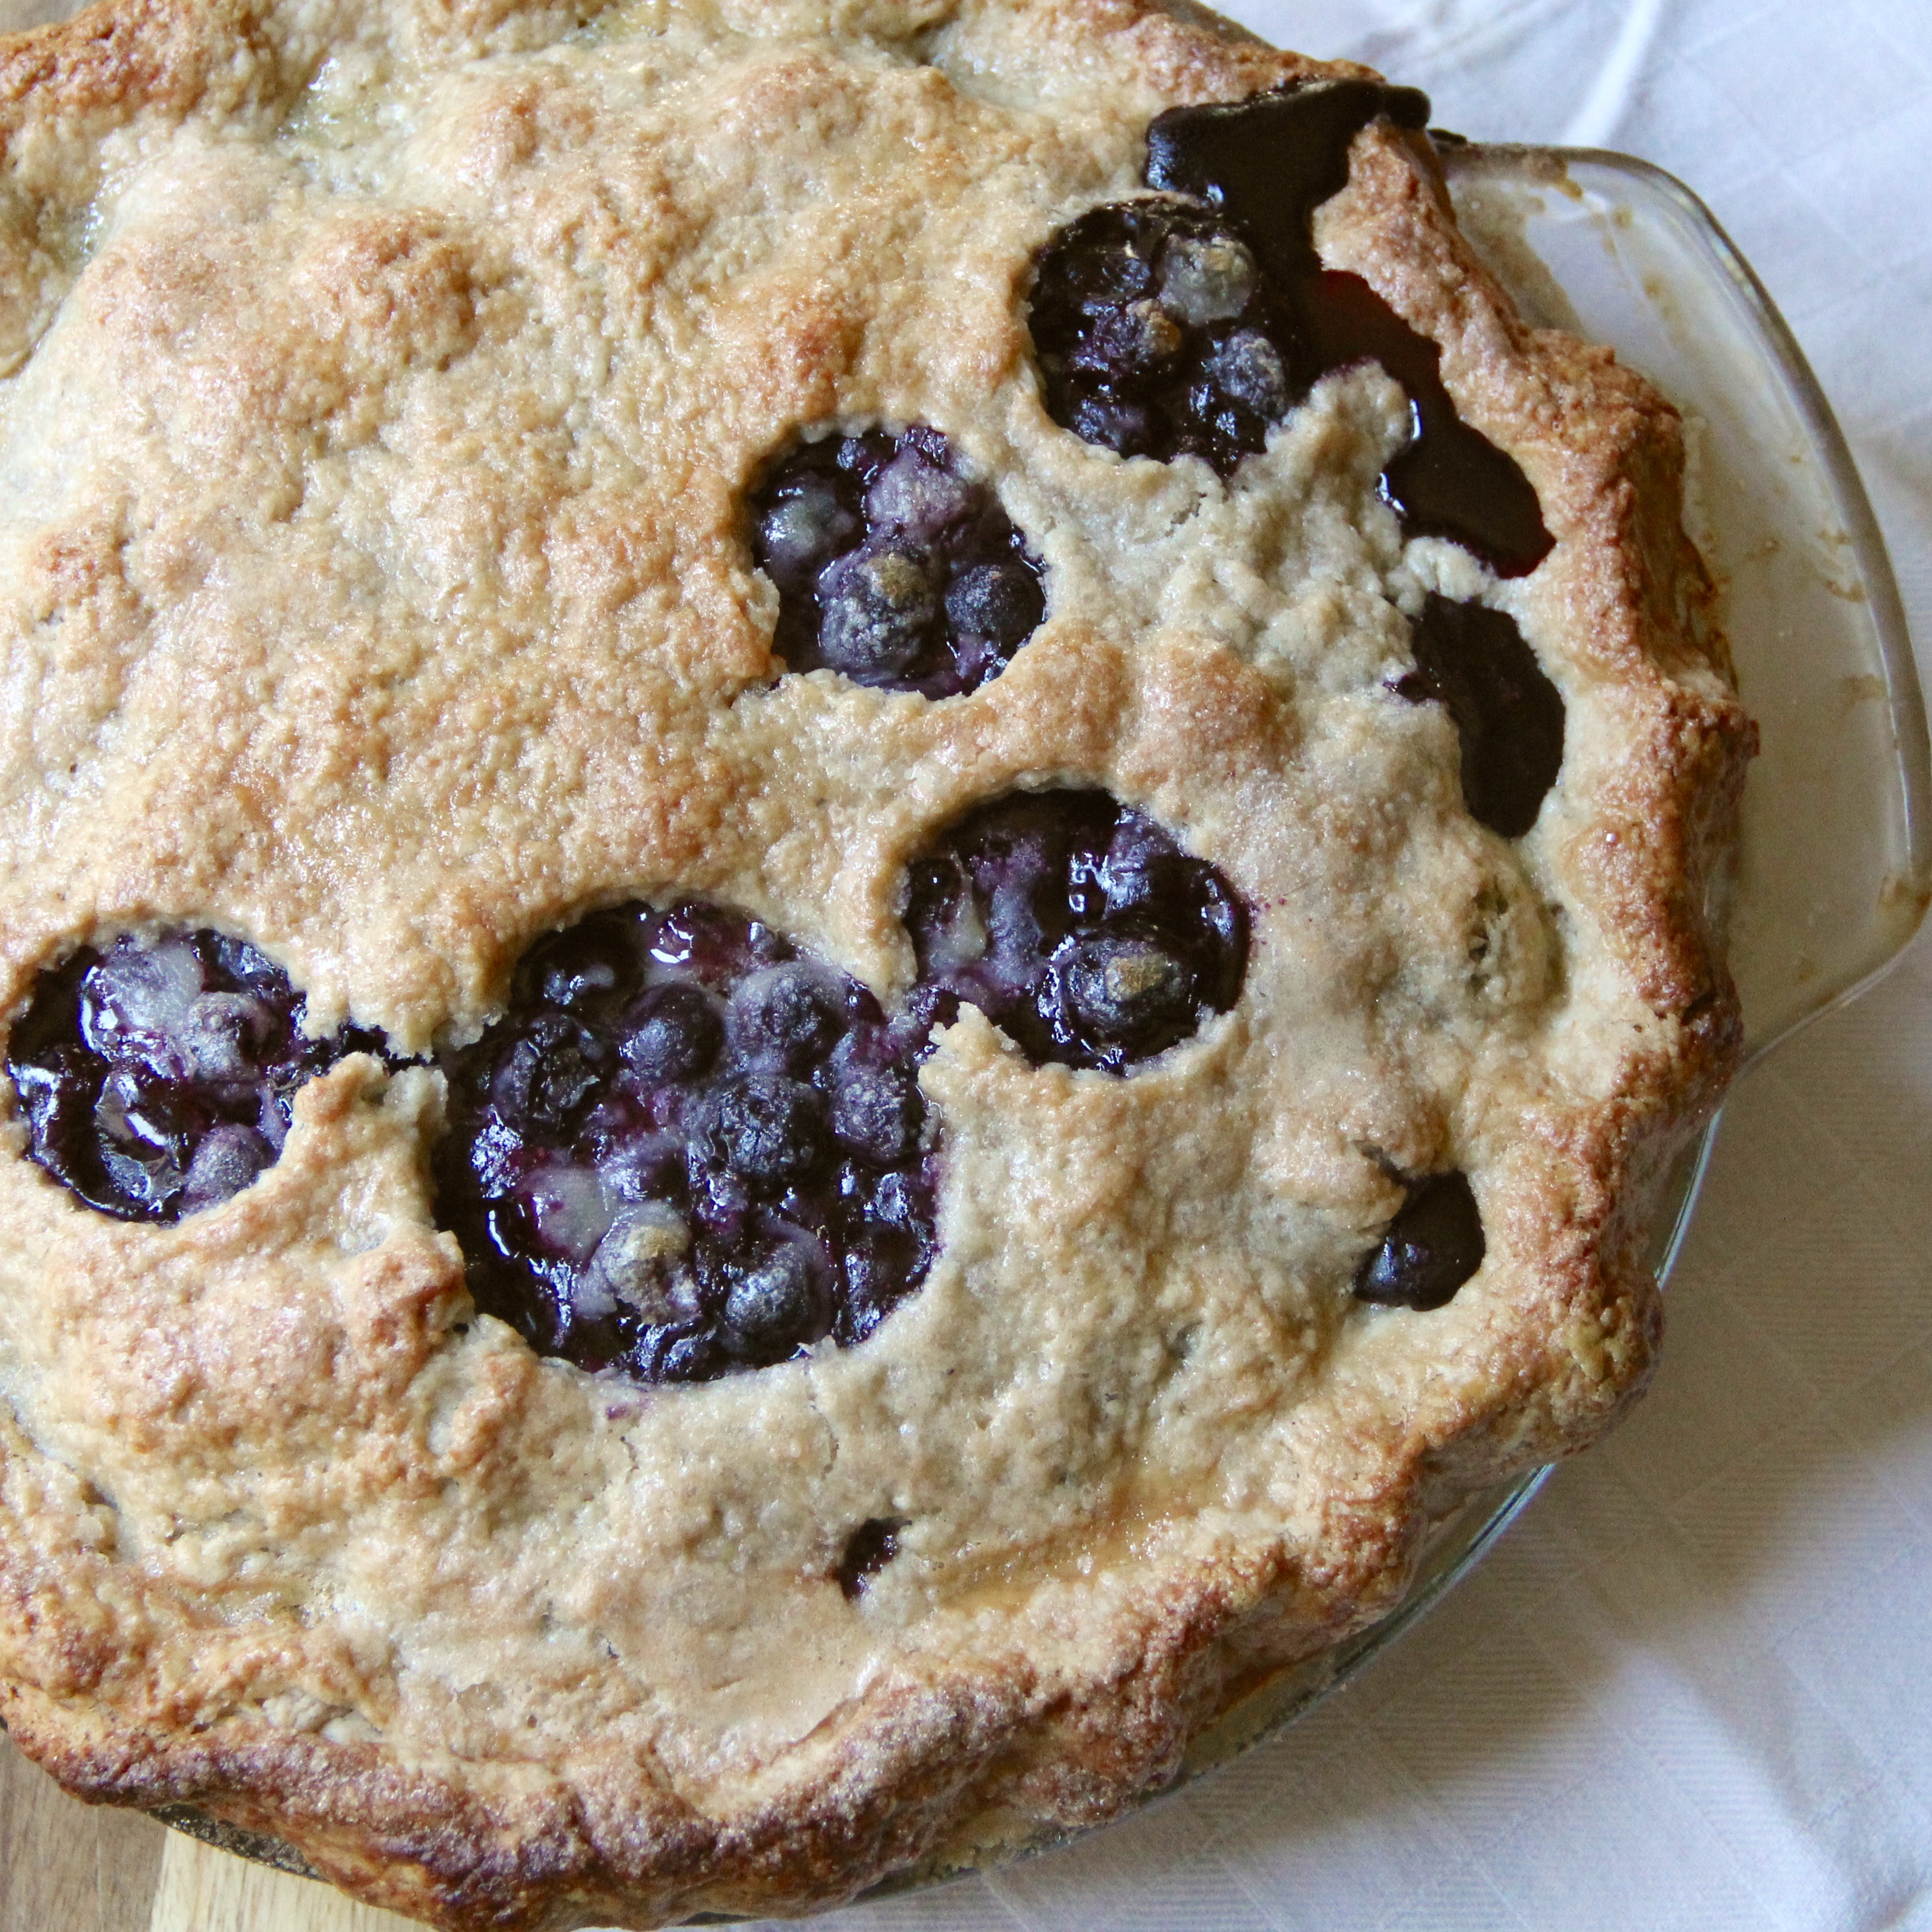
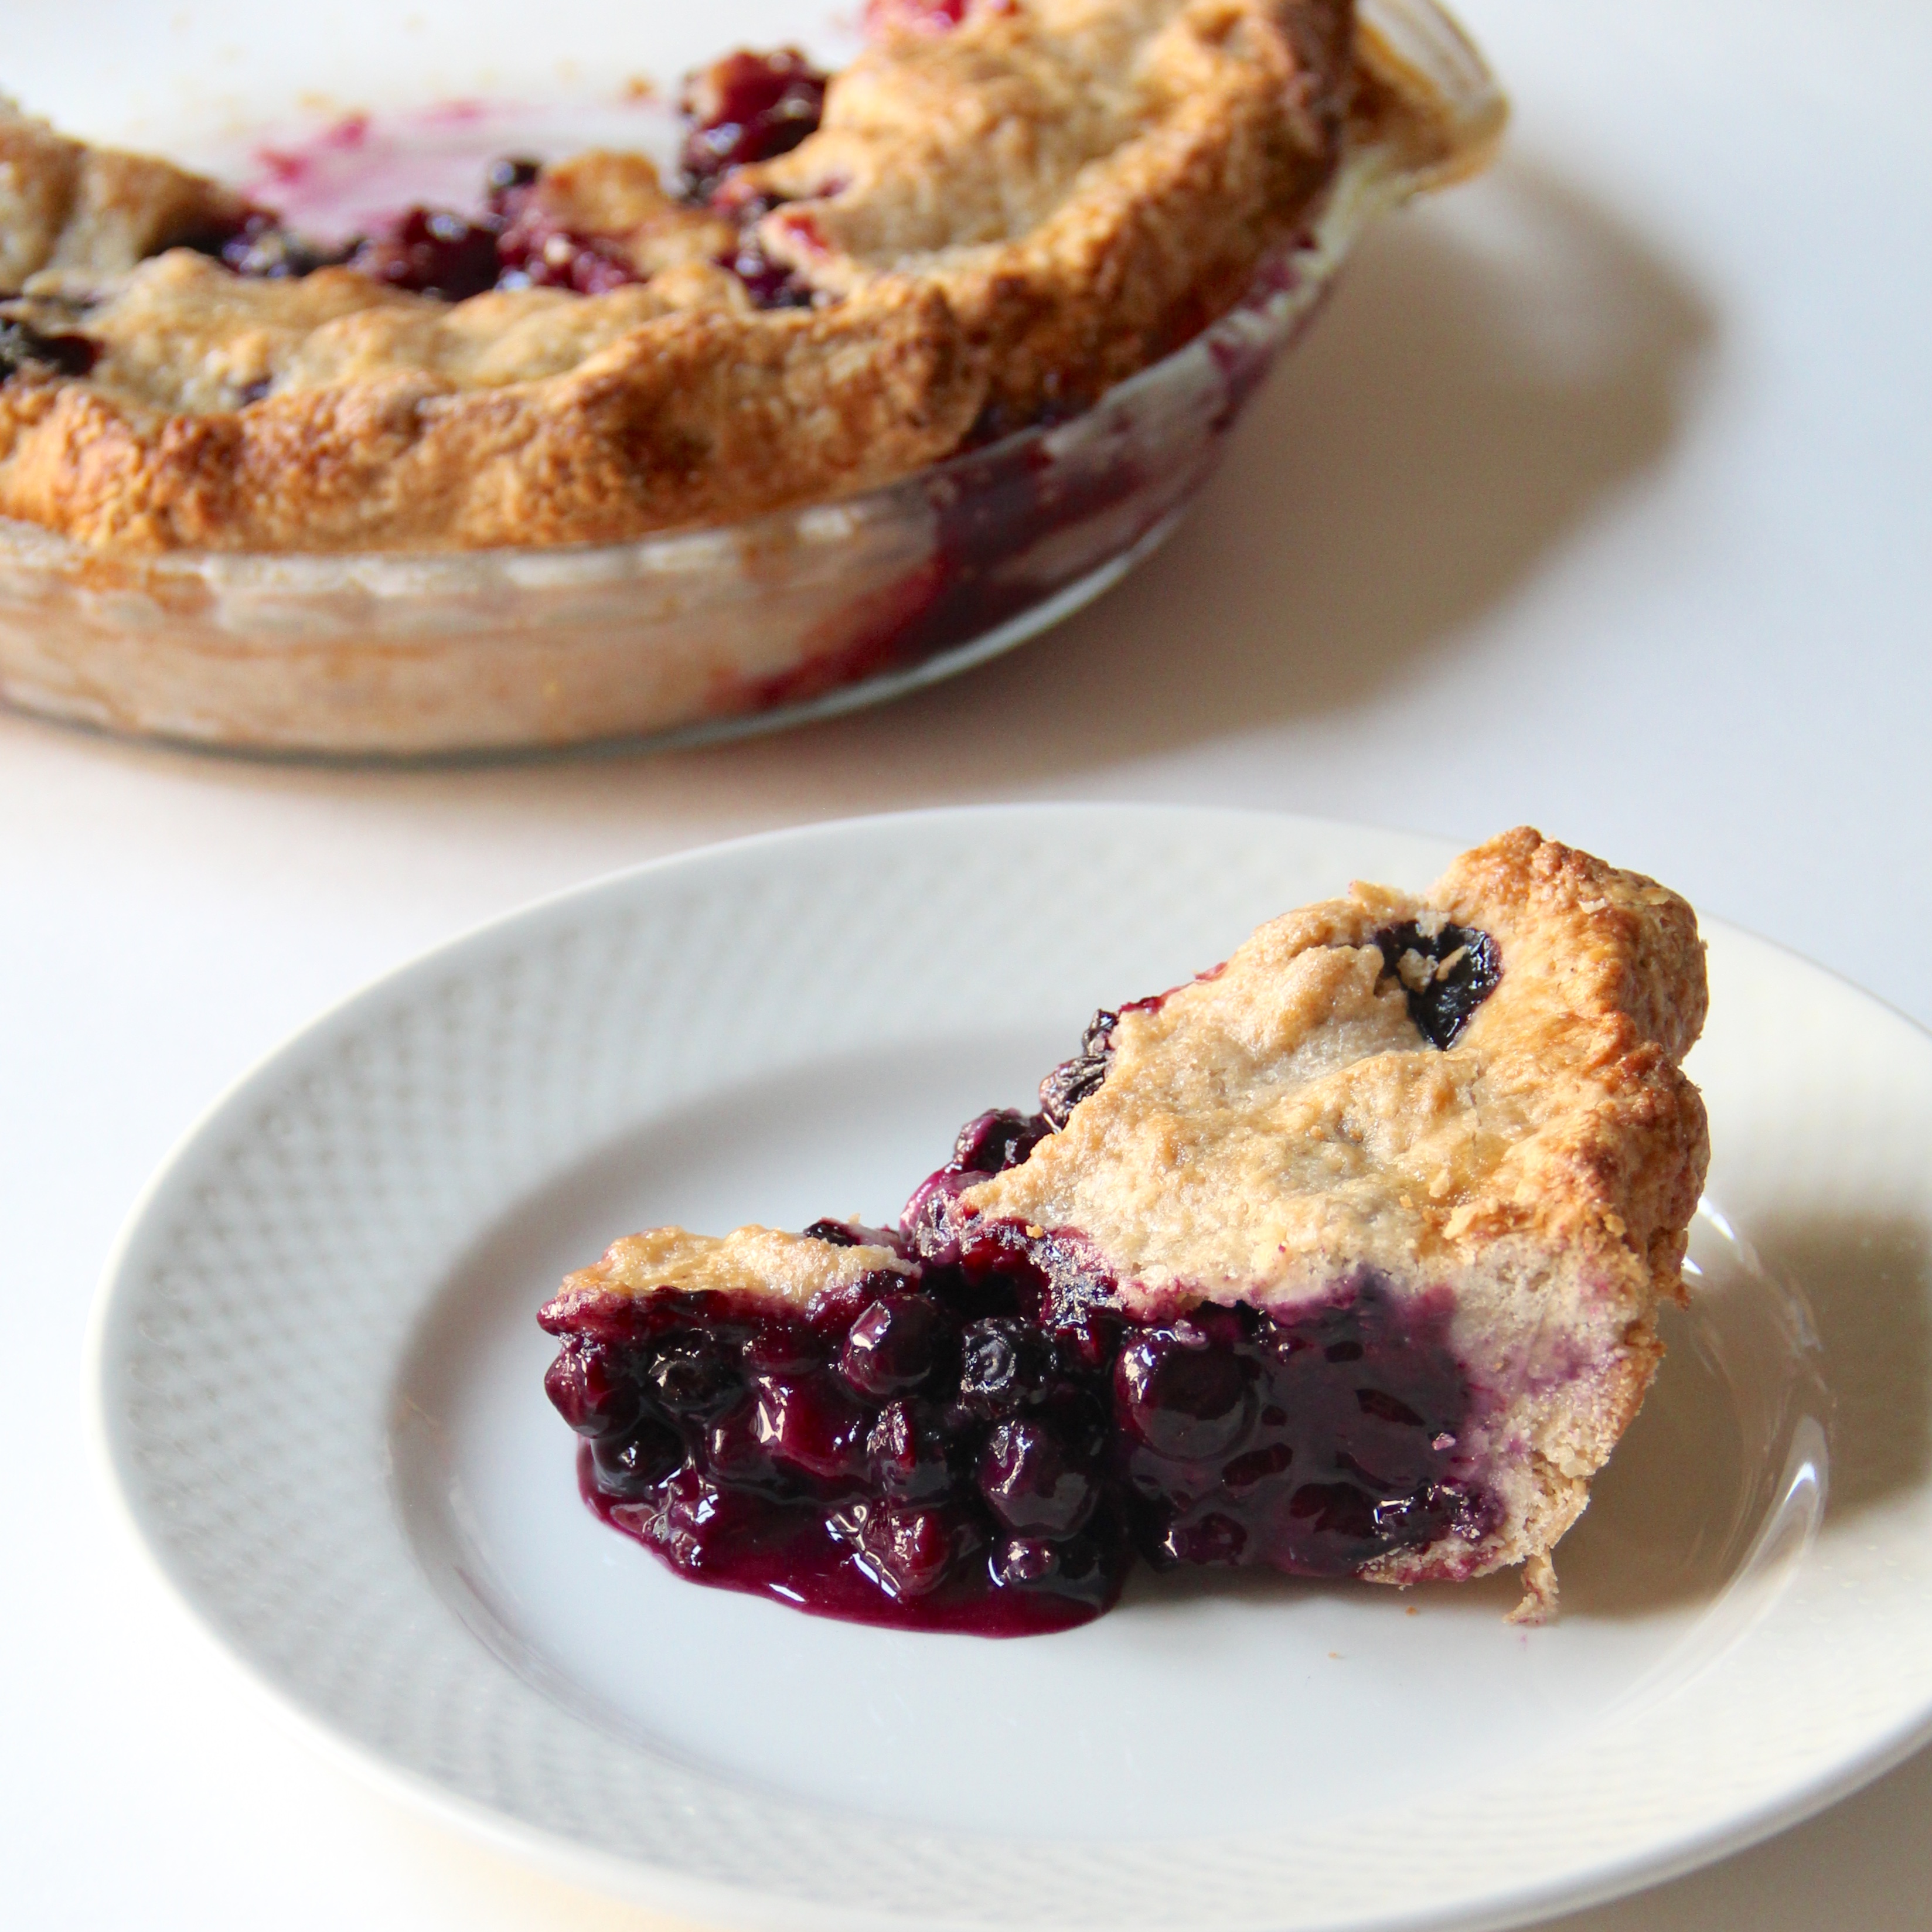
Of course my next move wasn’t the most intelligent either, given the outside temps, but I couldn’t resist the first blueberry pie of the season. It’s one of my favorites and not often a pie I find on restaurant menus. There’s a beautiful simplicity about a good blueberry pie. This recipe isn’t brain-surgery; it’s pretty simple, the crust is flaky and also simplistic. This pie will easily become a loved staple in your recipe repertoire if you let it! :)
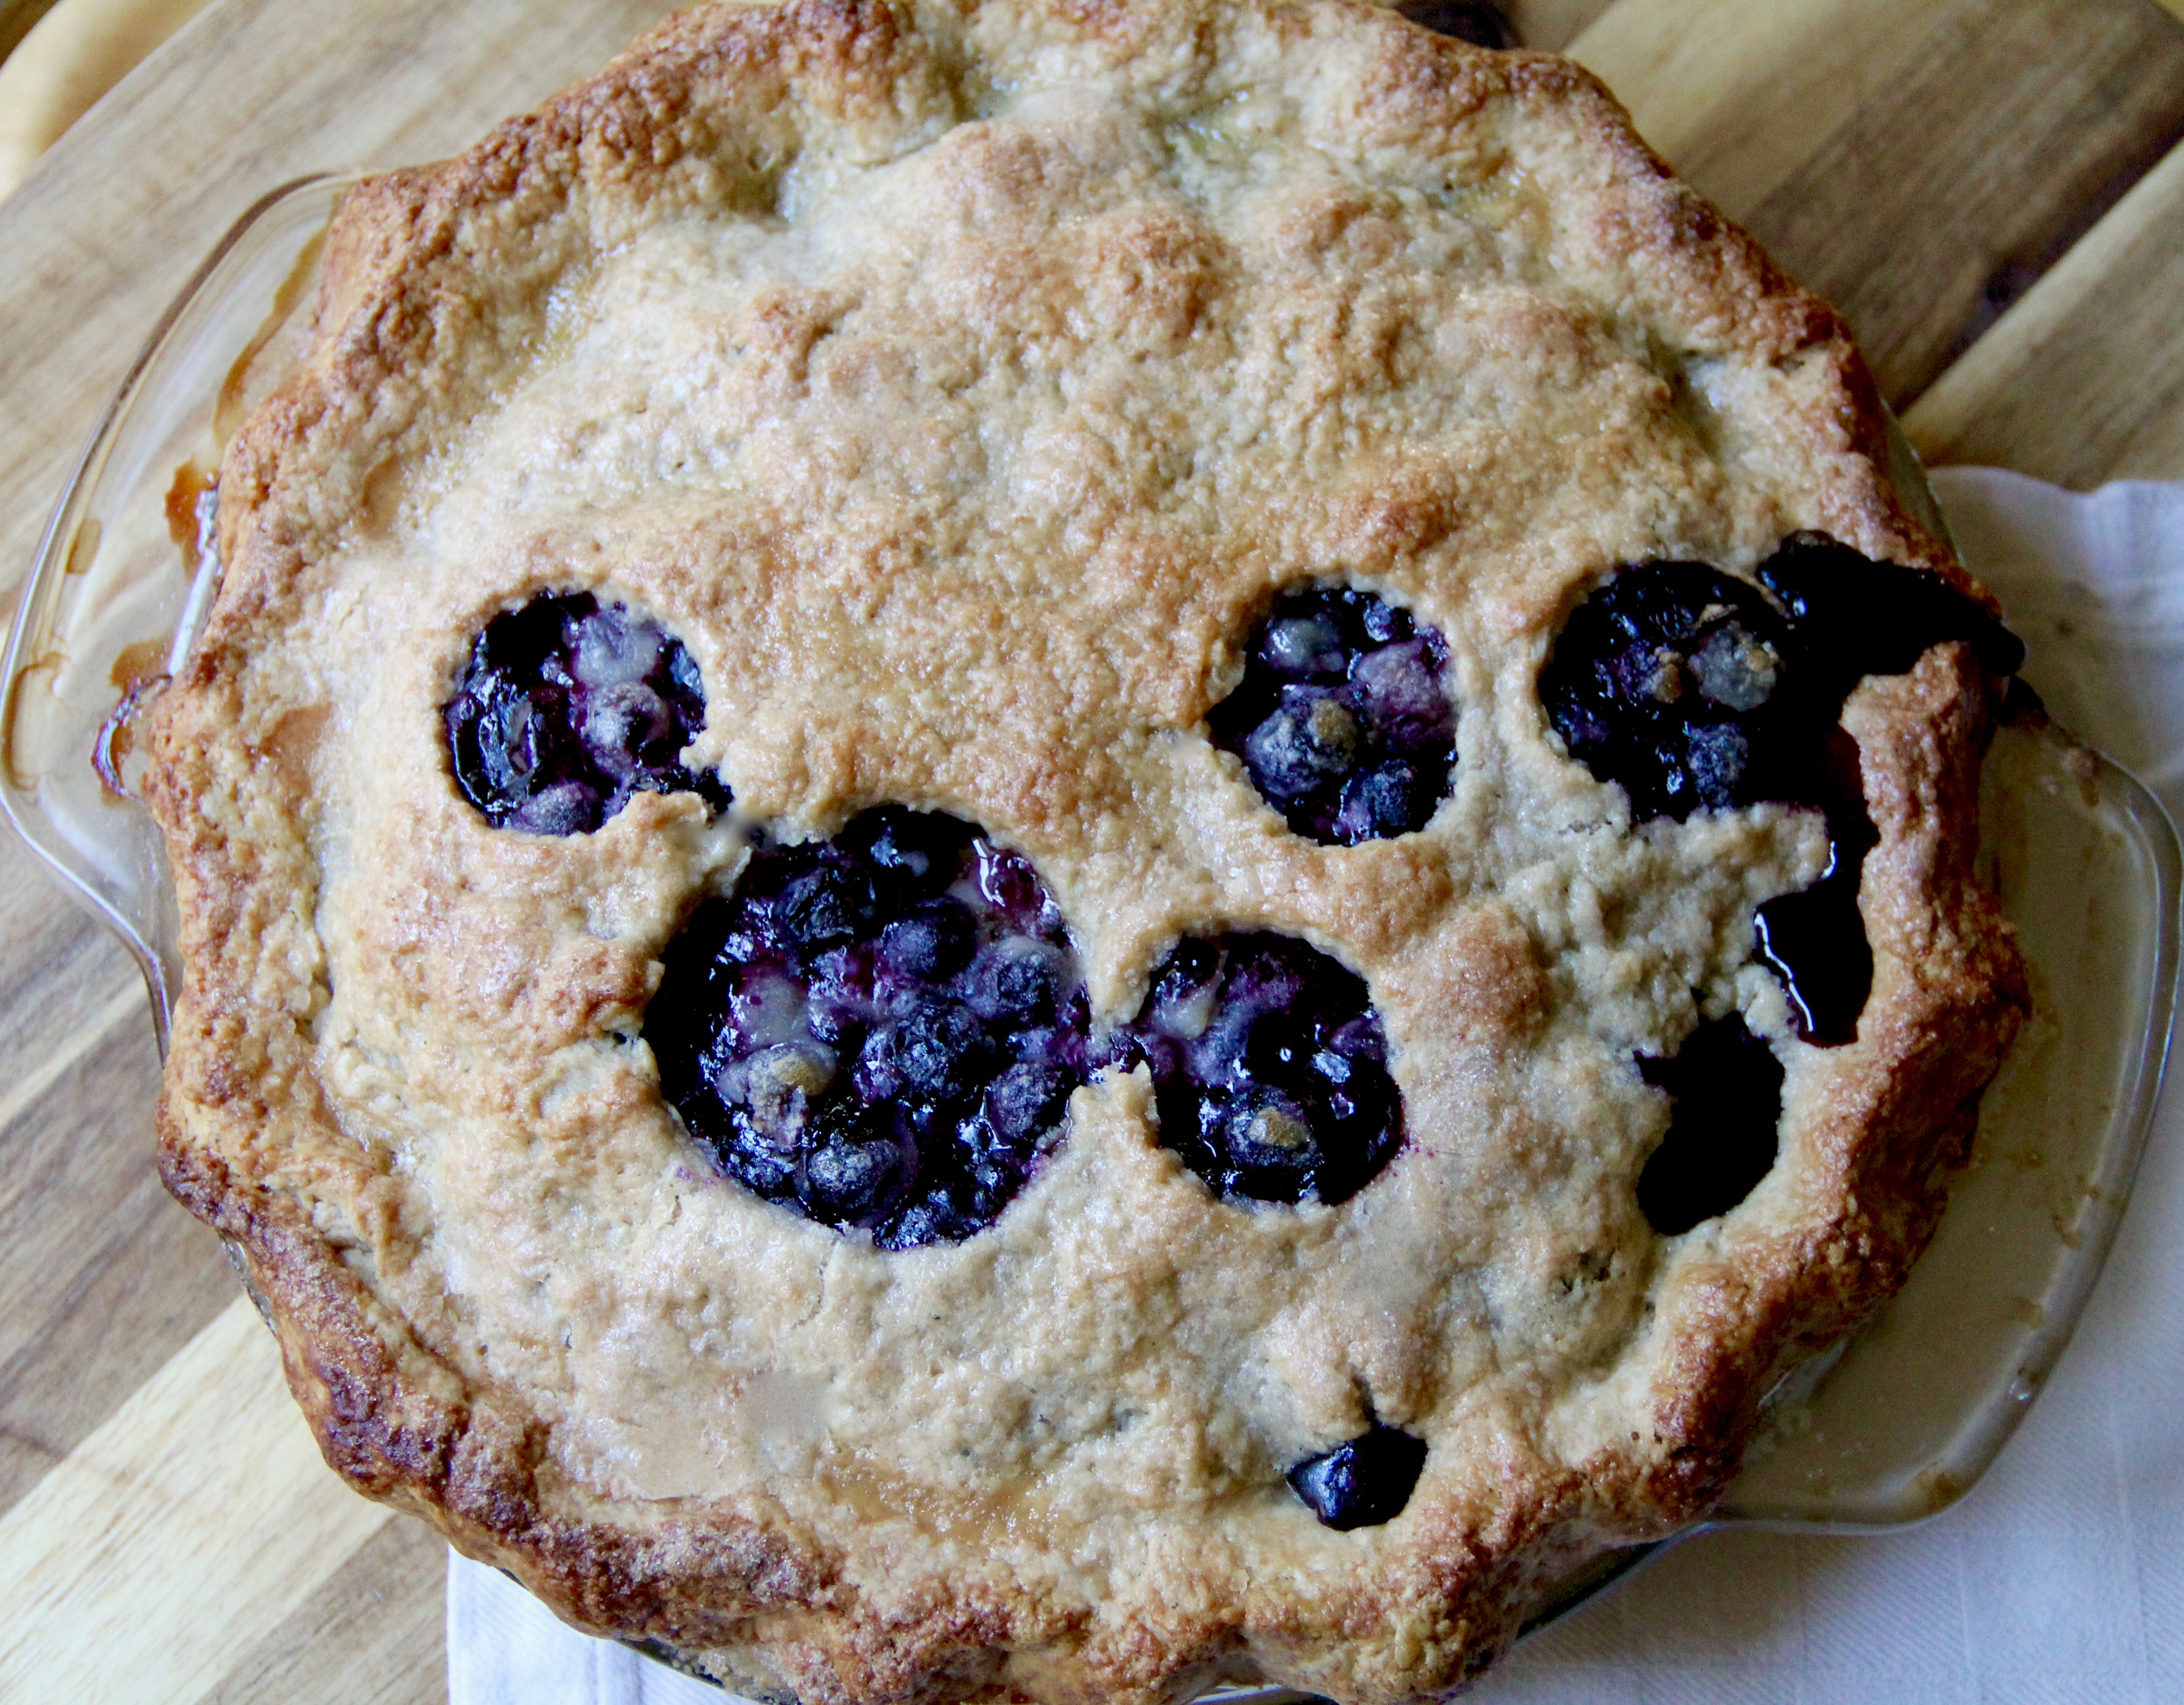
Blueberry Pie
Makes one 9-inch pie.
Ingredients:
For the crust:
2 1/2 cups all-purpose flour
1/2 teaspoon ground cinnamon
1/4 cup granulated sugar (plus a little more to sprinkle on the top)
1/2 teaspoon salt
14 tablespoons cold butter
8-10 tablespoons ice cold water
For the filling:
6 cups fresh blueberries, picked through for stems
3/4 cup granulated sugar
1/2 cup all-purpose flour
pinch of salt
zest and juice from half a large lemon
1 egg, whisked with 1 teaspoon water
Directions:
Prepare the dough for the crust: In a large mixing bowl, combine the flour, cinnamon, sugar, and salt. Cut in the cold butter (I like to use a standing box-type grater for this) until you have a shaggy looking mixture with pea-sized pieces of butter mixed in. Add the water to the mixture, then use a fork to bring to dough together. Add a bit more water (a tablespoon at a time) if necessary, although you want to dough to be shaggy and not outwardly wet.
Divide the dough into two equal portions and gently knead each portion into a flattened disk. Wrap each disk in plastic wrap or wax paper and refrigerate for 1-2 hours.
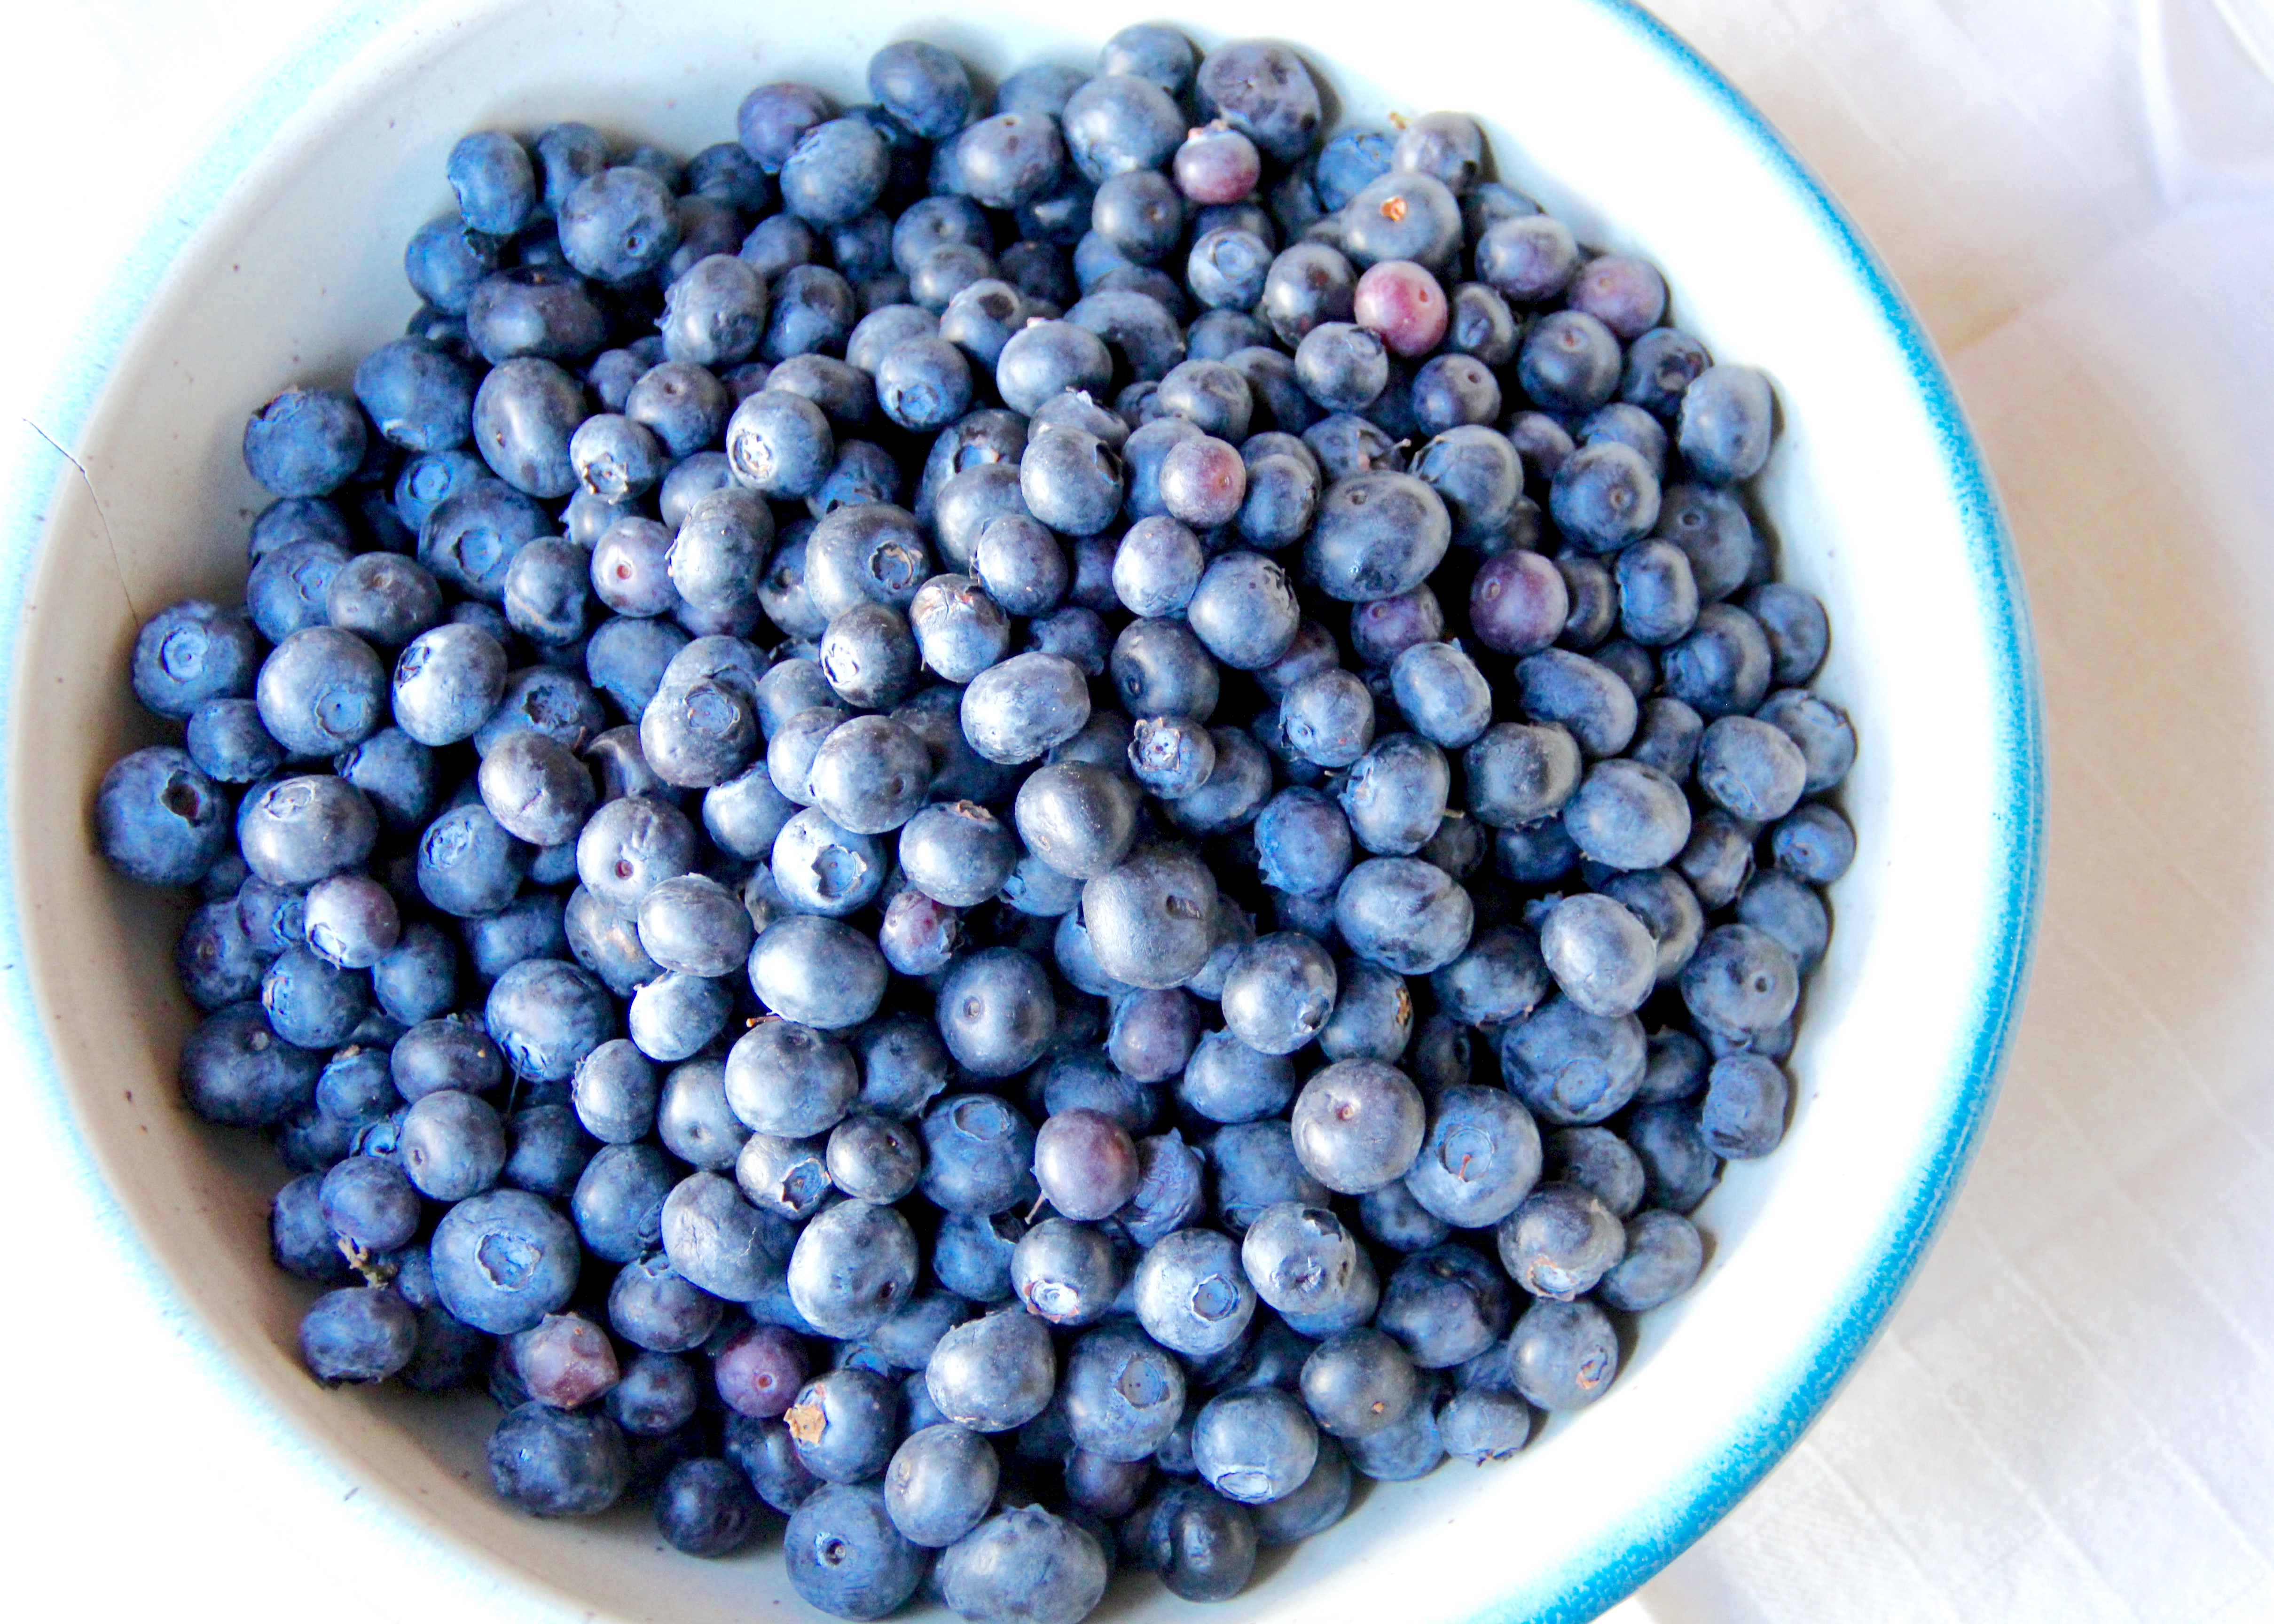
Prepare the filling: In a large bowl, combine the blueberries, sugar, flour, salt, zest and lemon juice. Gently mix until all the berries are coated. Let the blueberries sit for about 10 minutes.
Prepare the pie: Remove one of the pie dough disks from the fridge. Roll the dough out into about a 13-inch round, on a lightly floured surface. Gently lift the 13-inch round and center it in a deep 9-inch round pie dish. Place the crust in your fridge while you roll out the top crust.
Roll out the top crust just as you did the bottom crust, creating a roughly 13-inch circle.
Remove the bottom crust from the fridge and fill with the blueberry mixture, evenly spreading the blueberries around. Carefully remove the top crust from your work surface, then drape over the filling. Use a small knife to trim the crust, leaving about 1-inch overhang. Press the top and bottom crusts together with your fingers, and fold under. Use a fork or your fingers to crimp the edges of the dough. Cut a few small slits in the top of the crust so the steam can vent.
Brush the pie lightly with beaten egg, then sprinkle with a teaspoon or two of granulated sugar. Place the pie in your fridge to chill while the oven preheats.
Bake the pie: Preheat your oven to 425 degrees F. Bake for 30 minutes. Reduce the oven temperature to 375 degrees F and continue baking for another 30 minutes, or until the top of the pie is nicely golden brown and crisp.
Allow the pie to cool for at least 30 minutes before cutting and serving. Leftovers can be wrapped in plastic wrap, then refrigerated for up to 3 days.


Love your food photography and details, really helps,
thank you so much for sharing
Pingback: Day to Day Life: Weeks Twenty-Six and Twenty-Seven |