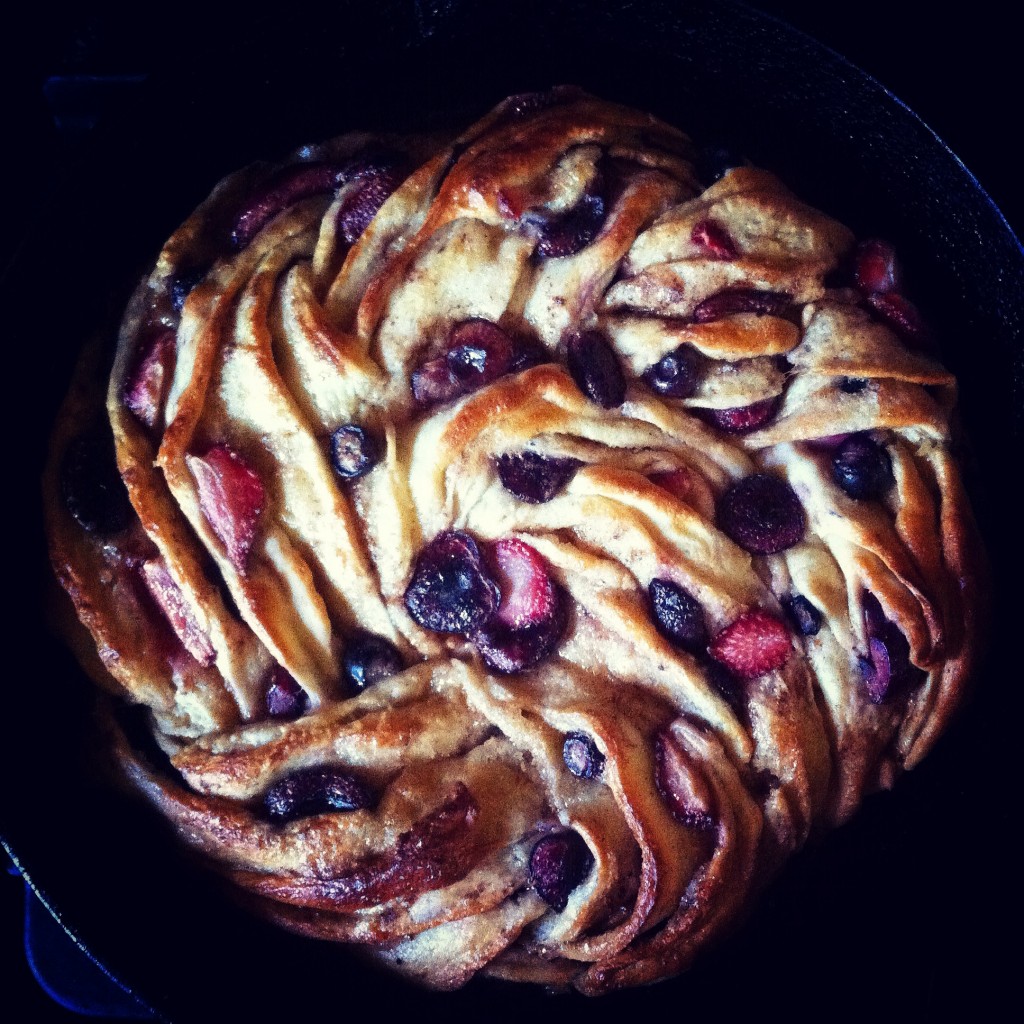

Blondies begin with one of my favorite combinations of things: brown sugar and butter. Some folks think of blondies as a counterpart to brownies… but my brain likens them to cookies. Large, chewy, tender, crisp at the edges, bar-like cookies. You know what I love just as much as brown sugar, butter, and cookies? (No, the answer is not absolutely nothing else!)
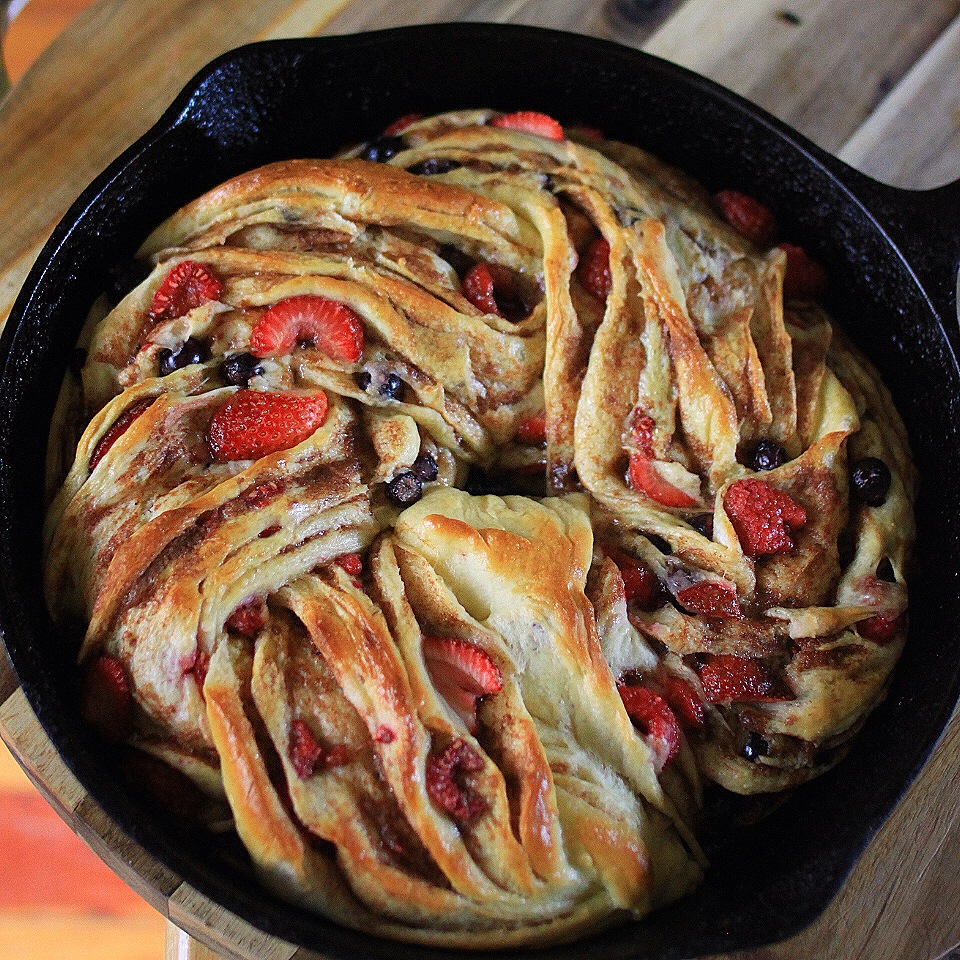
The answer is roasted strawberries. While fresh strawberries are delicious all on their own, roasting them turns them into a whole different animal. A soft, super flavor-bursting, sweet, deeply delicious animal.
What happens when you combine all of the above elements? The following recipe.
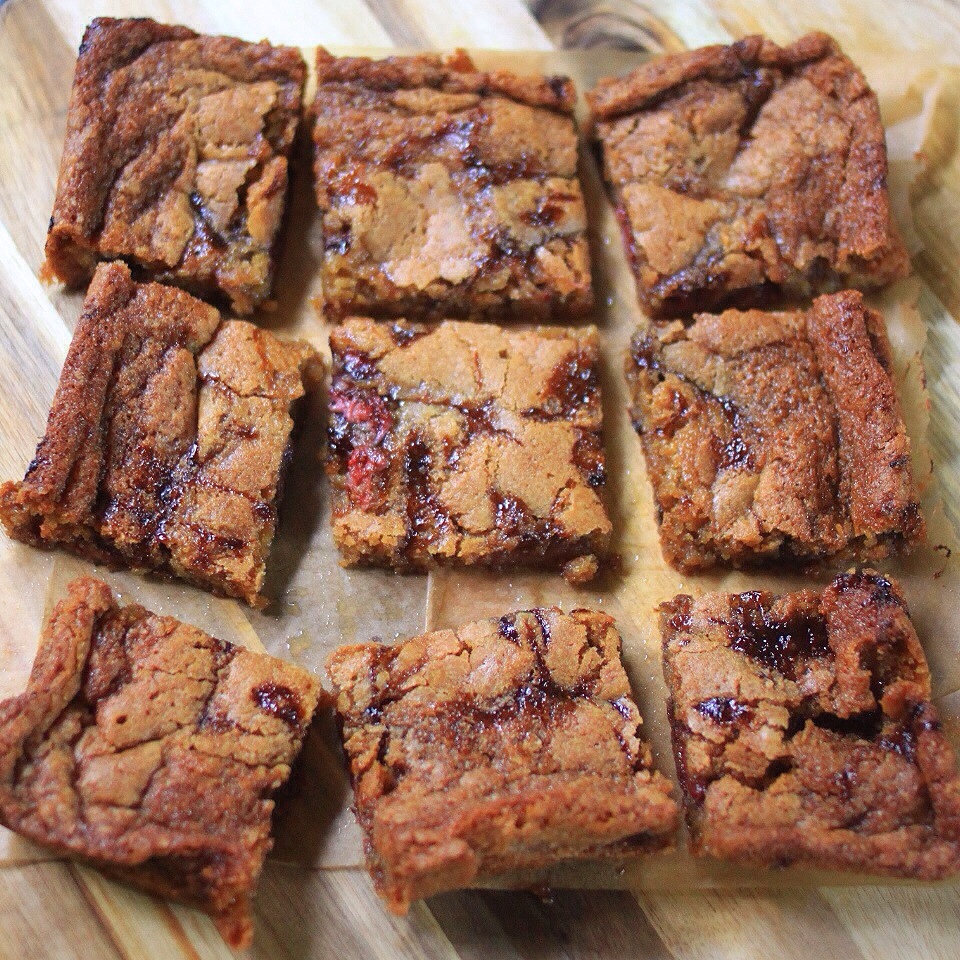
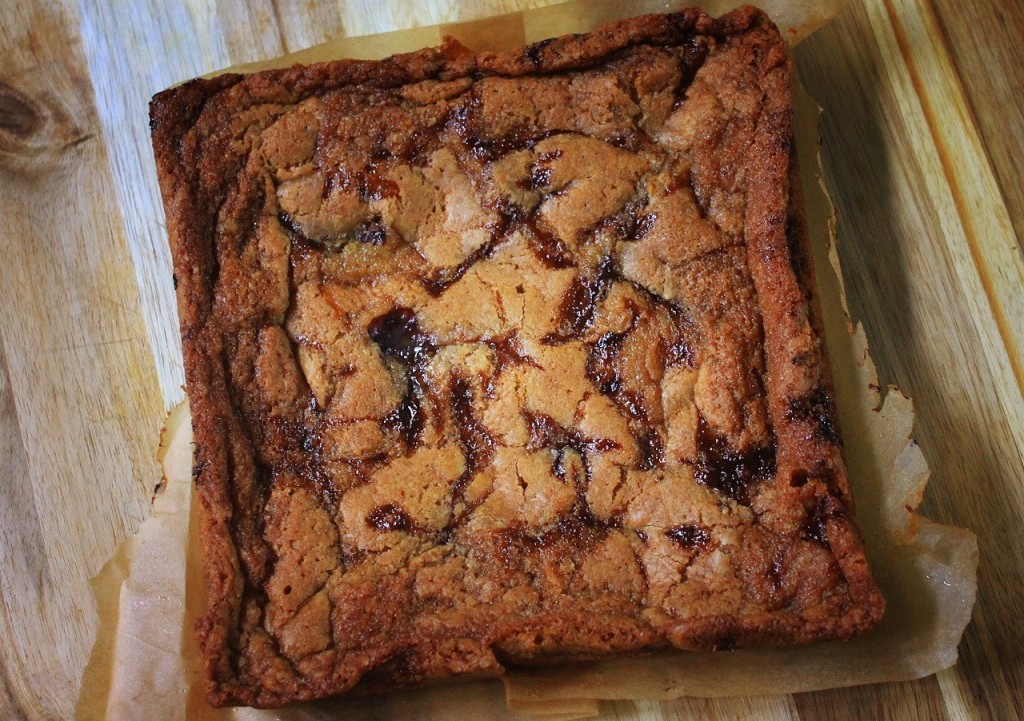
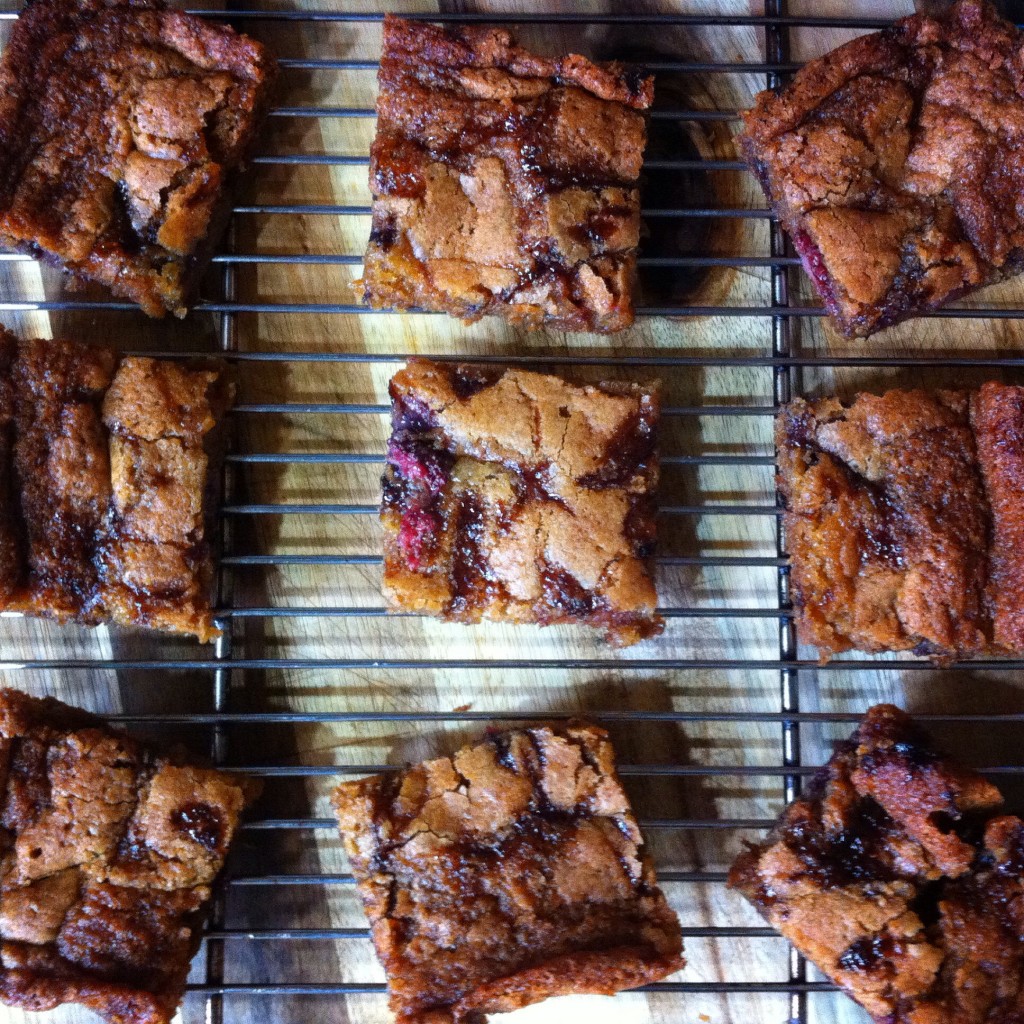
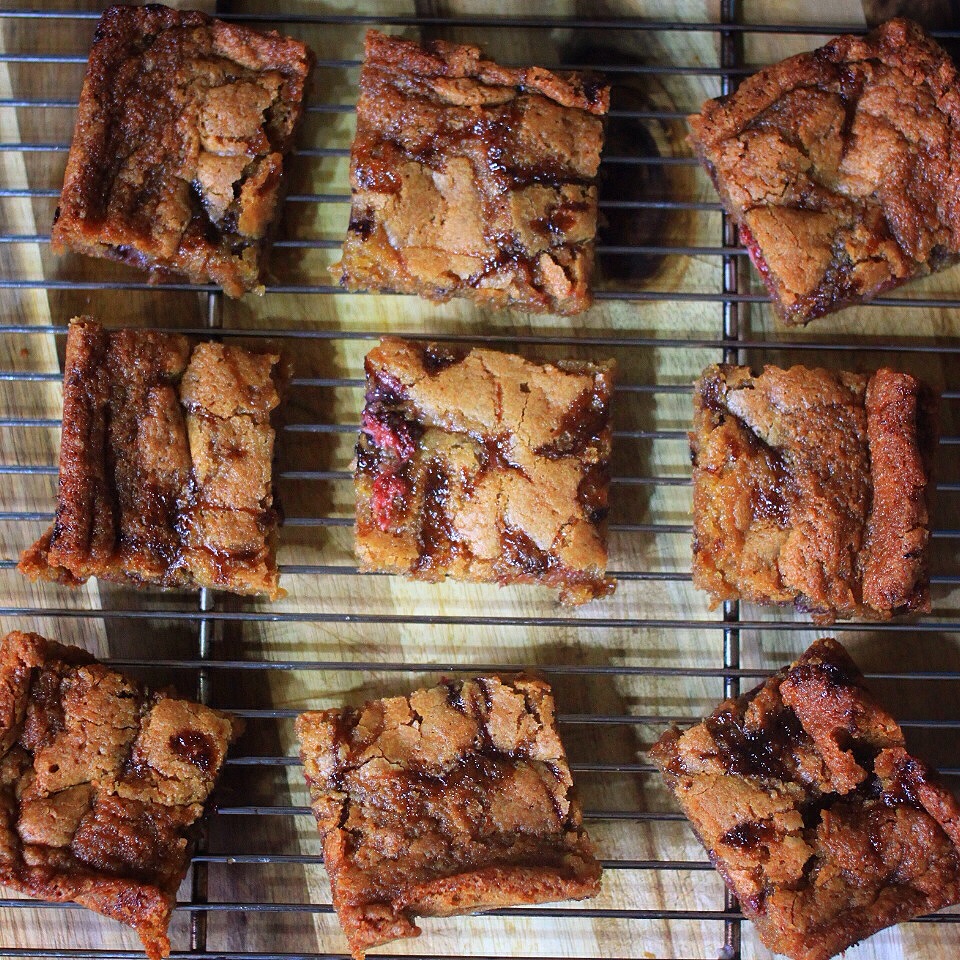
Roasted Strawberry Blondies
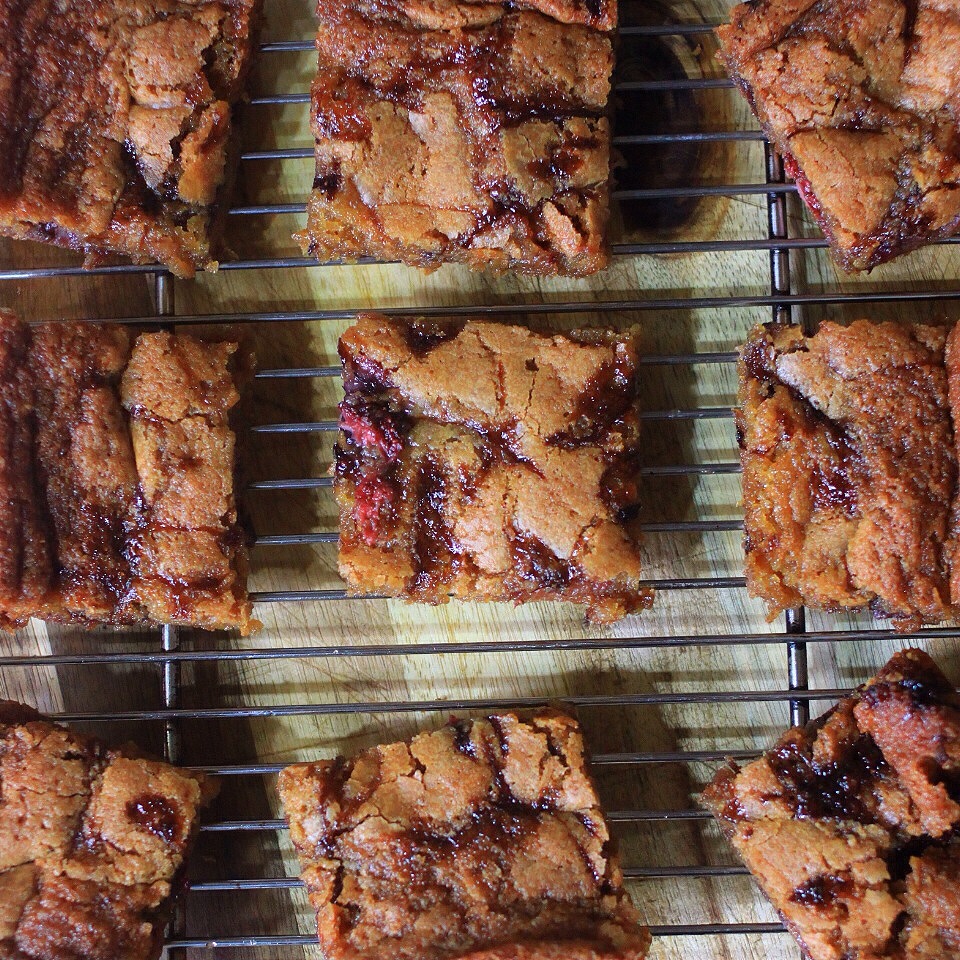
Yields 9 blondies.
Ingredients:
For the berries:
8 ounces strawberries, hulled and cut in half
3 tablespoons good quality maple syrup
4 teaspoons olive oil
pinch of salt
For the blondies:
1/2 cup of unsalted butter, melted
1/2 cup of tightly packed light brown sugar
1/2 cup of tightly packed dark brown sugar
1 egg, lightly beaten
1 teaspoon of vanilla
1/2 teaspoon baking powder
1/8 teaspoon of baking soda
small pinch of salt
1 cup of all-purpose flour
Directions:
Preheat the oven to 375 degrees F.
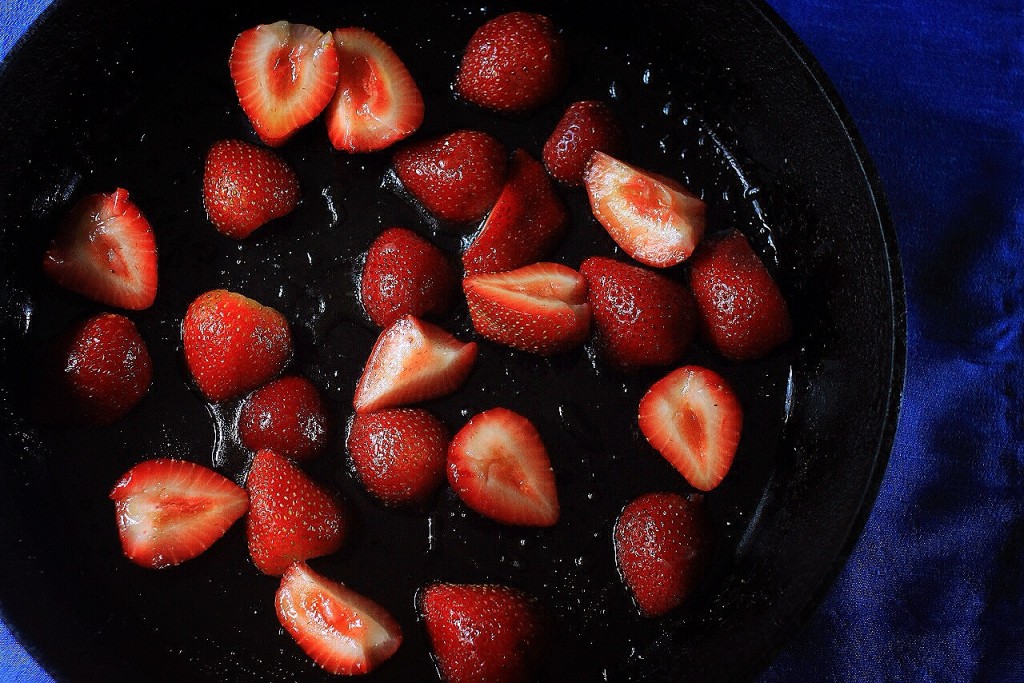
In a bowl, whisk together the maple syrup, olive oil, and salt. Toss the strawberries in this mixture then spread evenly, in one layer in a cast iron pan or a rimmed baking sheet (preferably lined with parchment paper). Roast for 40 minutes, occasionally stirring. The juices will thicken slightly, but make sure it doesn’t burn! Pour the strawberries and all the juice that is released into a bowl then set aside to cool while preparing the blondie batter.
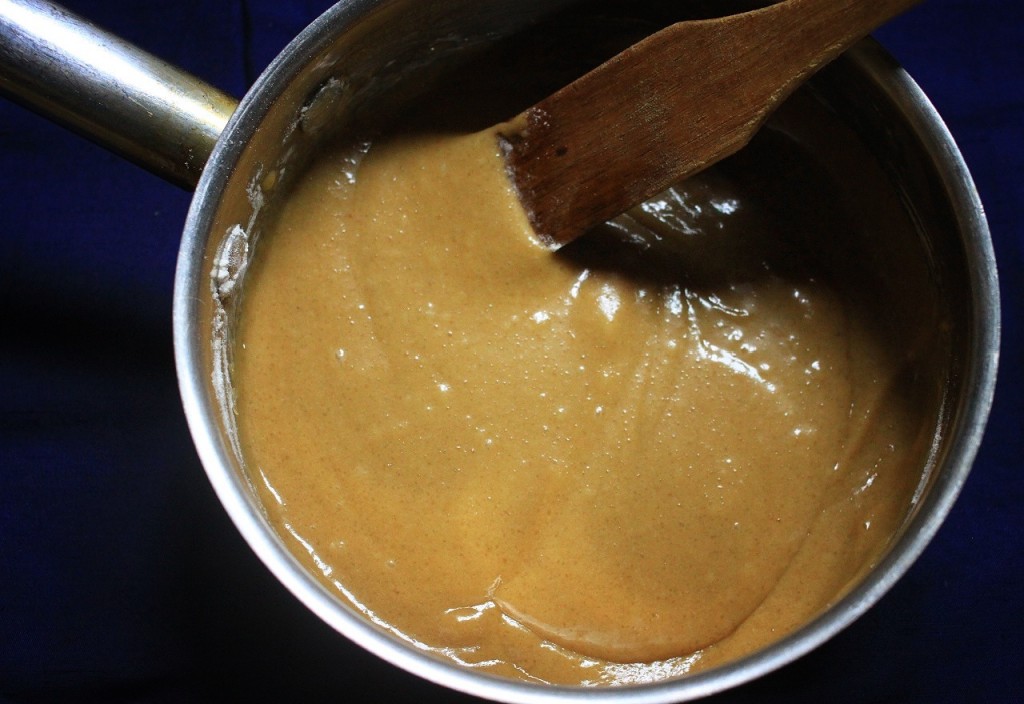
Reduce the oven heat to 350 degrees F. Grease a 8×8-inch baking pan then line the pan with parchment paper and grease the parchment paper as well. Whisk together the melted butter and two different brown sugars in a bowl. Add the egg and vanilla extract and whisk. Add the flour, baking soda, baking powder and salt to the mixture, then stir it all together.
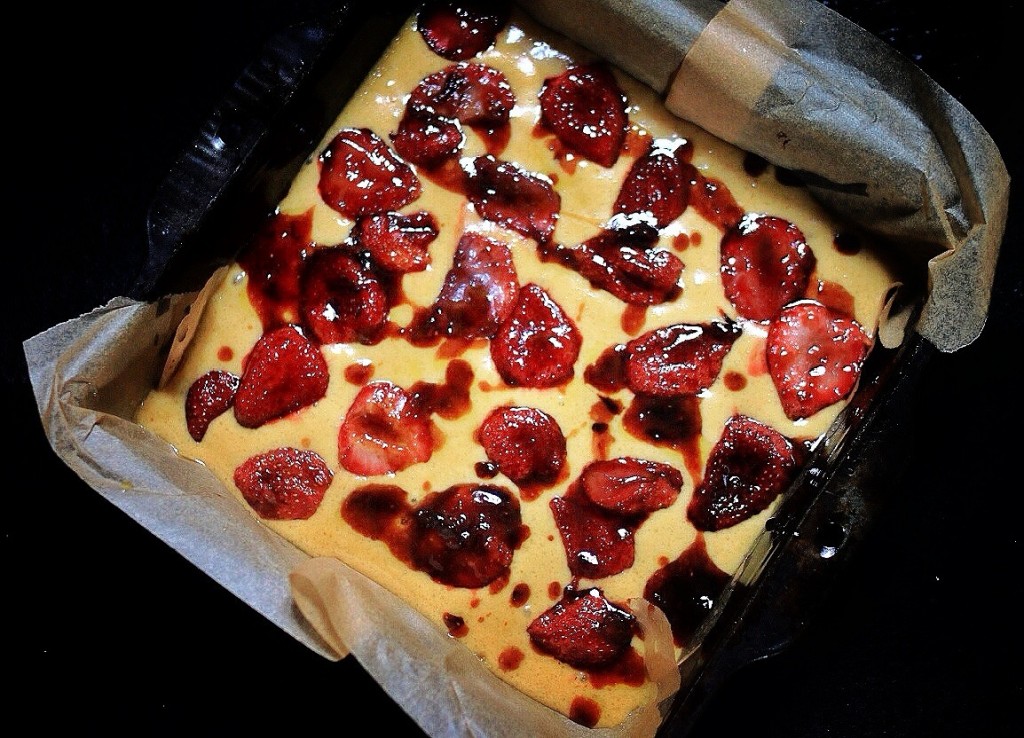
Pour the batter into the pan and spread evenly. Spoon the roasted strawberries over the top of the batter, along with their juices. Bake for 25-30 minutes, or until a toothpick comes out clean. Allow time to cool to at least room temperature, then cut into 9 squares and serve.