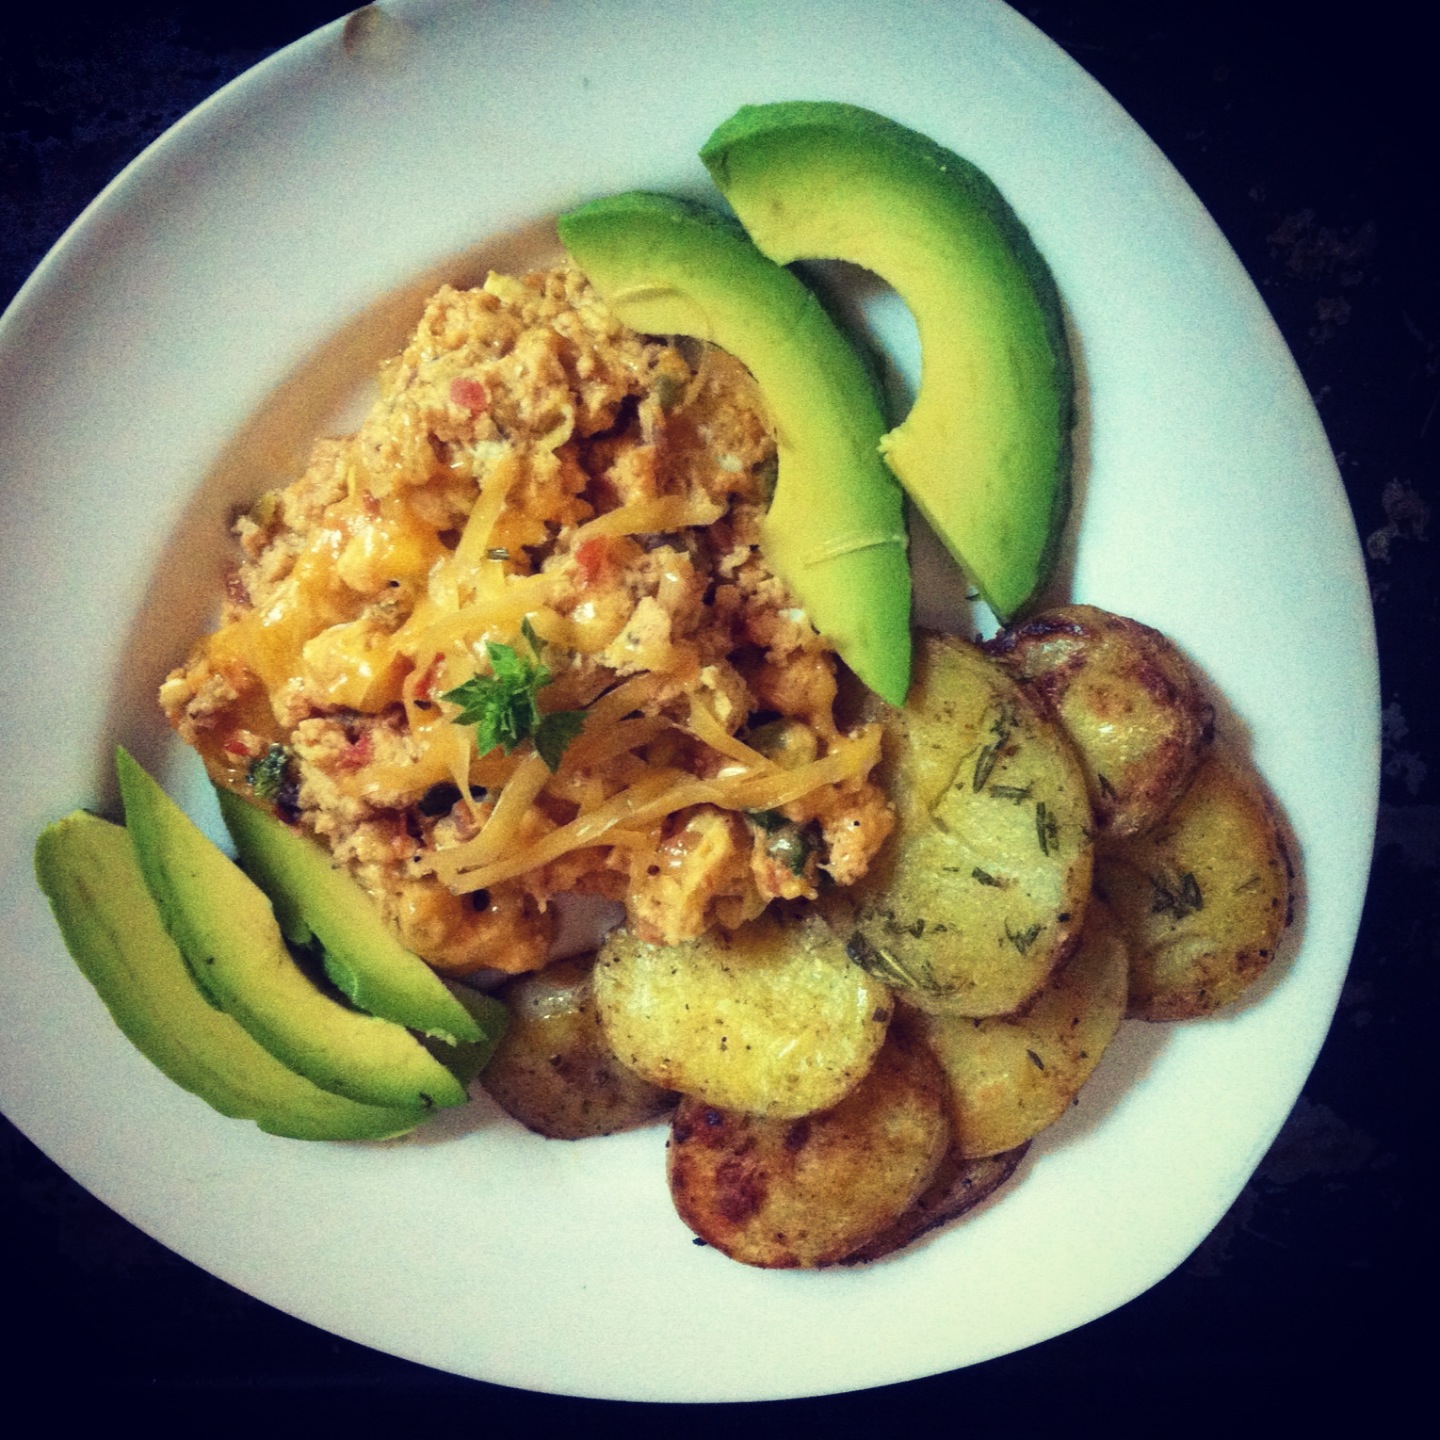
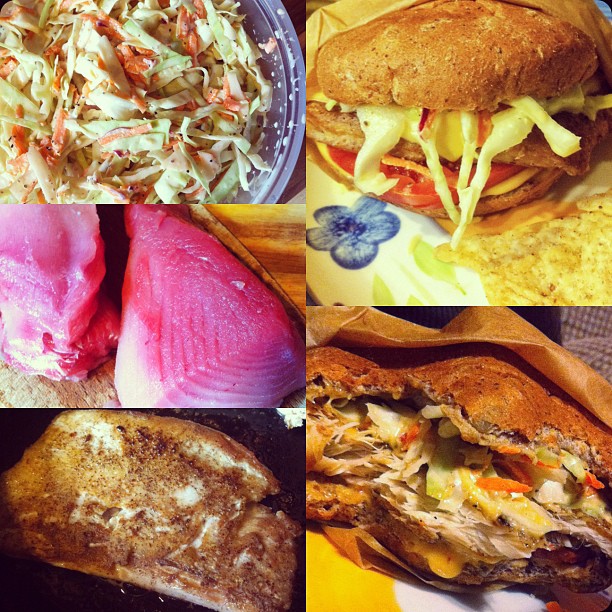
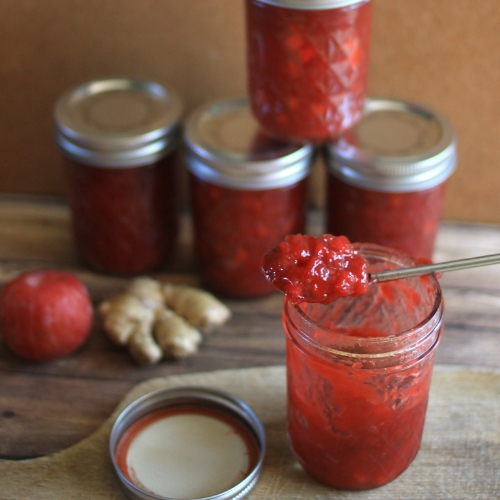
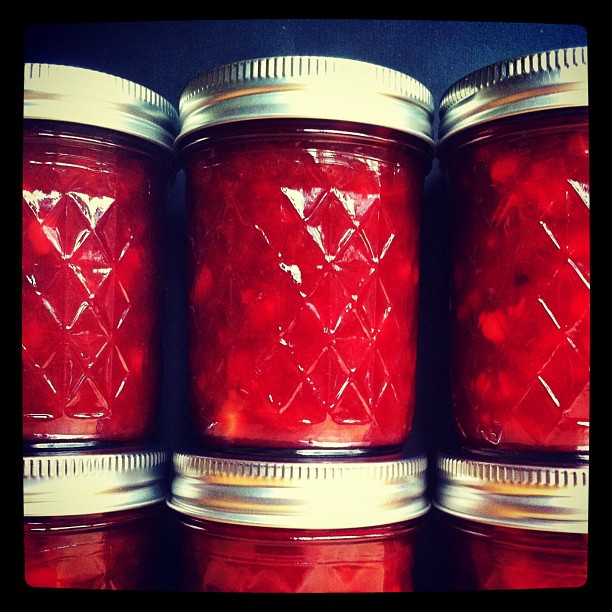
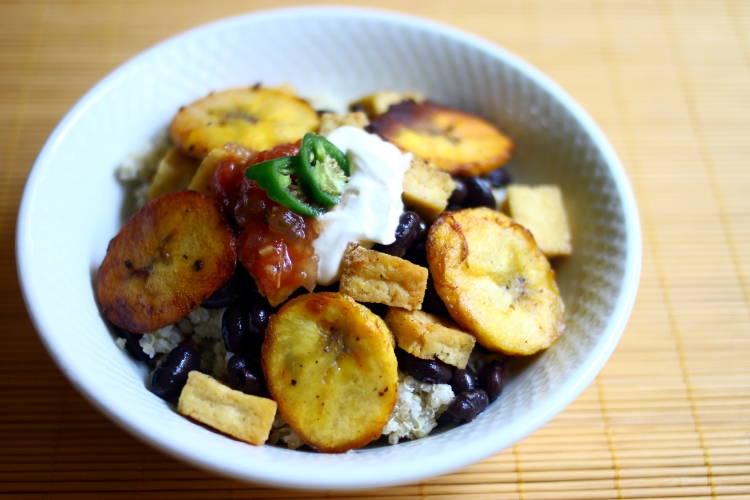
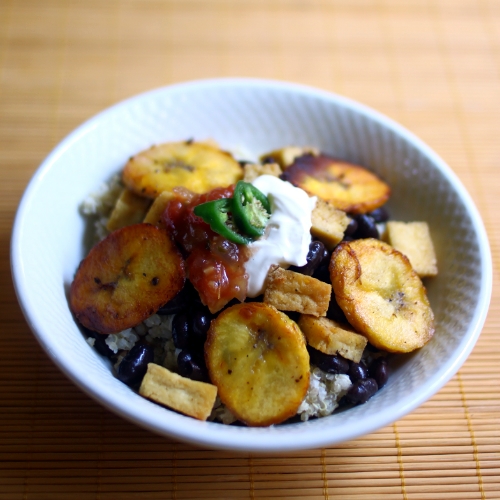
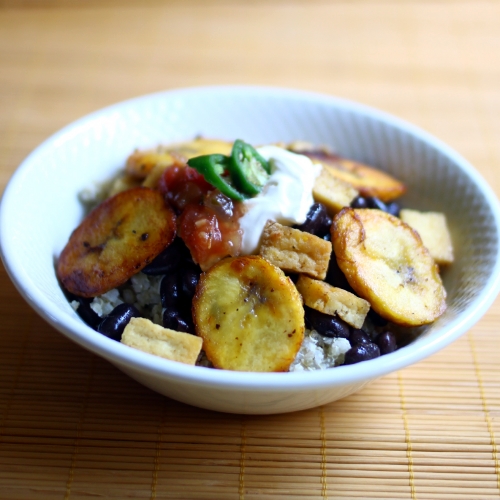
Luckily, I’ve never had to deal with picky eaters. It isn’t because my cooking is usually, or has always been, good. When I first met my husband, he did the cooking for us. And there were some dang good meals in there, many times. The kids will warn you now, though, if a recipe is deemed “Papa’s Special _________” immediately pretend like you already have dinner plans. I cooked over-done oatmeal. Who does that, really? I made pancakes that were raw in the center and very crisp on the edges. Hows about some overly mashed mashed potatoes, where the consistency resembles glue rather than fluffy potatoes? I’m glad all these things are history, that I’ve learned some things in the last 6 years.
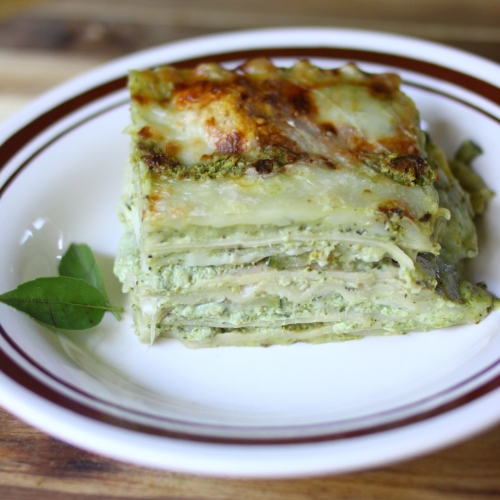
Although picky eaters isn’t an issue, sometimes simply stating certain vegetable names leaves one, if not both, of the kids hesitant about the meal to come. I’ve learned to come up with recipes where the questionable vegetables can be masked, but are still very present. I really enjoy lasagna. That probably goes right alongside my overwhelming desire to eat pasta every single day. Lasagna is a super easy meal to throw a LOT of veggies into, deliciously. The thing is, lasagnas take a little bit of work, despite them being a good vehicle for transporting lots of veggies to your family. There are various elements: the sauce, the filling, the layering, the pasta-cooking, the baking… my favorite part: the eating. And a good, massively layered up lasagna, it can feed you for DAYS.
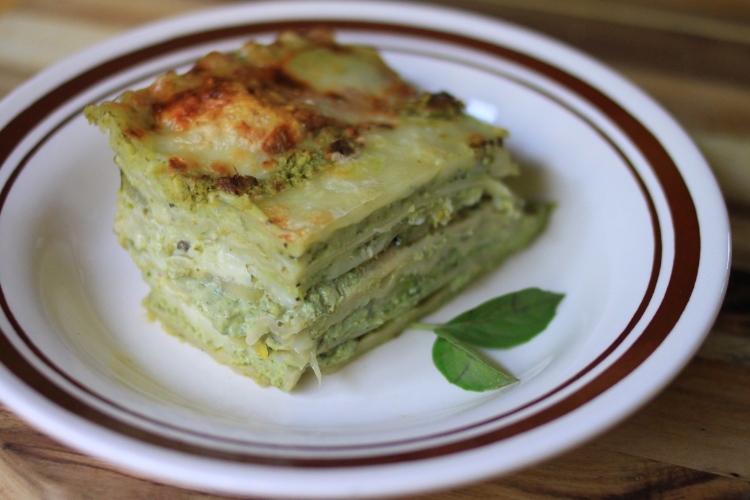
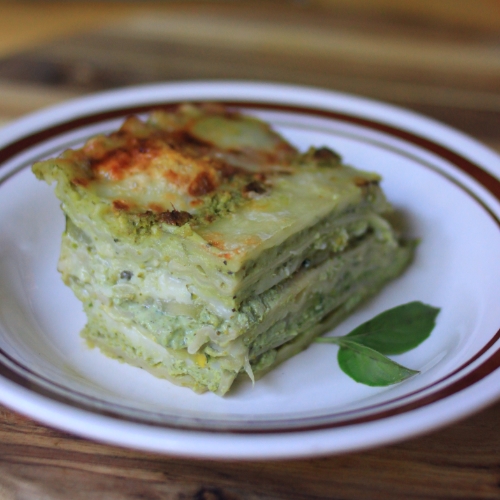
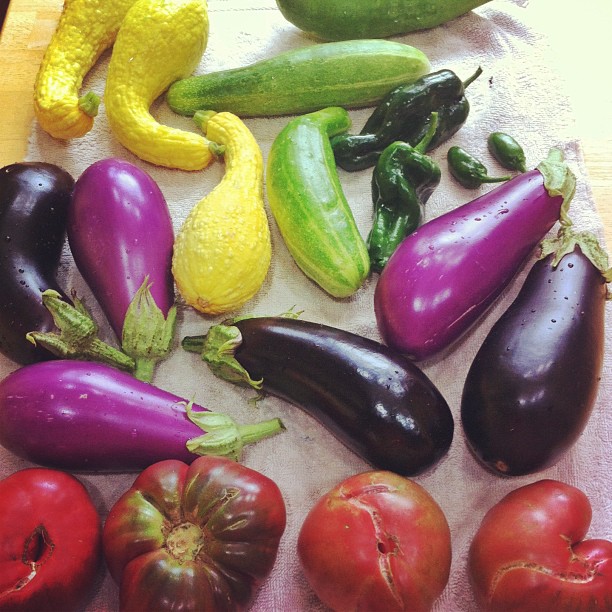
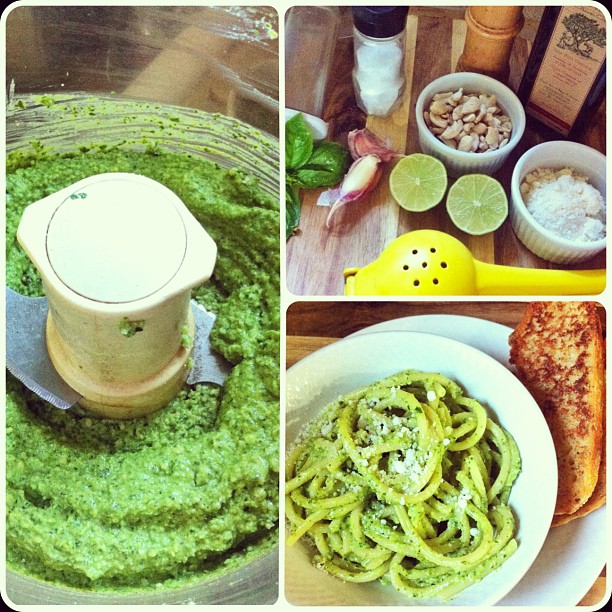
This lasagna began as an experiment. I had a ton of fresh-picked broccoli out of the garden and it needed to go somewhere quick. Silas will flat out tell me, “I’m not hungry” if broccoli is at the forefront of dinner. So I threw it in the food processor, along with other greens and ricotta, and came up with a lasagna filling that was hearty and good tasting. And beautifully green. The following recipe has a lot of steps, but they aren’t so terrible. I suggest reading through them all once before putting the lasagna together; it’ll make it easier to follow along as you cook.
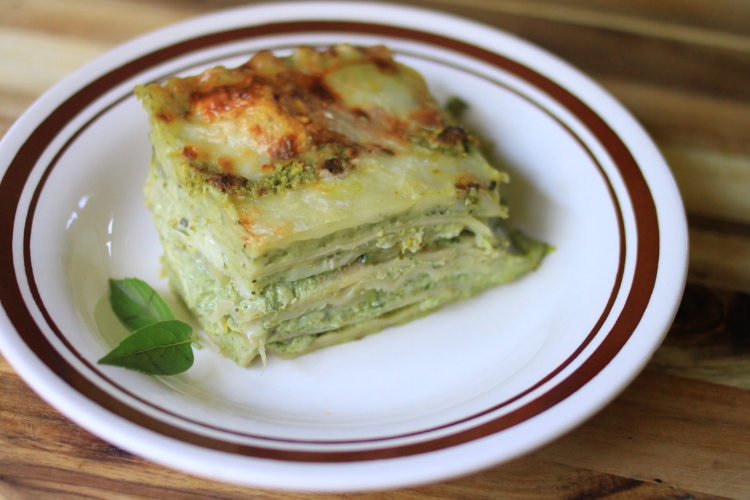
Green Machine Vegetarian Lasagna
Makes one large lasagna.
Ingredients:
15 oz. whole fat ricotta cheese
5 green onions
6 oz. raw spinach
1 poblano pepper, stem and seeds removed
2 heaping cups fresh, raw broccoli florets
1½ cups fresh basil, packed
5 cloves garlic
¼ cup parmesan cheese
2 eggs
¾ tsp. salt
1 tsp. fresh ground black pepper
¼ cup olive oil
1 small onion, diced
4 cloves garlic, minced
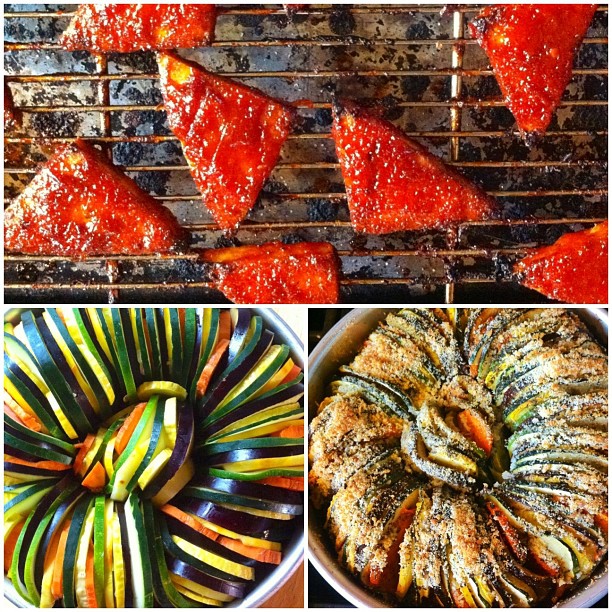
1 large green zucchini, halved lengthwise then cut in half-moons (about 1/8-inch thick)
1 medium yellow summer squash, halved lengthwise, cut into half-moons (also 1/8-inch thick)
1 tsp. dried oregano
¾ tsp. ground coriander
salt and pepper
½ cup (1 stick) unsalted butter
¾ cup unbleached all-purpose flour
½ tsp. dried oregano
¼ tsp. red chili flakes
1 cup pesto (I used this sauce)
3 cups whole milk
pinch of fresh nutmeg
¼ cups grated parmesan cheese
salt and pepper
4 cups low-moisture mozzarella, shredded
¼ cup grated parmesan cheese
1 pound lasagna noodles (1 box, typically)
2 tbsp. olive oil
Directions:
Preheat your oven to 375° F. Bring a large pot of water to boiling, then cook the lasagna noodles according to the package directions. Work in batches if necessary. Run the cooked noodles under cold water before transferring to a baking sheet, laying the noodles in a single layer until needed.
In a food processor or high power blender, combine the ricotta cheese, green onion, spinach, poblano pepper, broccoli, basil, garlic, parmesan cheese, eggs, salt, and pepper. Blend until smooth, occasionally scraping down the sides of the food processor as needed. Set the mixture aside.
In a frying pan, heat the ¼ cup of oil. Add the diced onion and garlic, cooking over medium-high heat until the onions are nearly translucent. Add the zucchini, squash, oregano, coriander. Saute until the zucchini is tender (10-15 minutes). Taste, then add salt and pepper to your liking. Set the mixture aside until needed.
In a saucepan, melt the butter over medium heat. Whisk in the flour until smooth, once the butter has completely melted. Stit in the oregano, chili flakes, and pesto, again until smooth. Gradually add in the milk, still over medium heat, whisking continuously (to prevent lumps from forming). Continue whisking until the sauce thickens, about 15 minutes. Remove from heat and stir in the nutmeg and parmesan cheese. Add salt and pepper to your liking.
To put the lasagna together, spread the remaining two tablespoons of oil along the bottom and sides of a 9×13-inch baking dish. Spoon a ½-cup of sauce all over the bottom of the pan. Arrange a layer of noodles over the sauce, overlapping the edges by about ¼-inch. Spread half of the ricotta mixture evenly over the noodles, followed by half of the zucchini. Spoon ⅓ of the pesto sauce over the zucchini, followed by ⅓ of the shredded mozzarella. Add another layer of noodles, the remaining ricotta mixture, then the remaining zucchini, ⅓ of the pesto sauce, then ⅓ of the shredded mozzarella. Add another layer of noodles, followed by the remaining pesto sauce, then the remaining mozzarella. Sprinkle the ¼ cup of grated parmesan over the mozzarella.
Line a large baking sheet with foil, then place the lasagna dish on top, covering it tightly with foil. Bake the lasagna on the center rack in the oven for 30 minutes. Remove the cover and continue baking for an additional 15-20 minutes, until the top is golden brown and the sides are bubbling. Remove from the oven and cool for 10 minutes. Cut the lasagna and serve.


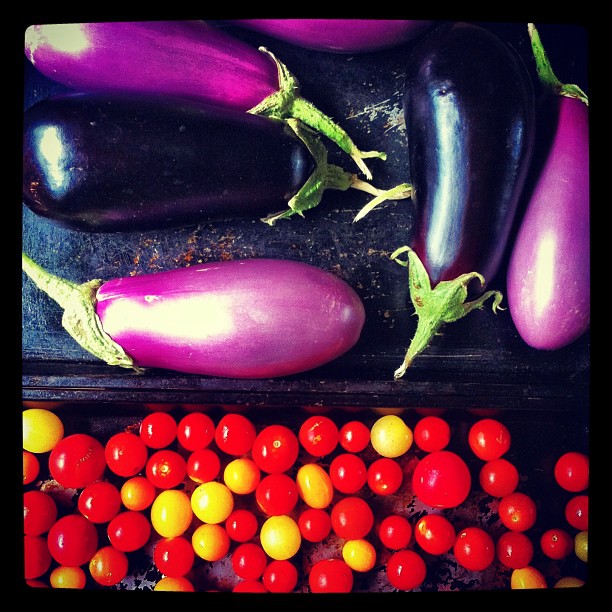


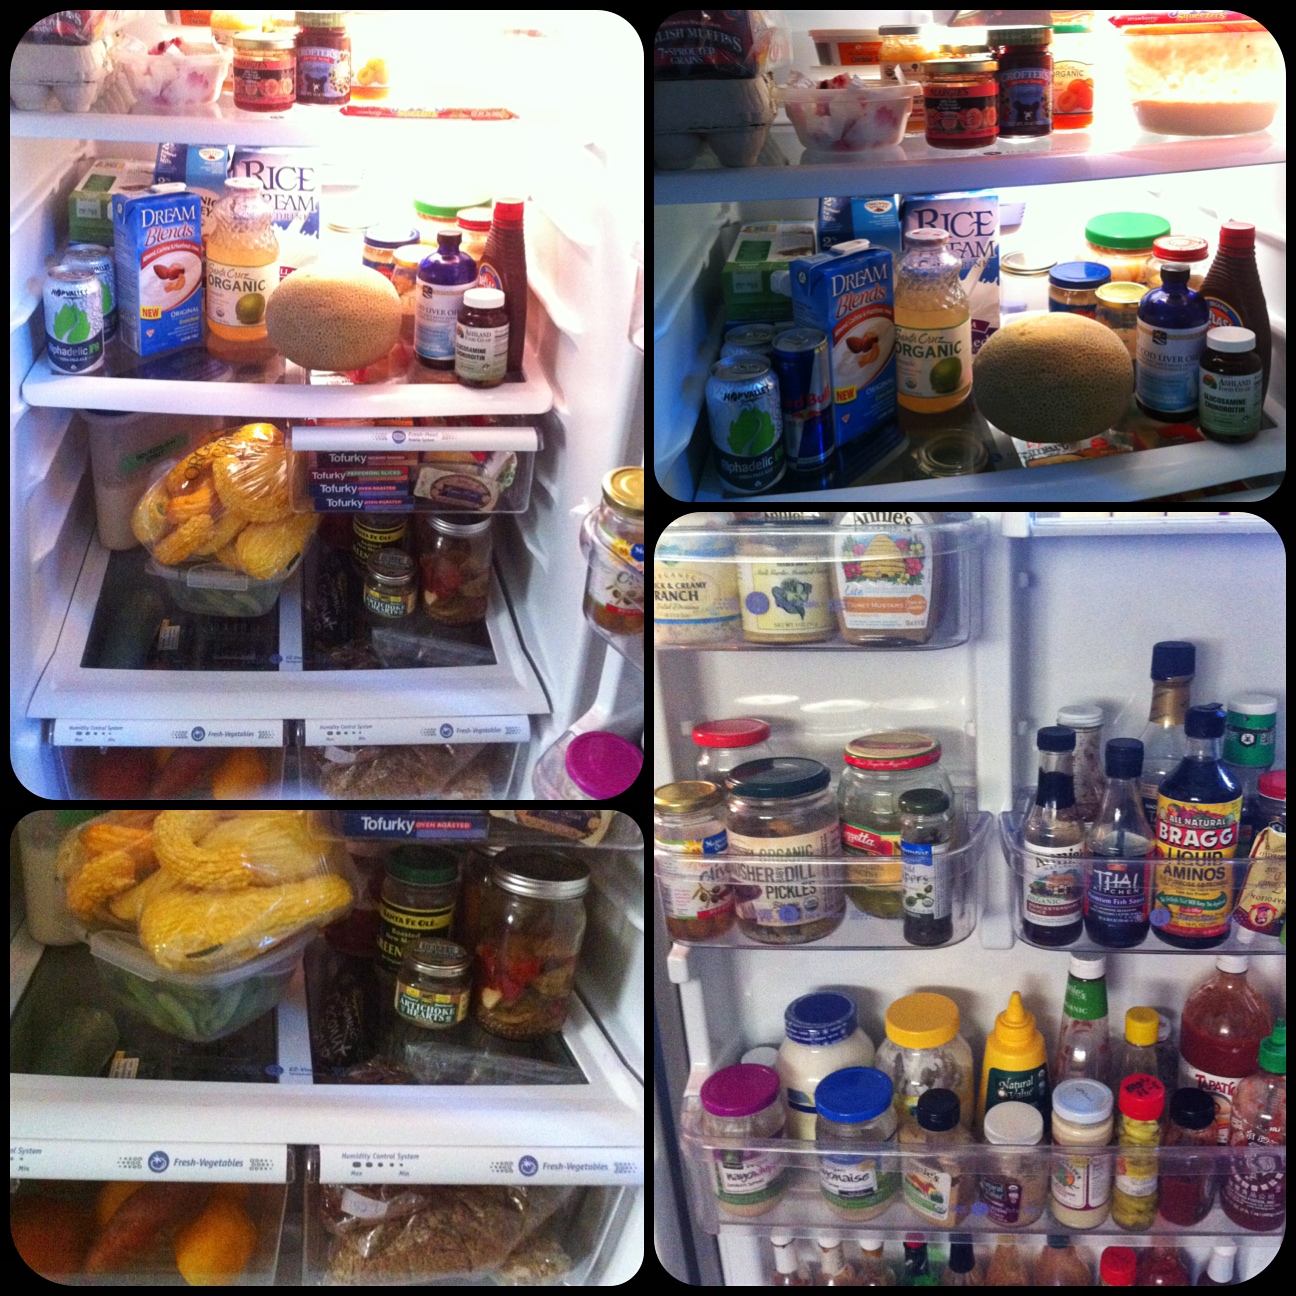 I’m glad I cleaned out our refrigerator before going out of town. So many condiments and hot sauces, still. And squash.