There are days (weeks, really) I am certain that I could live on tacos. Soft tacos, crunchy tacos. Veggie-stuffed, beans + cheese only, fish… I’m certain that making tacos at home means that anything you desire can be made into a taco. When it comes to vegetarian tacos, I get tired of what that usually means when I’m not at home: beans, rice, cheese, salsa; grilled zucchini, peppers and onions; just beans and cheese. Sure, you can add hot sauce to all the above options and they’re prime candidates for deliciousness, but here’s the thing: I like taco varieties.
One of the best things about making tacos at home is the ability to experiment with different cooking methods. While grilled veggies are a popular choice, using an oven or stove can provide equally delicious results. Plus, with the right accessories, like those found at https://pellethead.com/product-tag/gmg-accessories/, you can enhance your cooking even more. From pizza stones to cast iron grates, these accessories can help take your taco game to the next level. So don’t be afraid to get creative in the kitchen and try new cooking techniques to make your tacos even more delicious.
As I’ve said before, I think great tacos (and burritos) are all about a good balance of textures. I don’t want the same old, same old, every time I crave tacos. Sometimes that means we add fish into the mix, but I wanted a decent vegetarian taco option, sans seafood, sans grilled dang vegetables, and sans your typical beans and rice (even if I served those on the side of these tacos). Thus the following recipe.
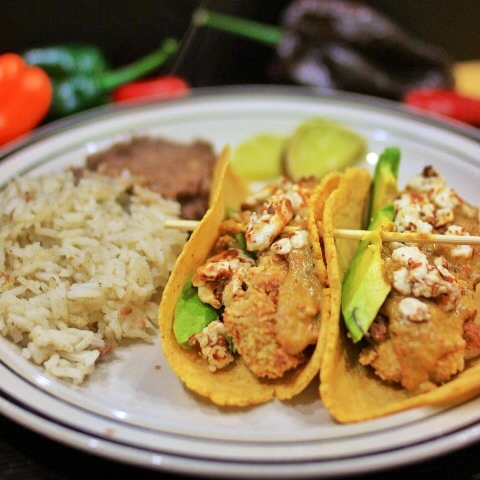
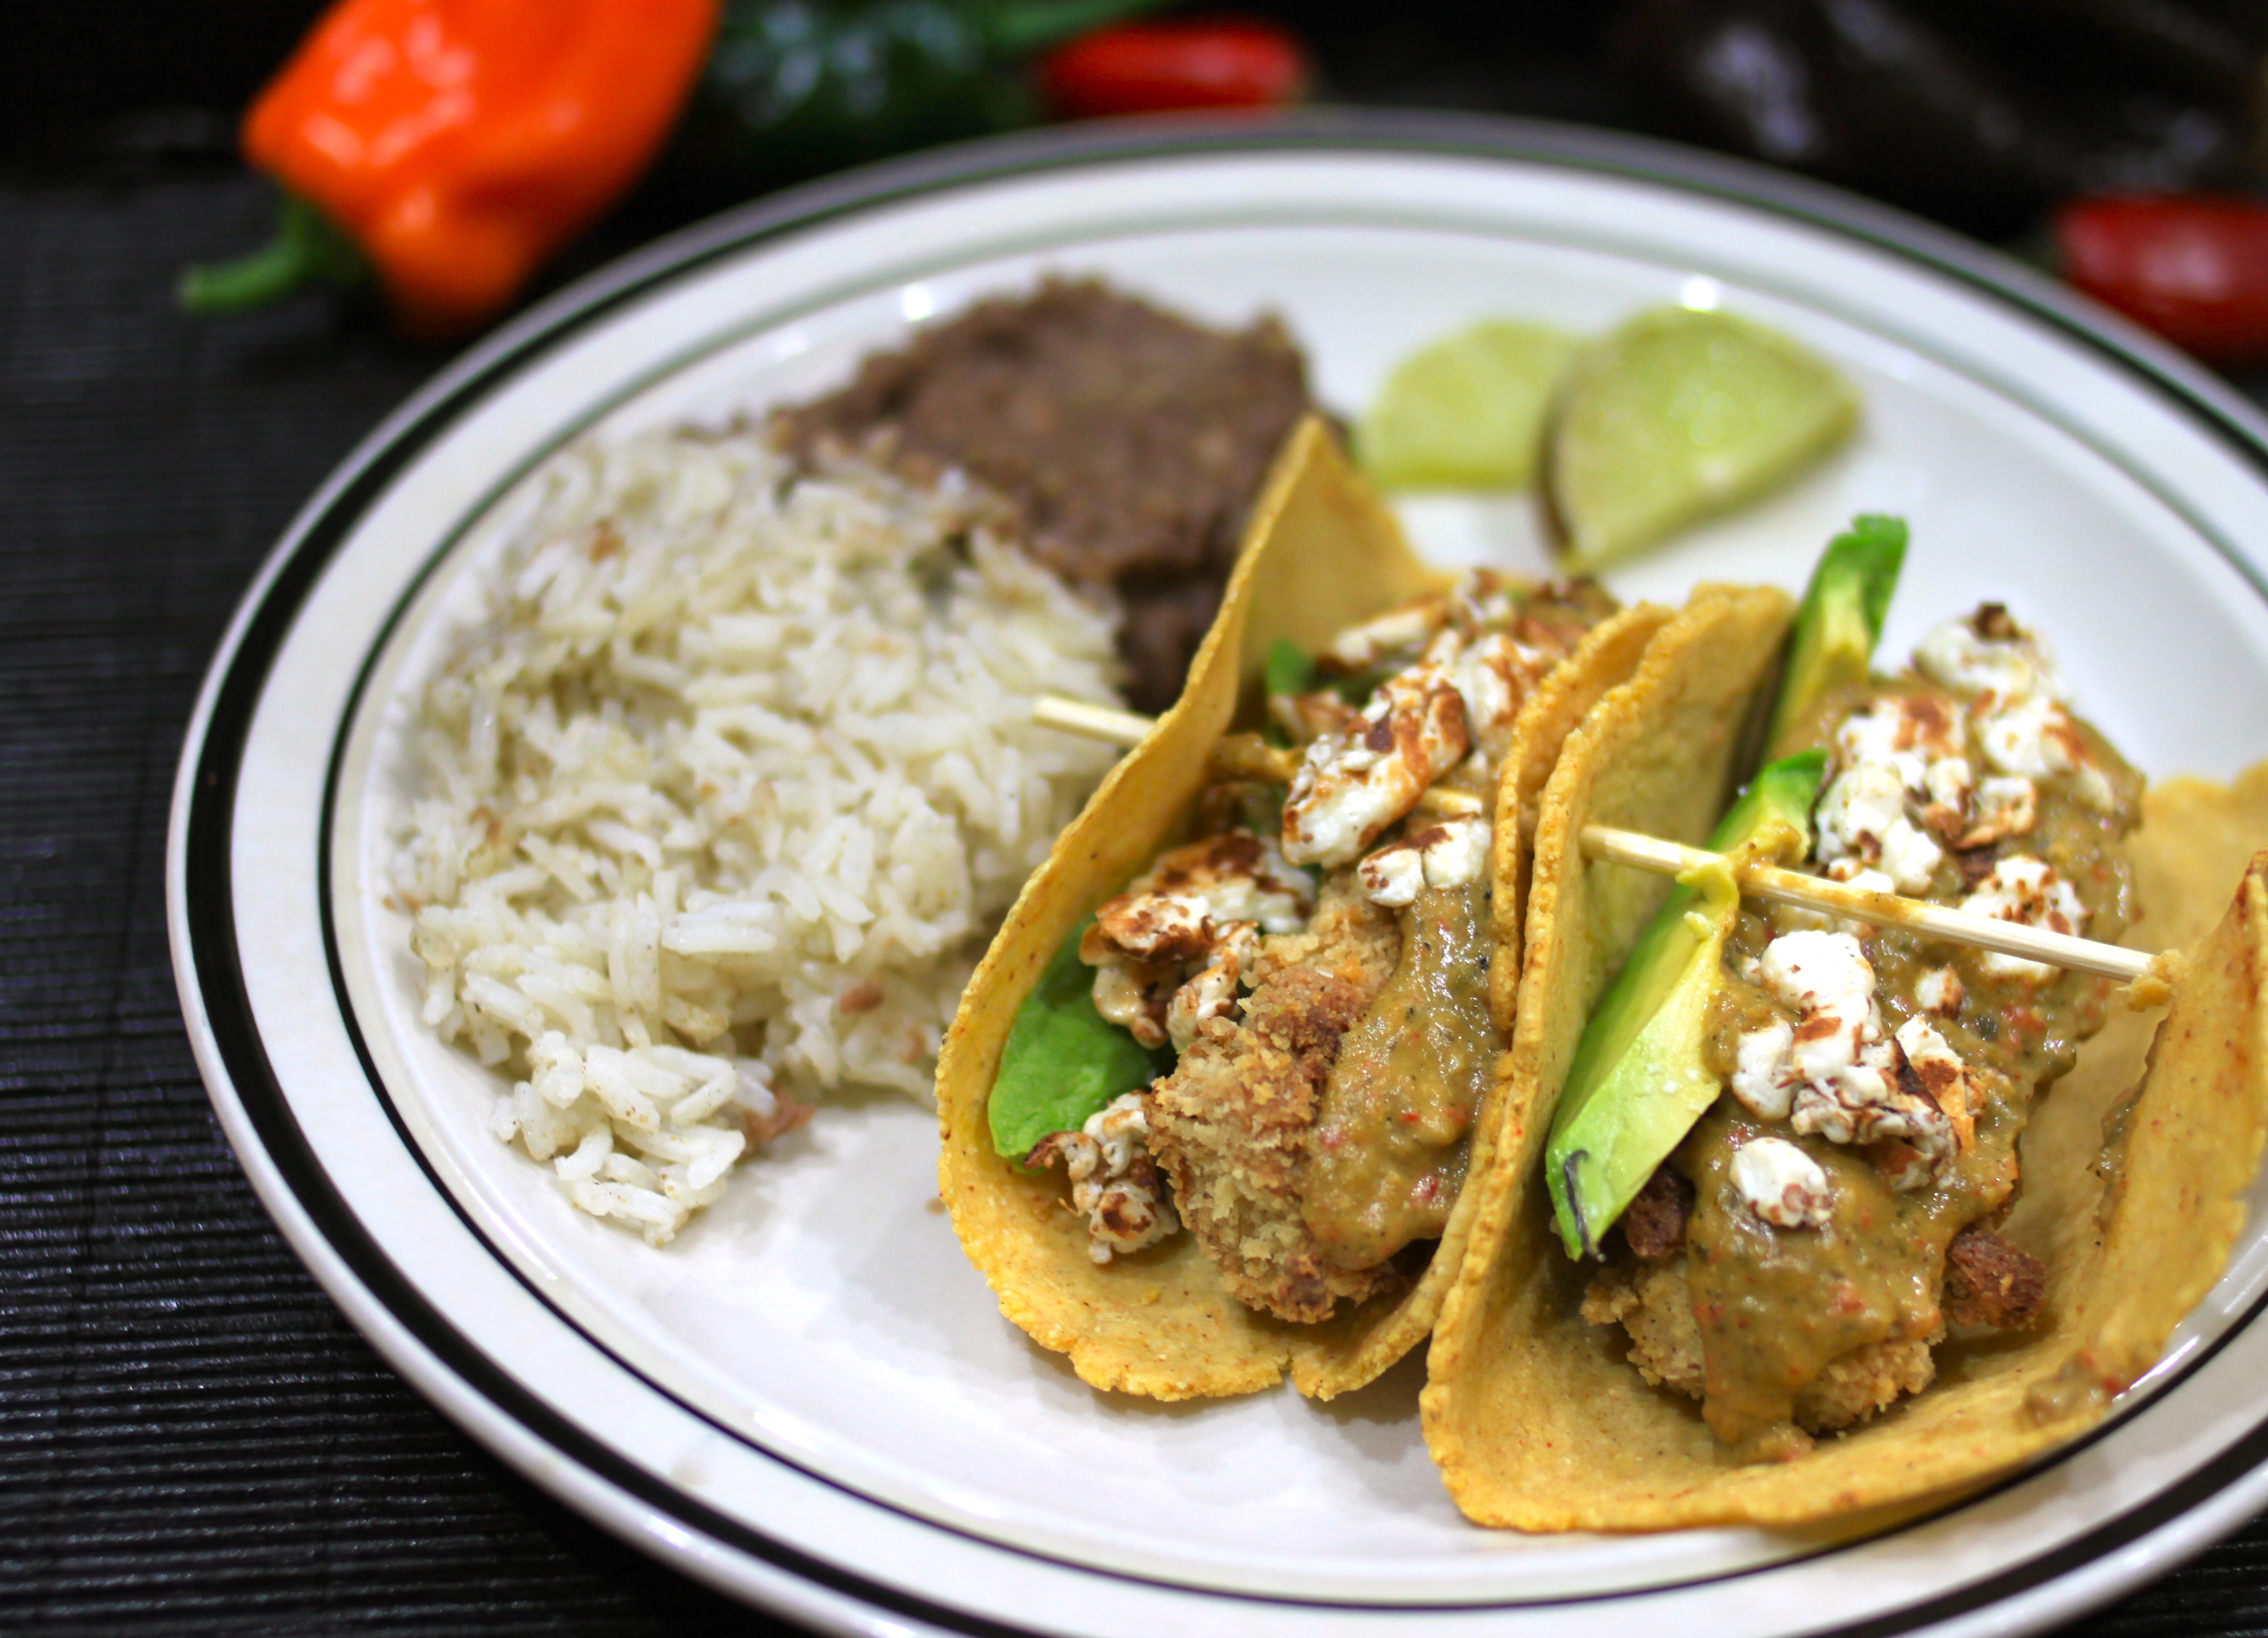
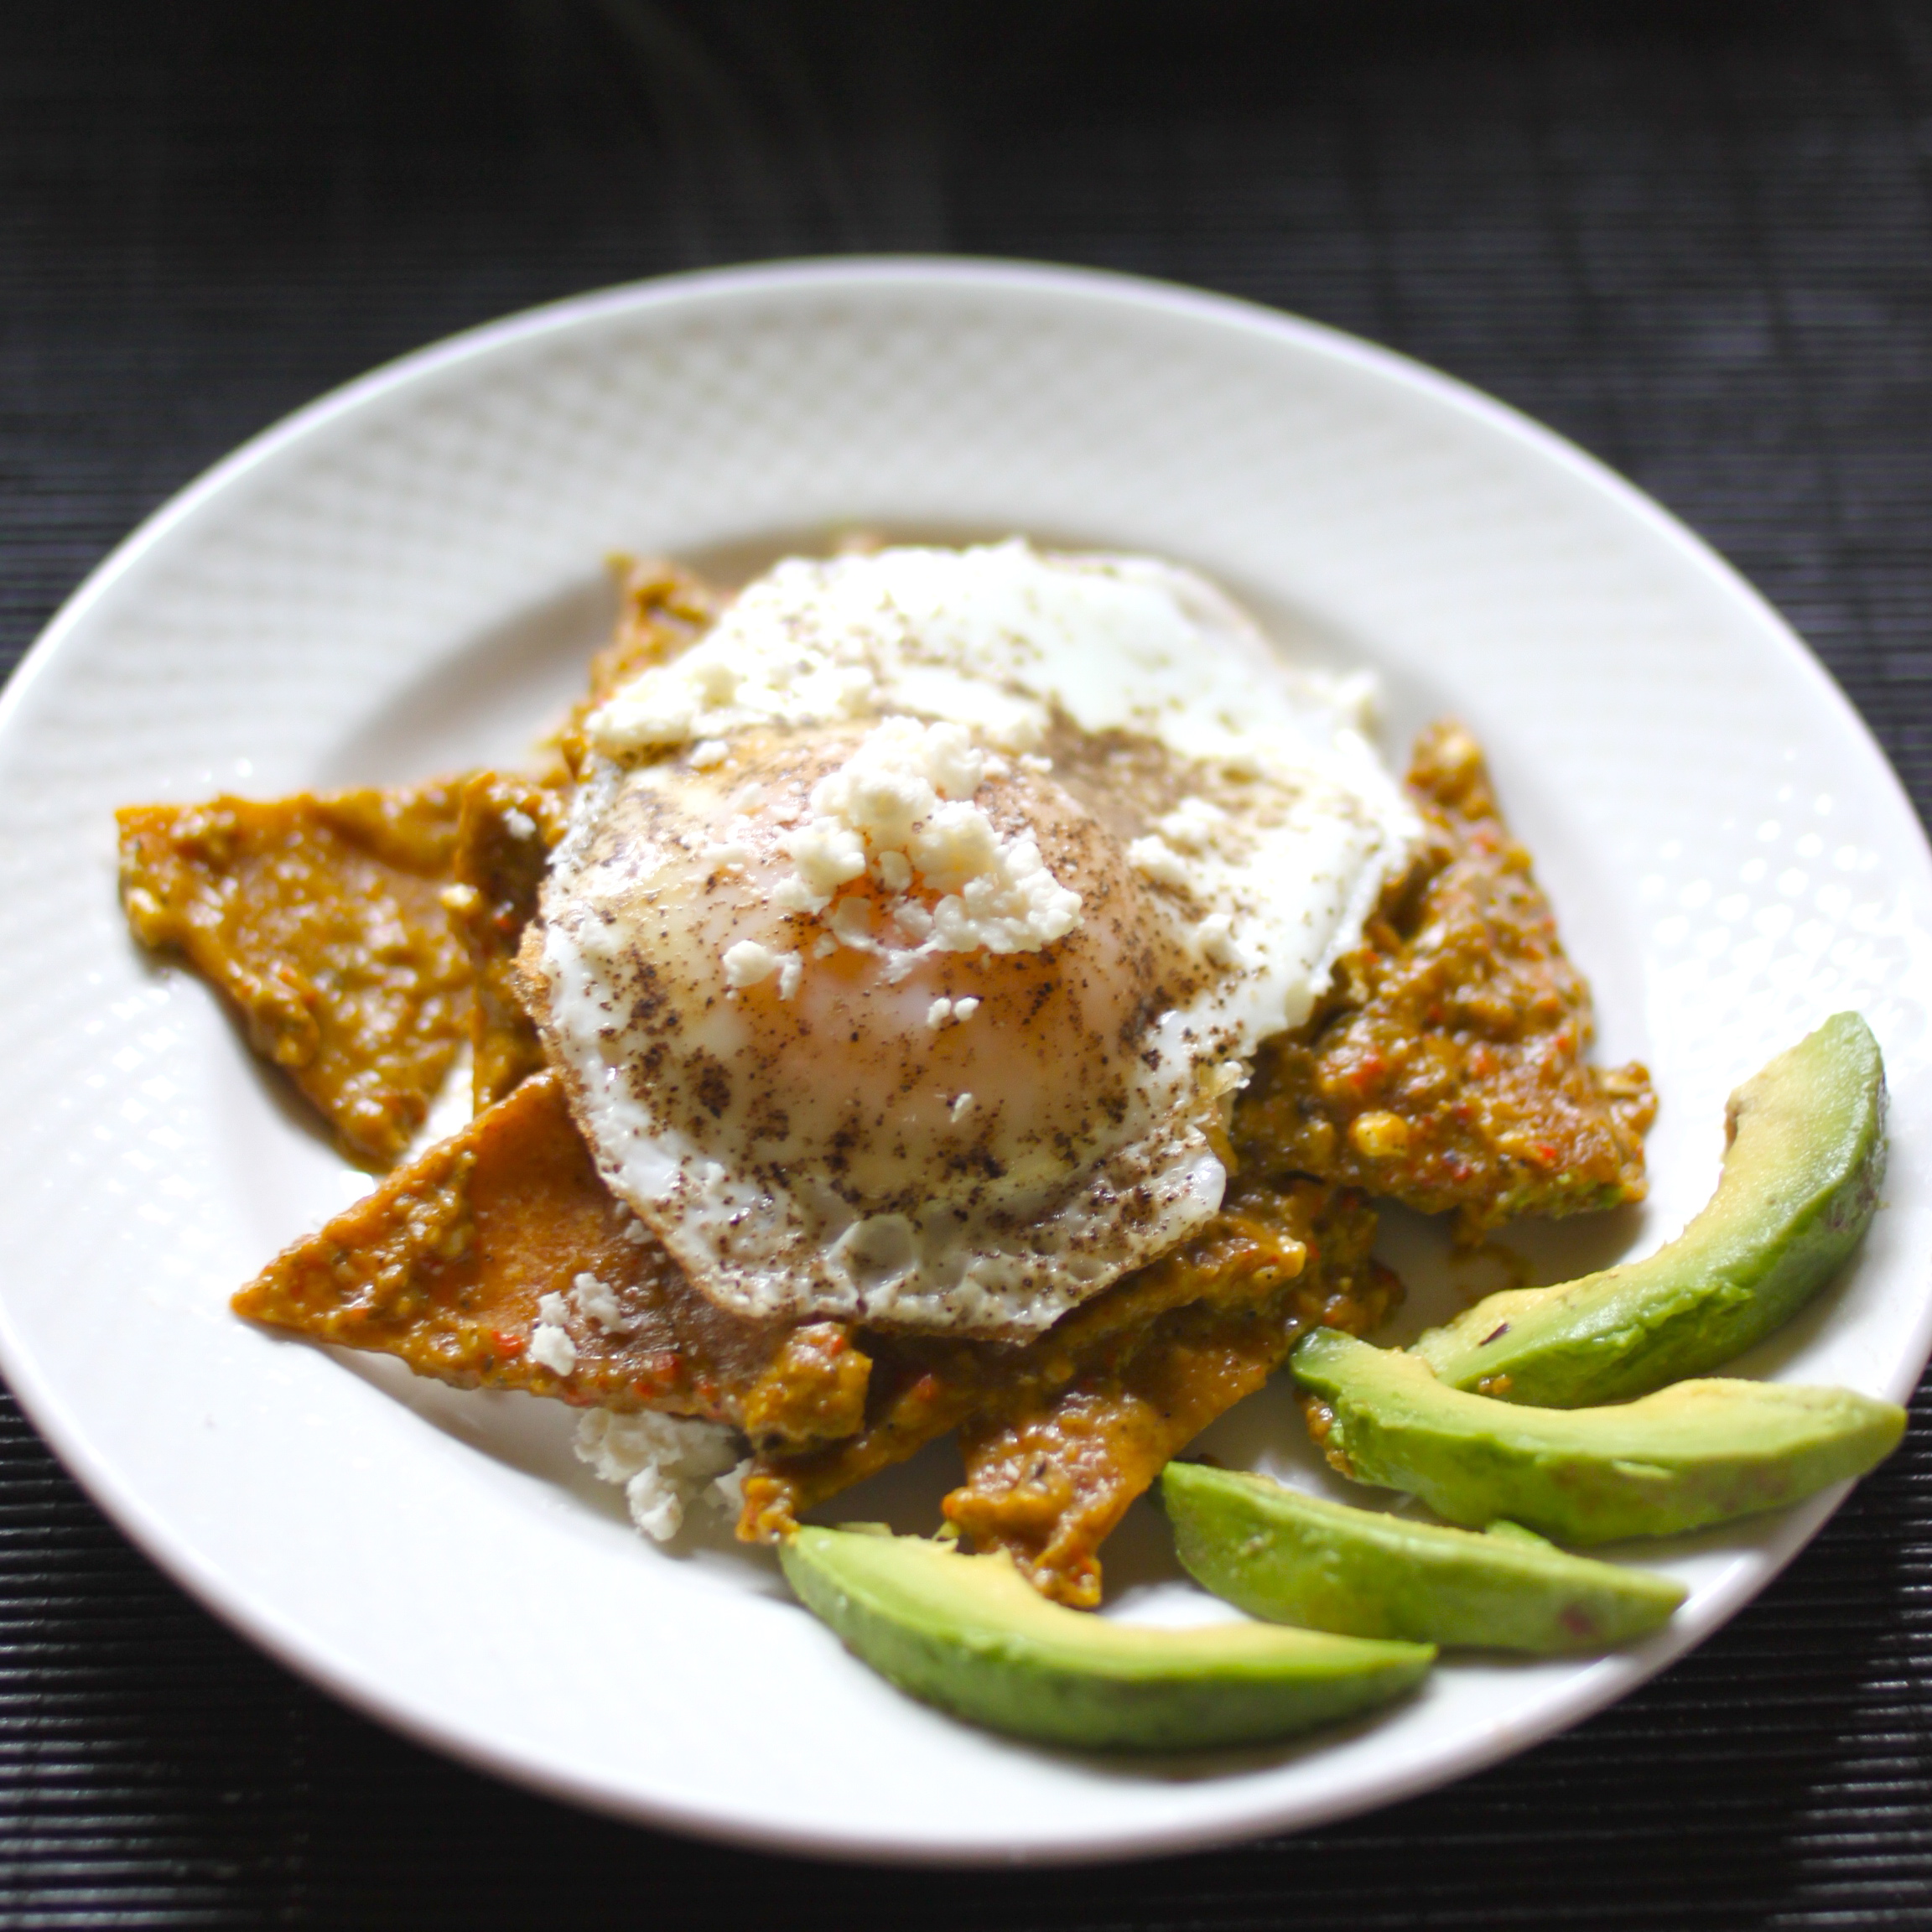
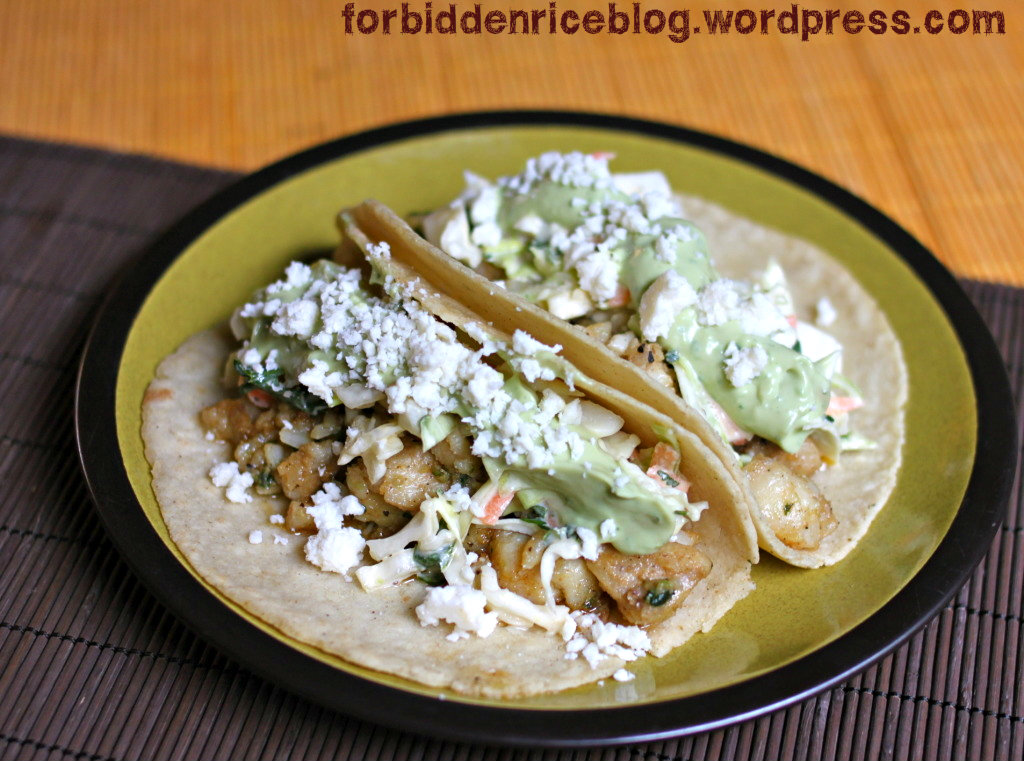
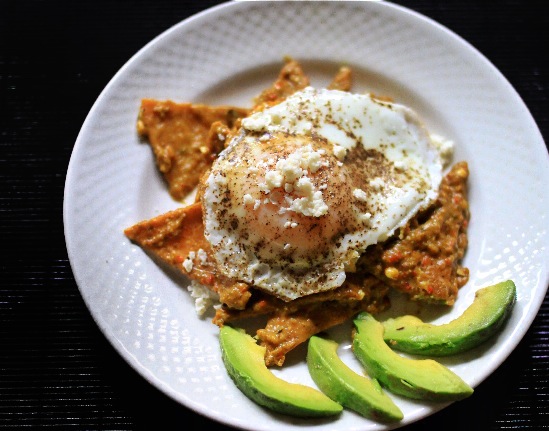
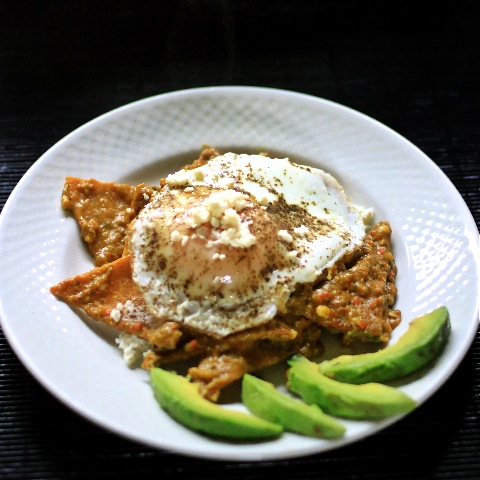
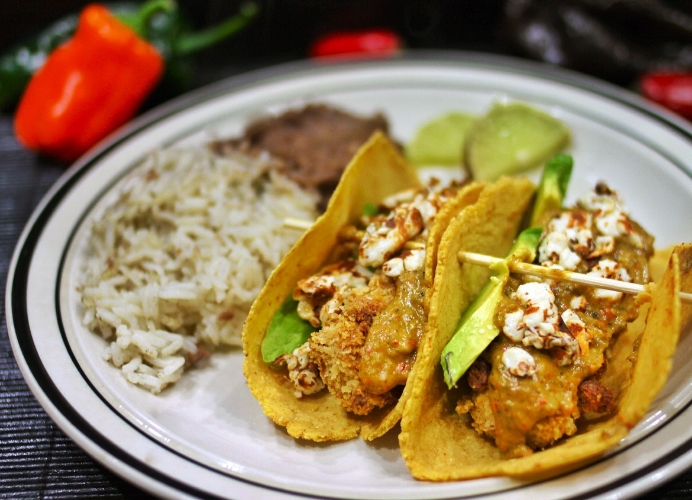
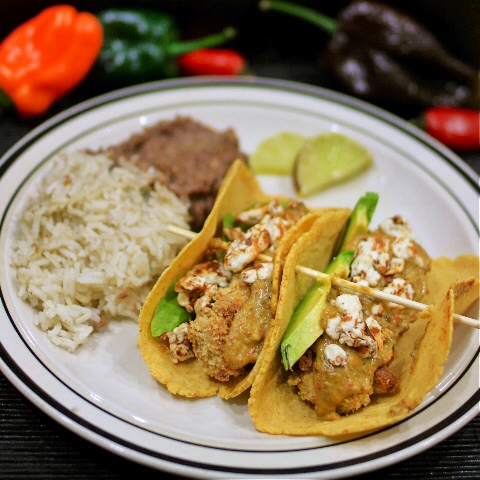
Our pepper plants are filled with huge poblanos, lovely jalapenos, anaheims and bell peppers right now. I decided to make a roasted poblano pepper sauce and let that be the highlight of these tacos. Since my crispy panko tofu seems to be a hit amongst many readers, I decided to revisit the recipe and tweak it to work as a taco filling. And grilled cotija cheese? Holy moly. This dry, crumbly, salty cheese puffs up while heating, but doesn’t melt. So you wind up with crisp, yet fluffy cheese to add a different texture to things, while the creamy avocado balances it all out. The sauce is versatile; you can use it in these tacos, on eggs, in a burrito, in place of anywhere you’d use a good hot sauce, to make chilaquiles – which we’ll visit in the next day or two.
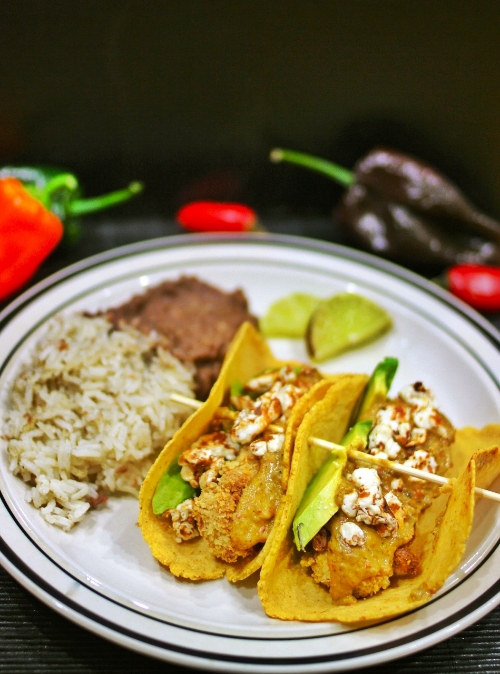
Crispy Tofu Tacos with Creamy Roasted Poblano Sauce and Grilled Cotija Cheese
Serves 4 or so folks.
Ingredients:
For the sauce:
5 large poblano peppers
1 tablespoon olive oil
1 tablespoon butter
2 tablespoons all-purpose flour
1 3/4 cups whole milk
4 cloves garlic, peeled
1/4 small sweet onion, peeled
1 lime, juiced
1 teaspoon salt
1 teaspoon ground cumin
1/2 teaspoon dried oregano
1/2 teaspoon granulated garlic
For the tofu:
one 14-oz. package extra firm tofu
1/4 cup all-purpose flour
3/4 cup panko breadcrumbs
1/2 teaspoon salt
1/2 teaspoon granulated garlic
1/4 teaspoon ground pepper
1/4 teaspoon ground cumin
1/4 teaspoon ground coriander
1/2 cup buttermilk
1 egg
1/2 teaspoon salt
1/2 teaspoon granulated garlic
1/4 teaspoon ground pepper
olive oil
For the tacos:
2 ounces cotija cheese *
10-12 corn tortillas (fresher the better)
2 small ripe avocados
*If you cannot find cotija cheese, a mild, firm feta will suffice.
Directions:
Prepare the tofu: Drain the water from the packaged tofu. Cut the block of tofu into 16 rectangles that are about 1-inch wide, 4-inches long, and 1/2-inch thick. (Basic math if your kid asks where the heck they’re going to use math in “real life”!) To do this, cut the tofu into 4 even-sized rectangles, then cut each of those in half, lengthwise, then cut those in half, lengthwise. You should wind up with 16 rectangles.
Lay the cut tofu on an absorbent towel (or 3-4 layers of paper towels). Wrap the tofu with the towel so it’s covered on all sides, then place a heavy cookbook or baking pan on top of the towel to press more liquid out of the tofu. Let the tofu sit like this while you make the sauce.
Roast the poblano peppers. If you have a gas stove, this is easily done by toasting the peppers over an open flame (on high), using tongs to turn the peppers constantly. Once the peppers are nicely blackened on all sides, place them in a bowl and then tightly cover the bowl with plastic wrap. The trapped steam will soften the peppers and loosen their skins. After 15 minutes, pull the stems out of each pepper. Pull the skins off the pepper. I like to do this under running cold water, as it seems to help make the job quicker. You can also use a paper towel to rub off the loosened skins. Holding one end, squeeze the pepper length-wise, to remove the bulk of its seeds (leave them in for a spicier sauce).
If you are using an oven, turn it on to the broiler setting. Brush each pepper with 1-2 teaspoons of vegetable, sunflower, or another high-smoke point oil. Arrange the peppers on a baking sheet, then place the sheet on the highest rack in your oven. Keeping a close eye on the peppers, remove them once dark, blackened spots appear. As with stove-top roasted peppers, place in a bowl and cover for 15 minutes. Follow the above directions for removing the skins and seeds.
Prepare the sauce: In a medium-saucepan, melt the olive oil and butter together, until the butter is completely melted, over medium heat. Whisk in the flour, creating a smooth paste. Allow the mixture to cook for 2 to 3 minutes. Whisk in milk all at once, continuing to stir periodically until the sauce thickens.
Meanwhile, as the sauce is thickening on the stove, combine the roasted peppers, garlic, onion, lime juice, salt, cumin, oregano, and granulated garlic in a food processor or high-speed blender. Pulse the mixture until smooth (3 to 4 minutes). Whisk the pepper mixture into the sauce on the stove until completely combined. Turn the heat down to low, occasionally stirring the sauce.
Make the crispy tofu: Preheat your oven to 375 degrees F. Generously oil a large sheet pan and set it aside until needed. In a medium-sized dish, mix together the flour, panko breadcrumbs, salt, garlic, pepper, cumin, and coriander. In another medium-sized dish, mix together the buttermilk, egg, salt, garlic, and pepper until completely combined.
Unwrap your pressed tofu. Place the tofu into your buttermilk mixture, turning it a few times to coat the tofu well. Next dredge the tofu in the flour mixture, pressing both gently and firmly to coat the tofu well. Place the tofu on your prepared baking sheet. Do this will all of the tofu, placing the rectangles about 1/4-inch apart on the baking sheet. Once all of the tofu has been coated, drizzle the top of each tofu strip with a little oil (no more than 1/8-teaspoon per strip). Bake for 20 minutes, then flip the tofu and bake for an additional 10-15 minutes, until both sides are nicely golden brown.
Grill the cotija: Heat a small cast iron pan over high heat. Once the pan is very hot, crumble the cotija into the pan. Use a flat spatula to toss and turn the cheese constantly until it’s crisp and brown on the outside. Remove from heat.
Make your tacos: Heat your tortillas according to the package directions to soften them. Slice the avocados in thin strips. To prepare the tacos, layer in this order: tortilla, one or two tofu strips, a spoonful (as much as you prefer) of sauce, a couple avocado slices, a little more sauce, then a sprinkling of the grilled cheese. Eat immediately, while hot. Serve with a side of beans and rice if you’d like.
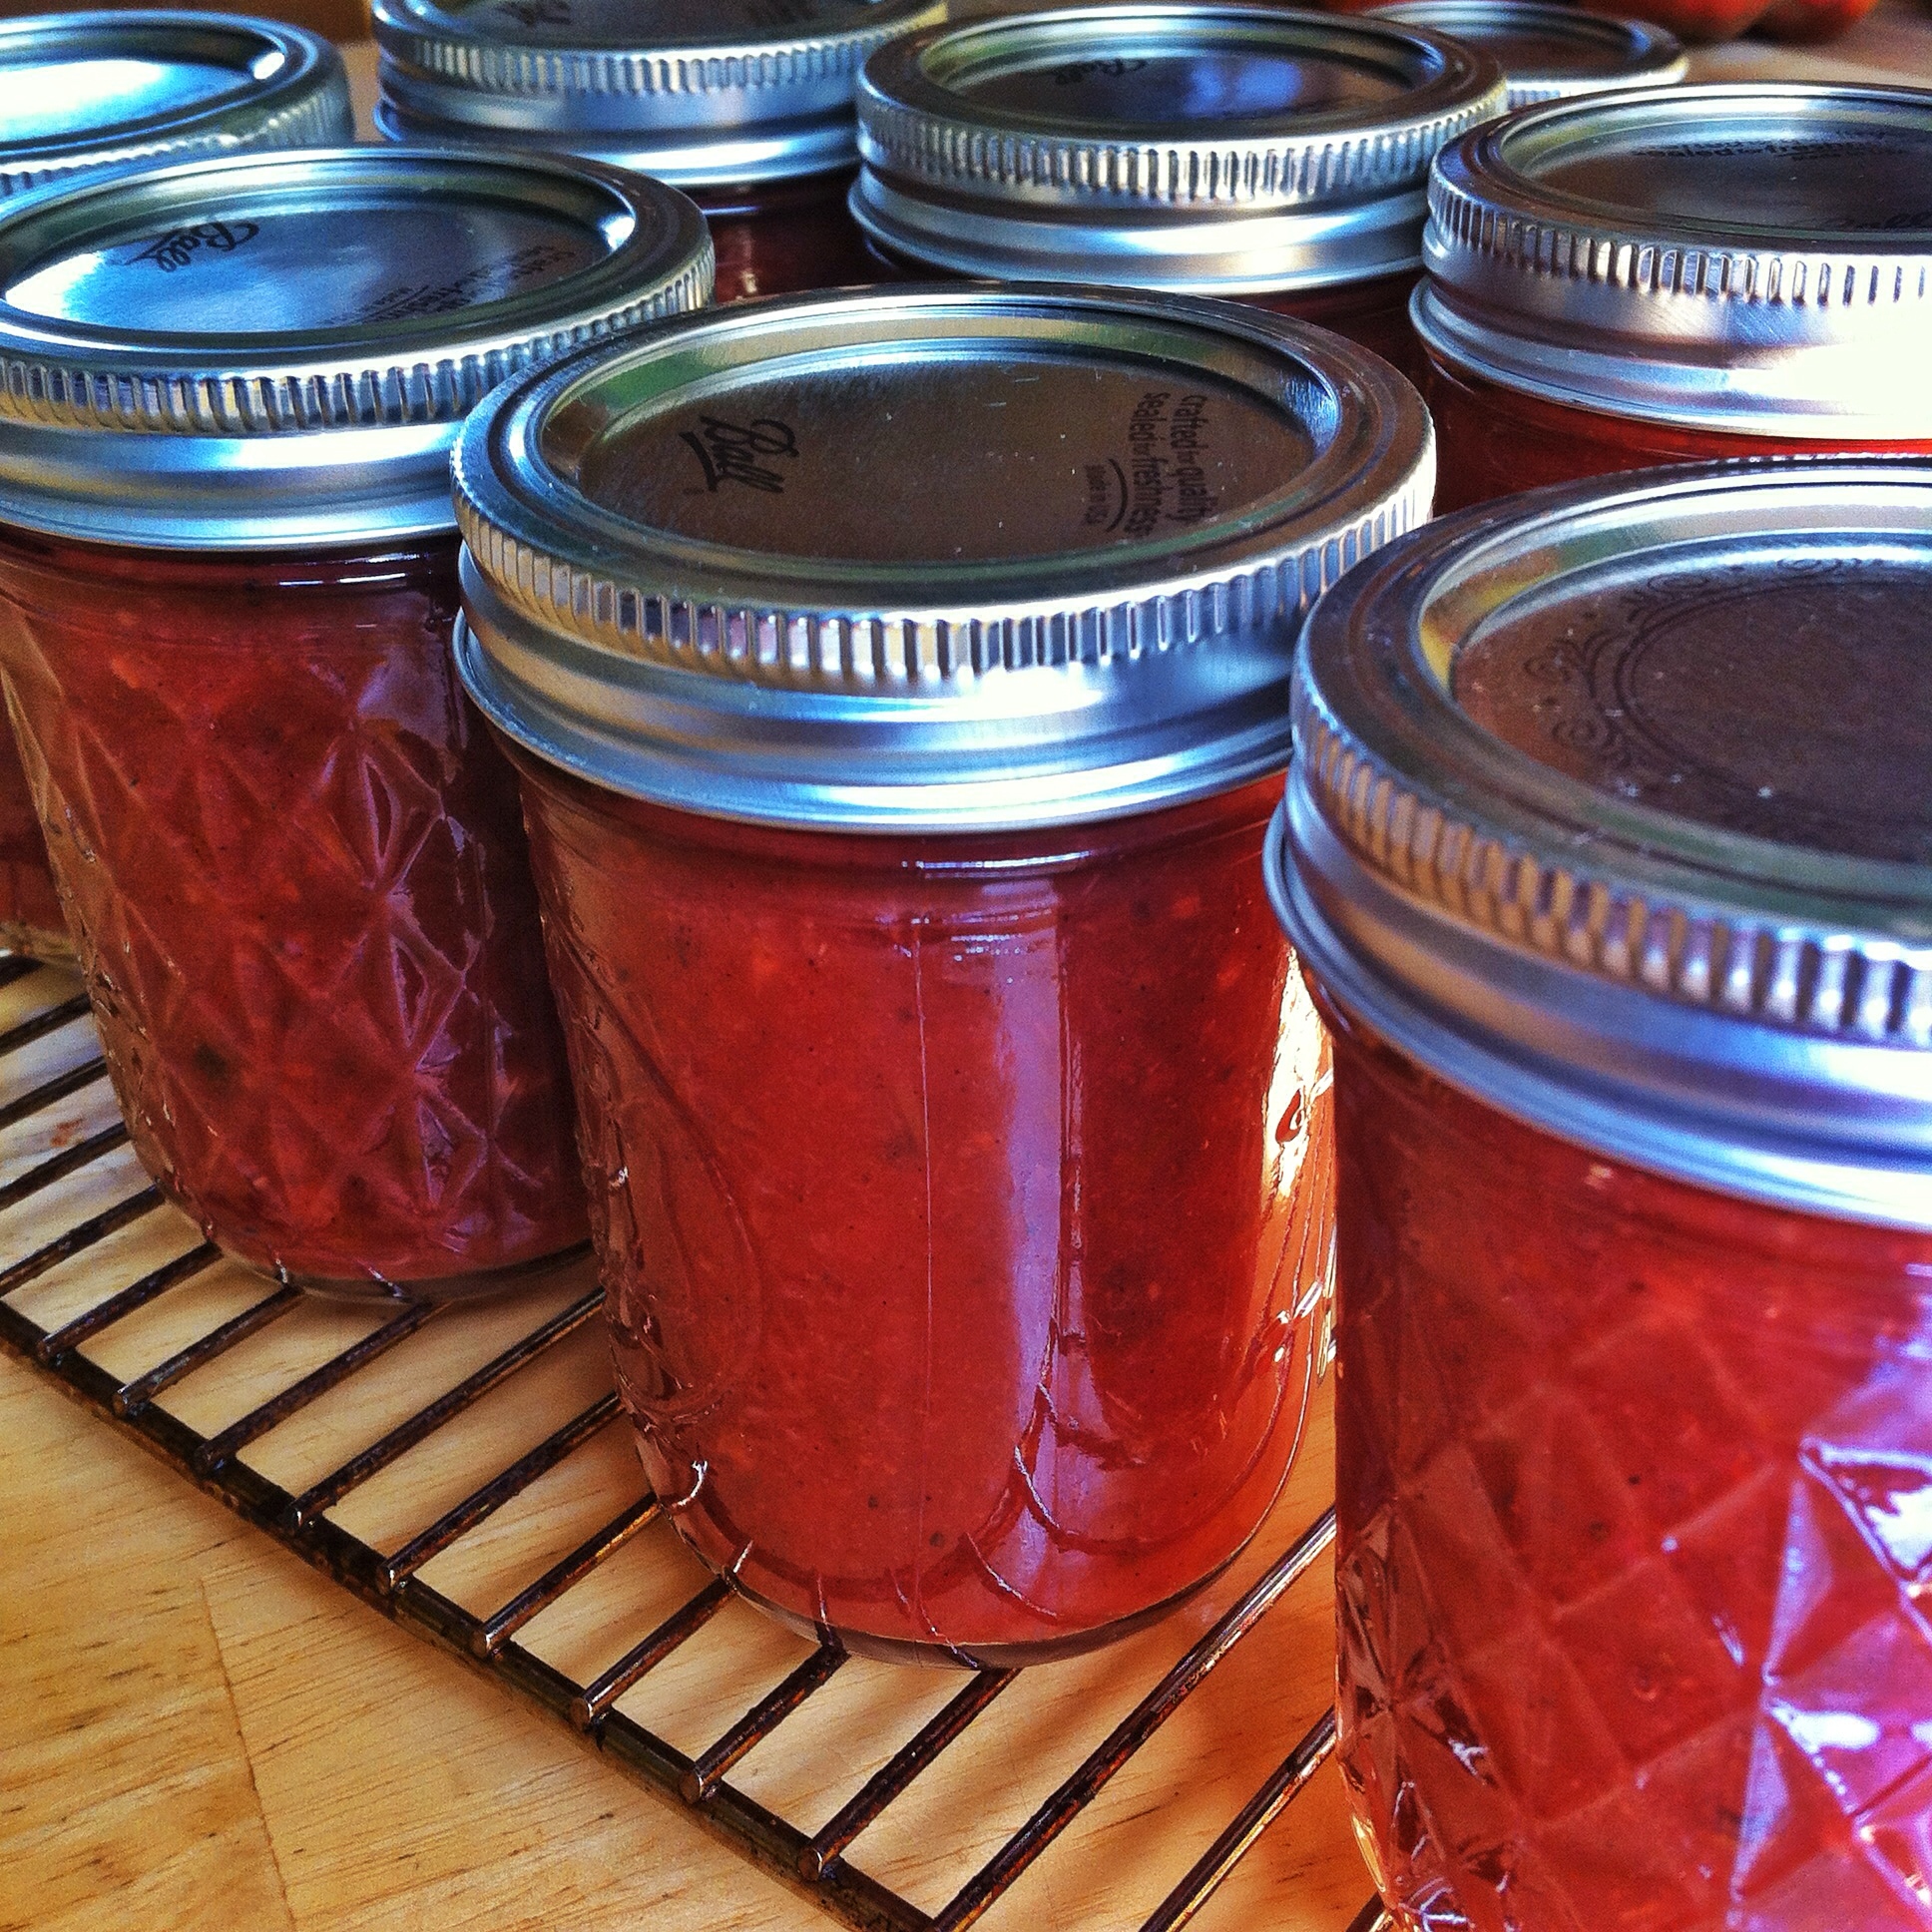
Refrigerate the leftover sauce.