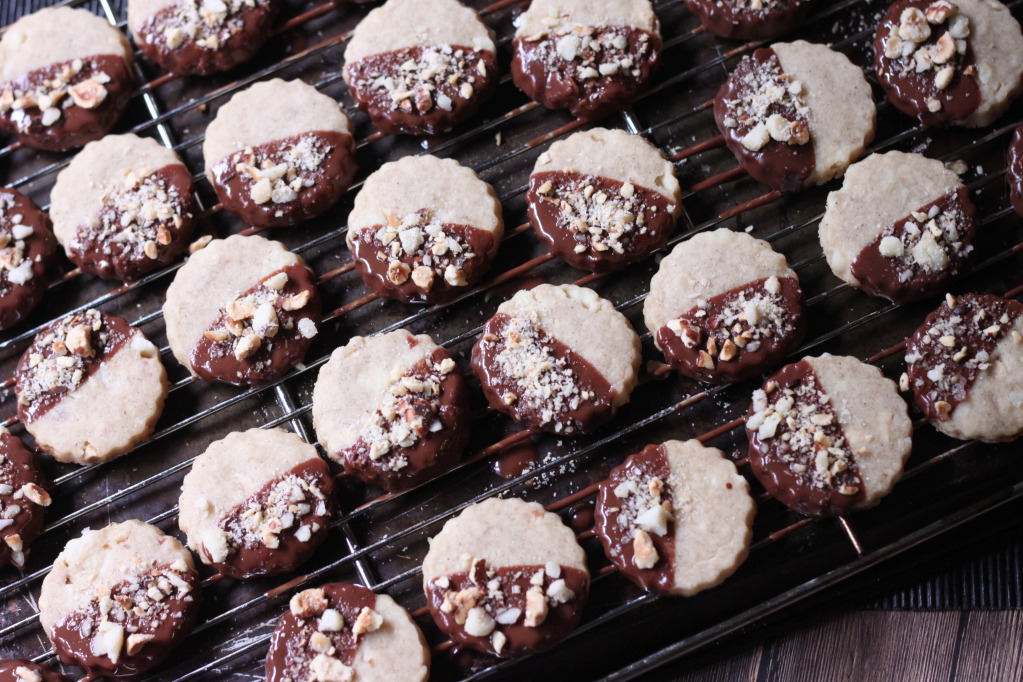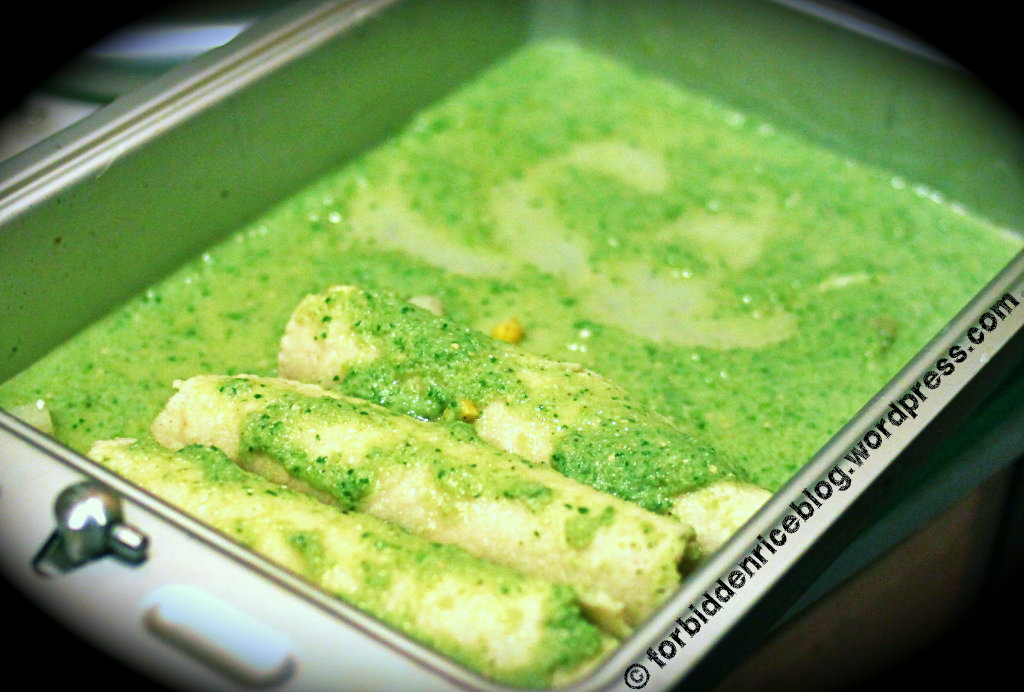
Happy Holidays, all of you! Wait, what? I just missed them? Christmas snuck up on me this year. Maybe because it fell on a Tuesday? Maybe because I always put off my shopping until the last minute and time passes much quicker when you’re scrambling to get things together? Somewhere in there, there was a snow day for the kids (the first in a few years – at least that I remember), a road trip to the bay area that included white freeways and the border closing between Oregon and California (luckily after we’d already crossed it). Well, the New Year still approaches… Although I’ve eaten more than my share of sweet things (and everything), I’m about to share a delicious candy recipe with you. It doesn’t have to be for the holidays at all, although they make a nice little treat to gift someone.
I hadn’t made homemade candies in years. I remember having a fascination with homemade chocolate candies and homemade lollipops when I was in middle school. I’d save up my allowance and buy candy molds, then experiment with flavors that more often than not, didn’t work well together. The basis of these treats often included corn syrup though and I knew I didn’t want to go that route for these homemade caramels.
After researching numerous recipes for ideas, I settled on the incorporation of honey rather than corn syrup. I had a minor fail in the midst of cooking: since I don’t own a candy thermometer, I was purely relying on my own better judgment while making these (ahhh!). I ended up pouring the caramel into my sheet pan too early – it wouldn’t set at all. After reading about the possibilities for what could be causing this, I figured I had not cooked my sugar long enough. Rather than tossing the whole batch out, I simply returned everything back to my pot and brought it back up to boiling for about 15 more minutes, until its color darkened even more. That seemed to work. The difference in consistency was noticeable – after the second cooking, it was much thicker and clearly more caramel colored.
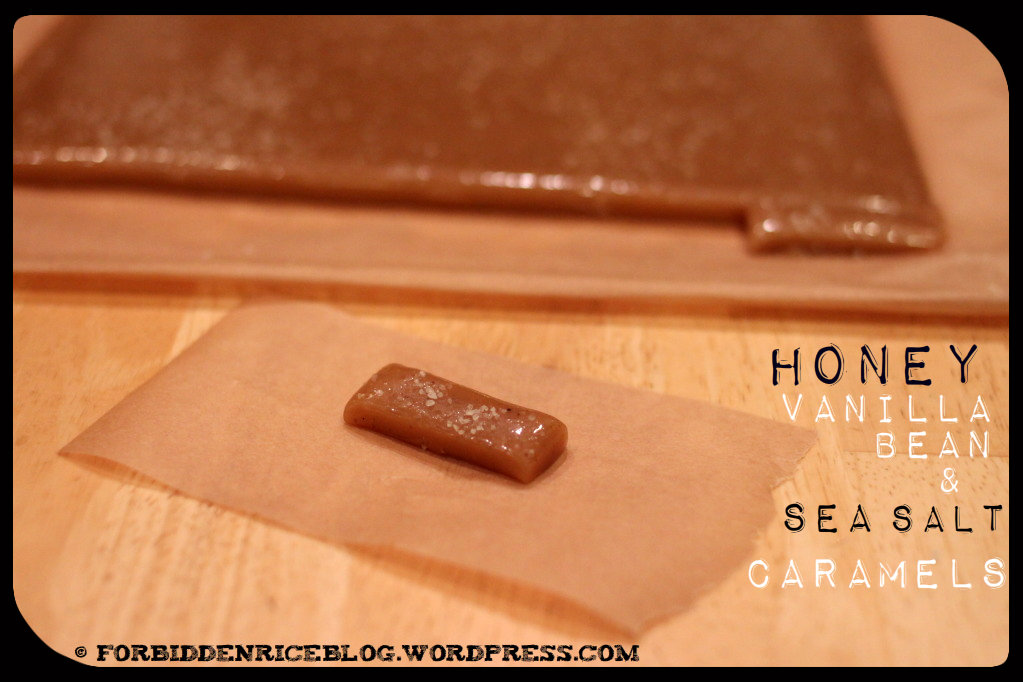
These caramels are soft, rich, and warmly flavored with vanilla. Make sure to use a good quality honey, as its flavor will come through in your final product. The sea salt also balances out the sweetness of these candies, too.
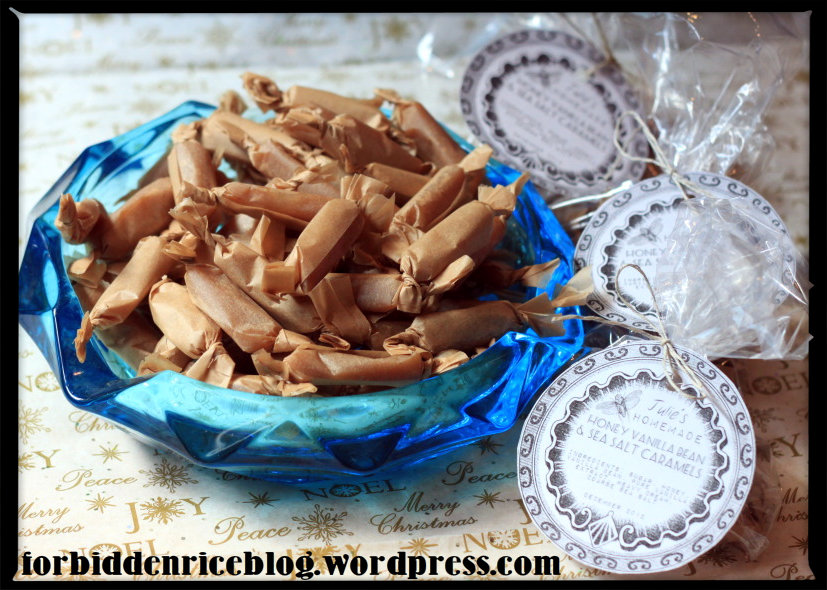
Honey Vanilla Bean and Sea Salt Caramels
Yields about 150 caramels, ½-inch x 1½-inches
Ingredients:
3 cups pure cane sugar
1 cup good quality honey
2 tbsp. vanilla extract
2 cups heavy cream
1 vanilla bean, scraped
8 oz. (2 sticks) unsalted butter, cut into tablespoons
¼ cup coarse sea salt
Directions:
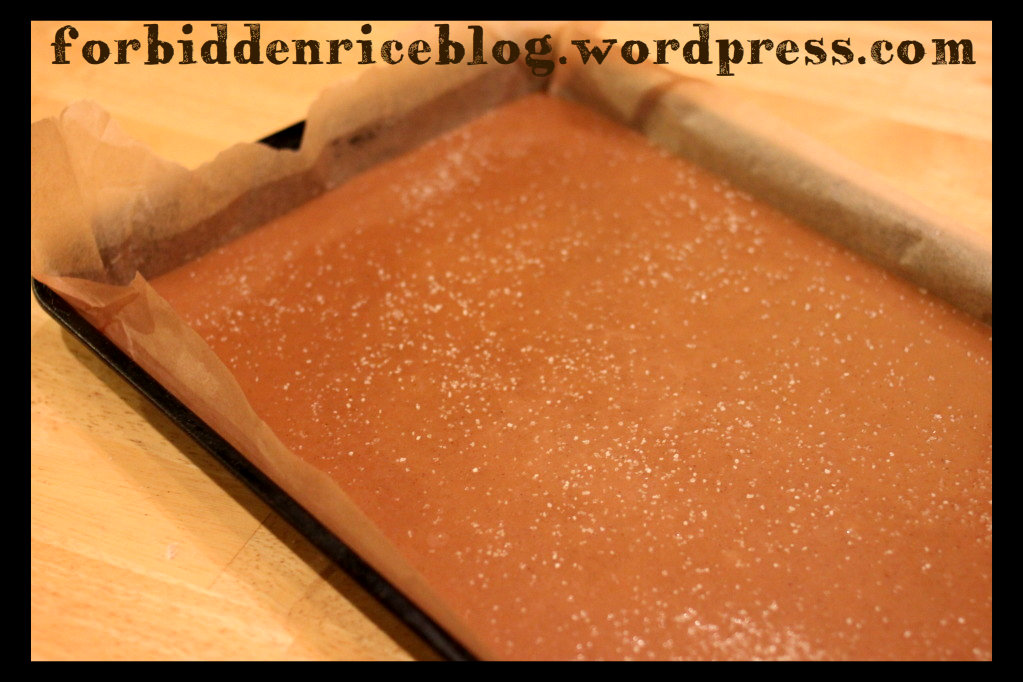
Lightly grease a half-sheet pan, then line with parchment paper.
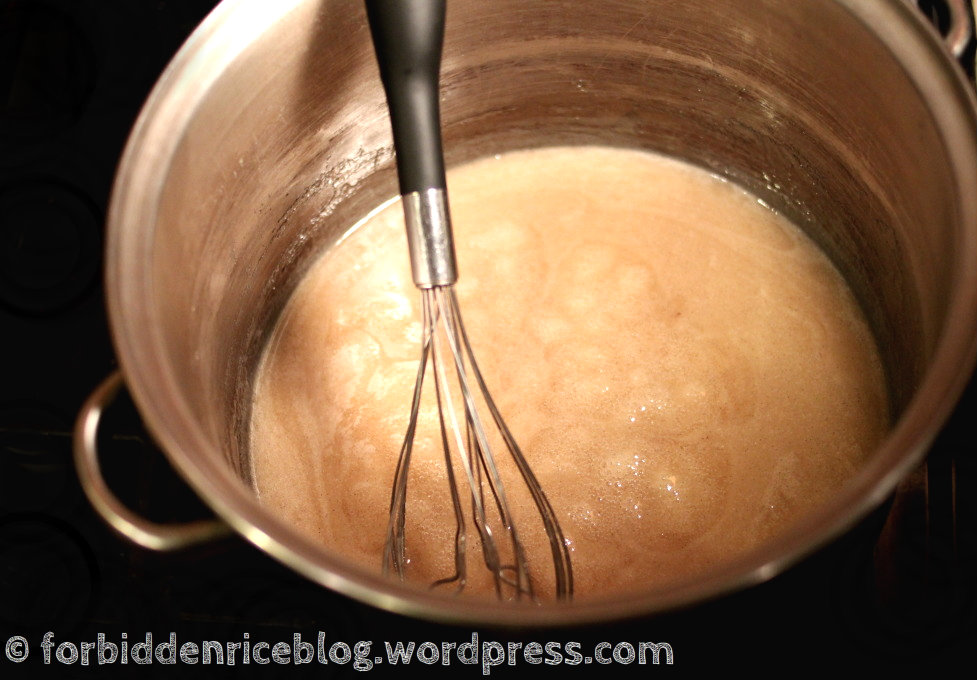
In a large non-reactive pot, combine the sugar, honey and vanilla. Bring to a boil over high heat, then turn to medium high and continue boiling until the sugar mixture caramelizes into a nice, deep brown, color (10-14 minutes). Watch the sugar pretty closely – you don’t want it to brown to the point of burning.
As the sugar is cooking, bring the heavy cream, vanilla extract, and scraped vanilla bean to a simmer in a small pot.
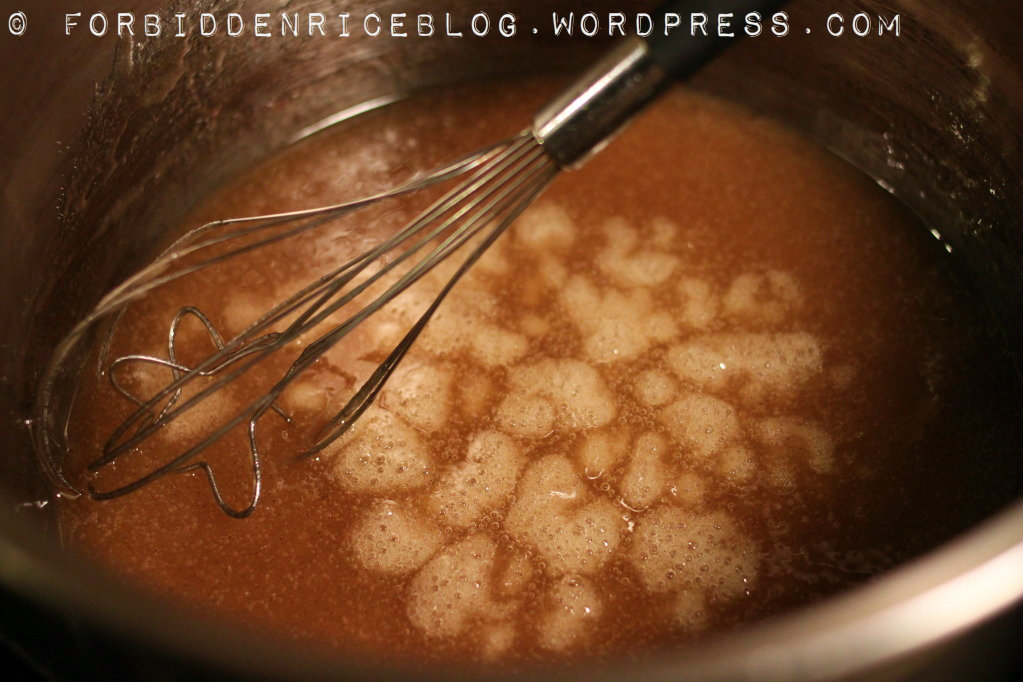
Once the sugar mixture has reached a deep, rich, brown color, whisk in the butter, until well combined. Whisk in the heated cream. Careful, the cream will cause the sugar mixture to bubble and splatter – use a long-handled whisk or spoon.
Let the mixture cook over medium-high heat, whisking continuously until the color is richly brown and the mixture has slightly thickened. If you have a candy thermometer, allow the mixture to cook to 260°F.
If you’re like me and you don’t own a candy thermometer, there’s another way candy makers can test the doneness of their caramel. As the sugar and cream mixture is cooking, occasionally test it by dropping a small spoonful (1/4 tsp. or so) into a bowl of cold water, then check the hardness. When it forms a solid lump that is the texture you want, or just slightly softer, stop cooking it and pour it into your lined pan.
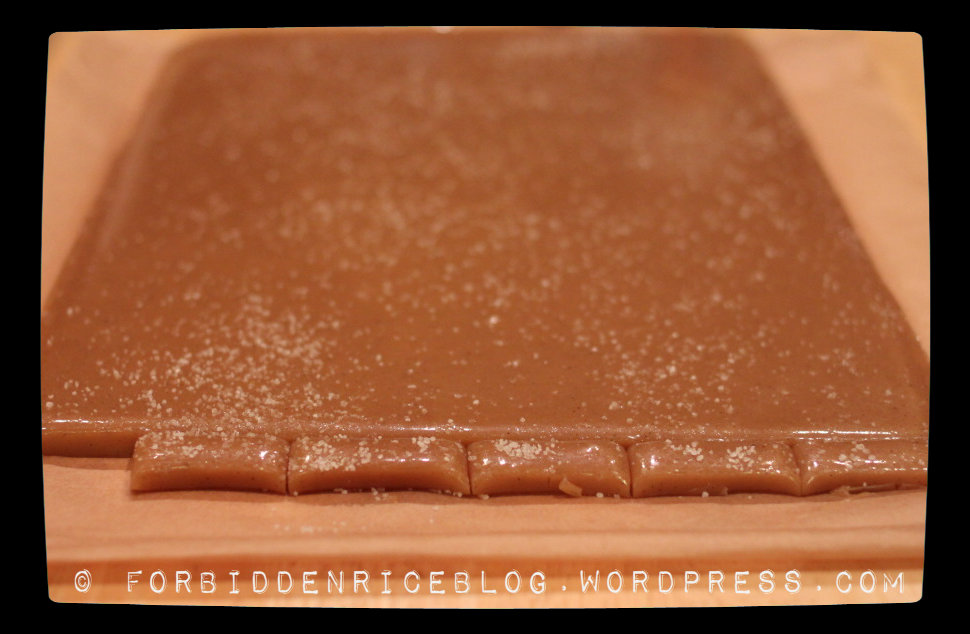
Allow the mixture to sit for about fifteen minutes, then sprinkle evenly with the coarse sea salt. Continue to let the caramel come to room temperature (I most certainly stuck it on our front porch, since it was about 25°F outside and made for quicker cooling…). Cut the caramel into your preferred sized pieces (I opted for smaller caramels, about ½-inch wide and 1½-inches long, then wrap in pieces for parchment or waxed paper.
Store in an airtight container in the refrigerator.

 Heading south on I-5 we caught this sunset that spanned for miles. Last day of 2012.
 New Year’s Eve and Day were spent in Sacramento. There were bridges…
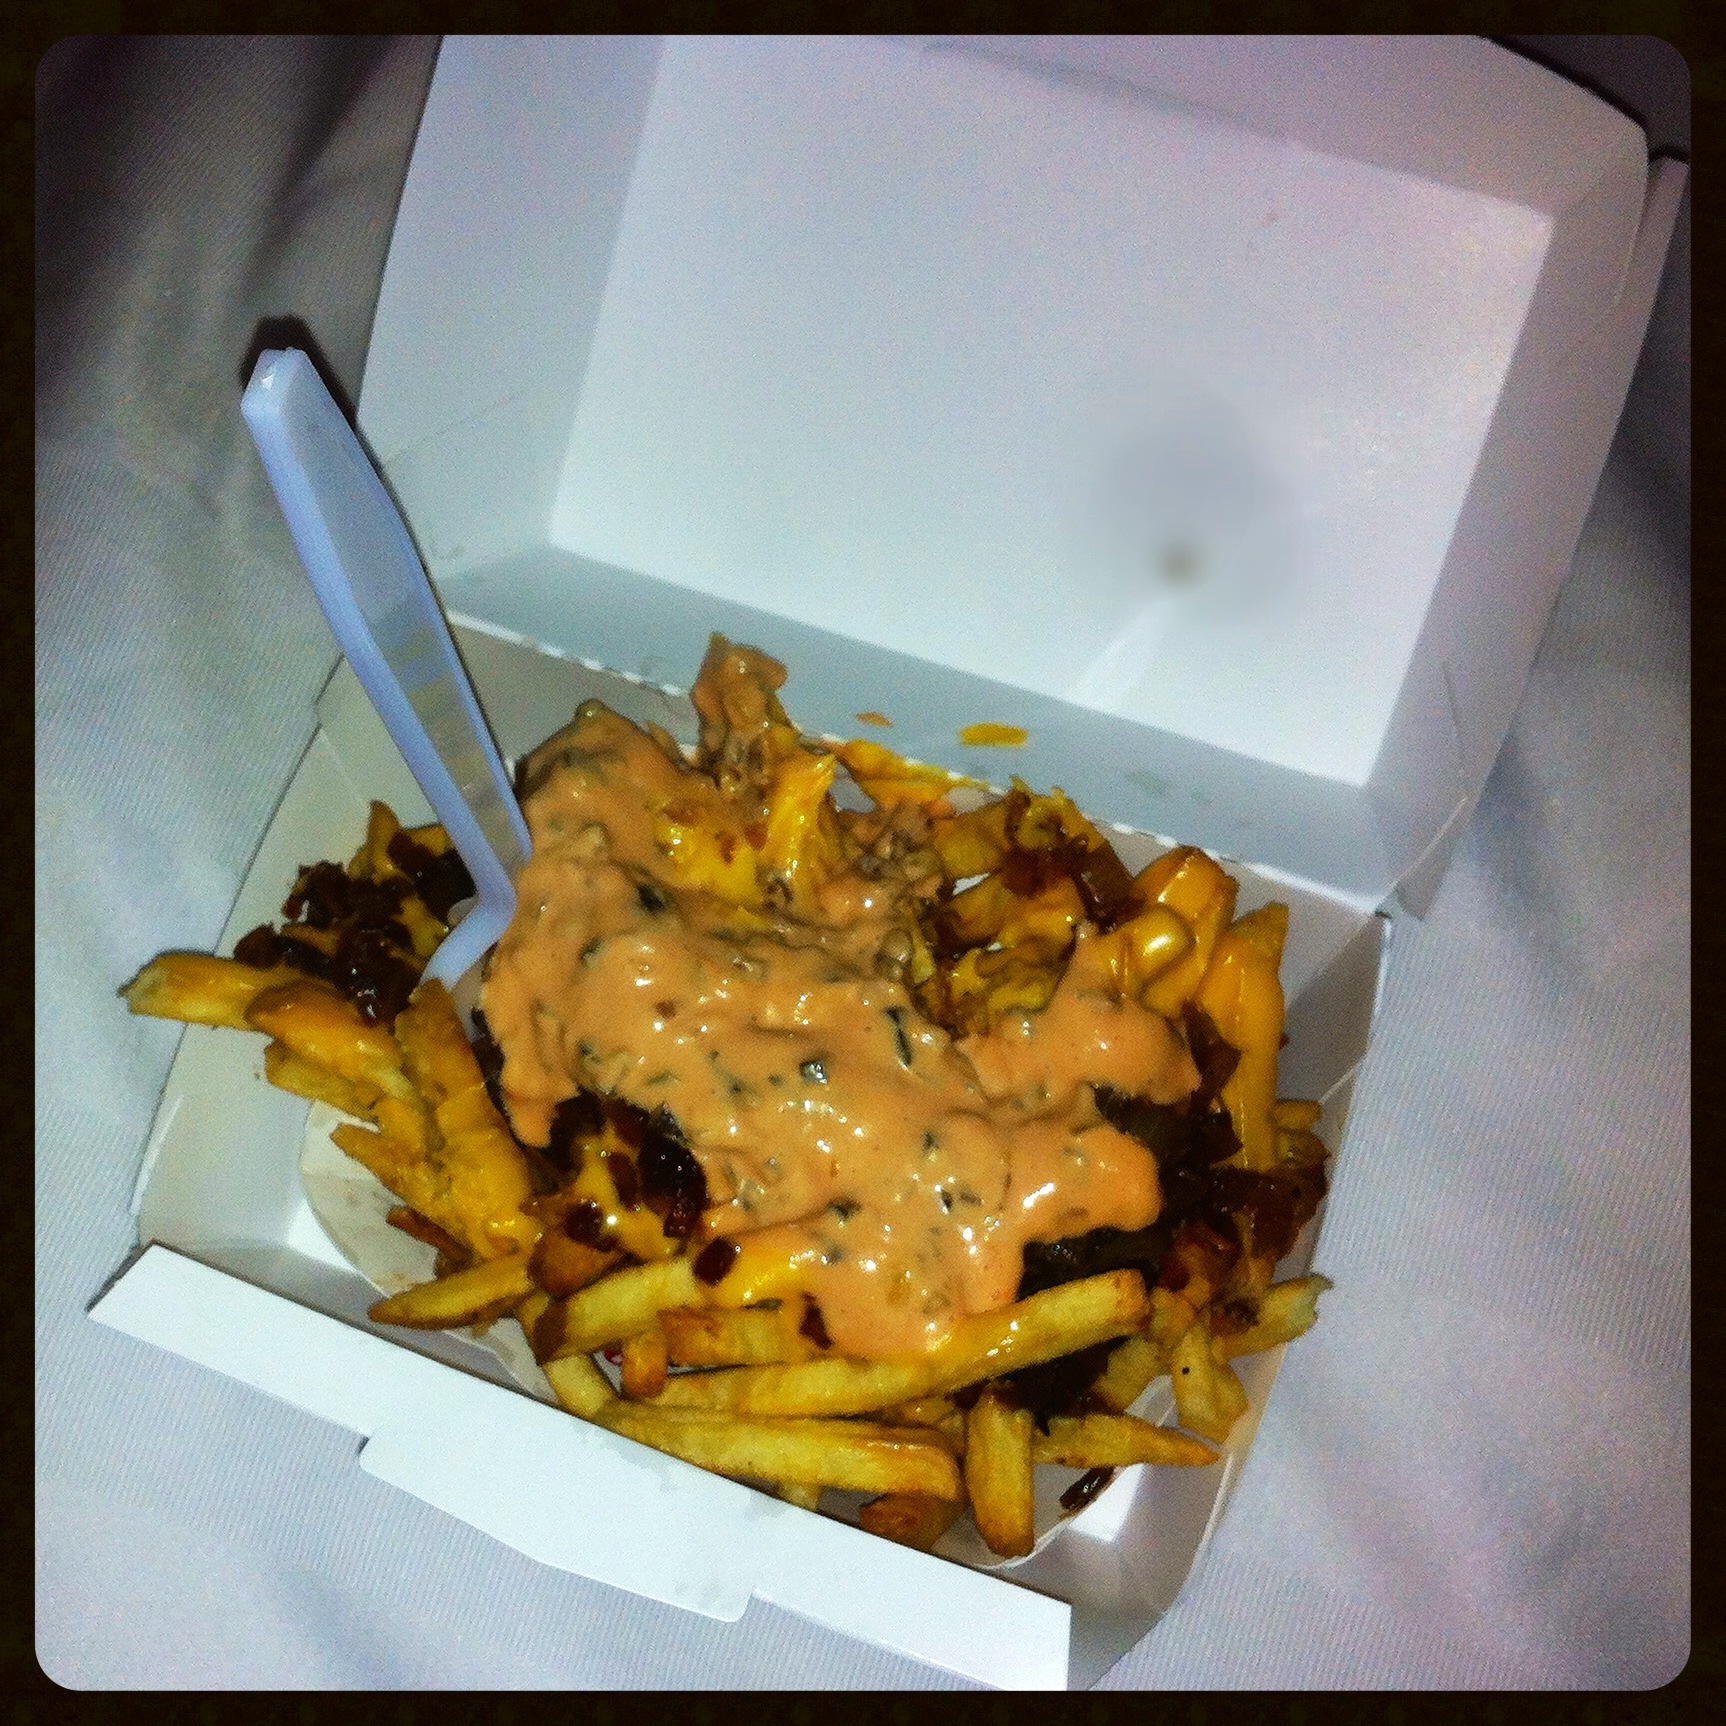 And there certainly was In-N-Out Burger’s animal style french fries to soothe the lingering feelings of post-New Year’s Eve adult beverage consumption.
 Home in Ashland into the new year…


 Cream puffs with vanilla bean custard… Only I can’t find the recipe that concocted itself while making these. So, a do-over will be necessary for posting in the future. Wah-wah.